← Back to projects

Project story

Minibike

My favourite project and arguably my most reliable vehicle.

Build timeline

  1. Minibike: How it started
    Minibike: How it started
    Minibike: How it started
    Minibike: How it started
    Minibike: How it started
    Minibike: How it started
    Minibike: How it started

    How it started

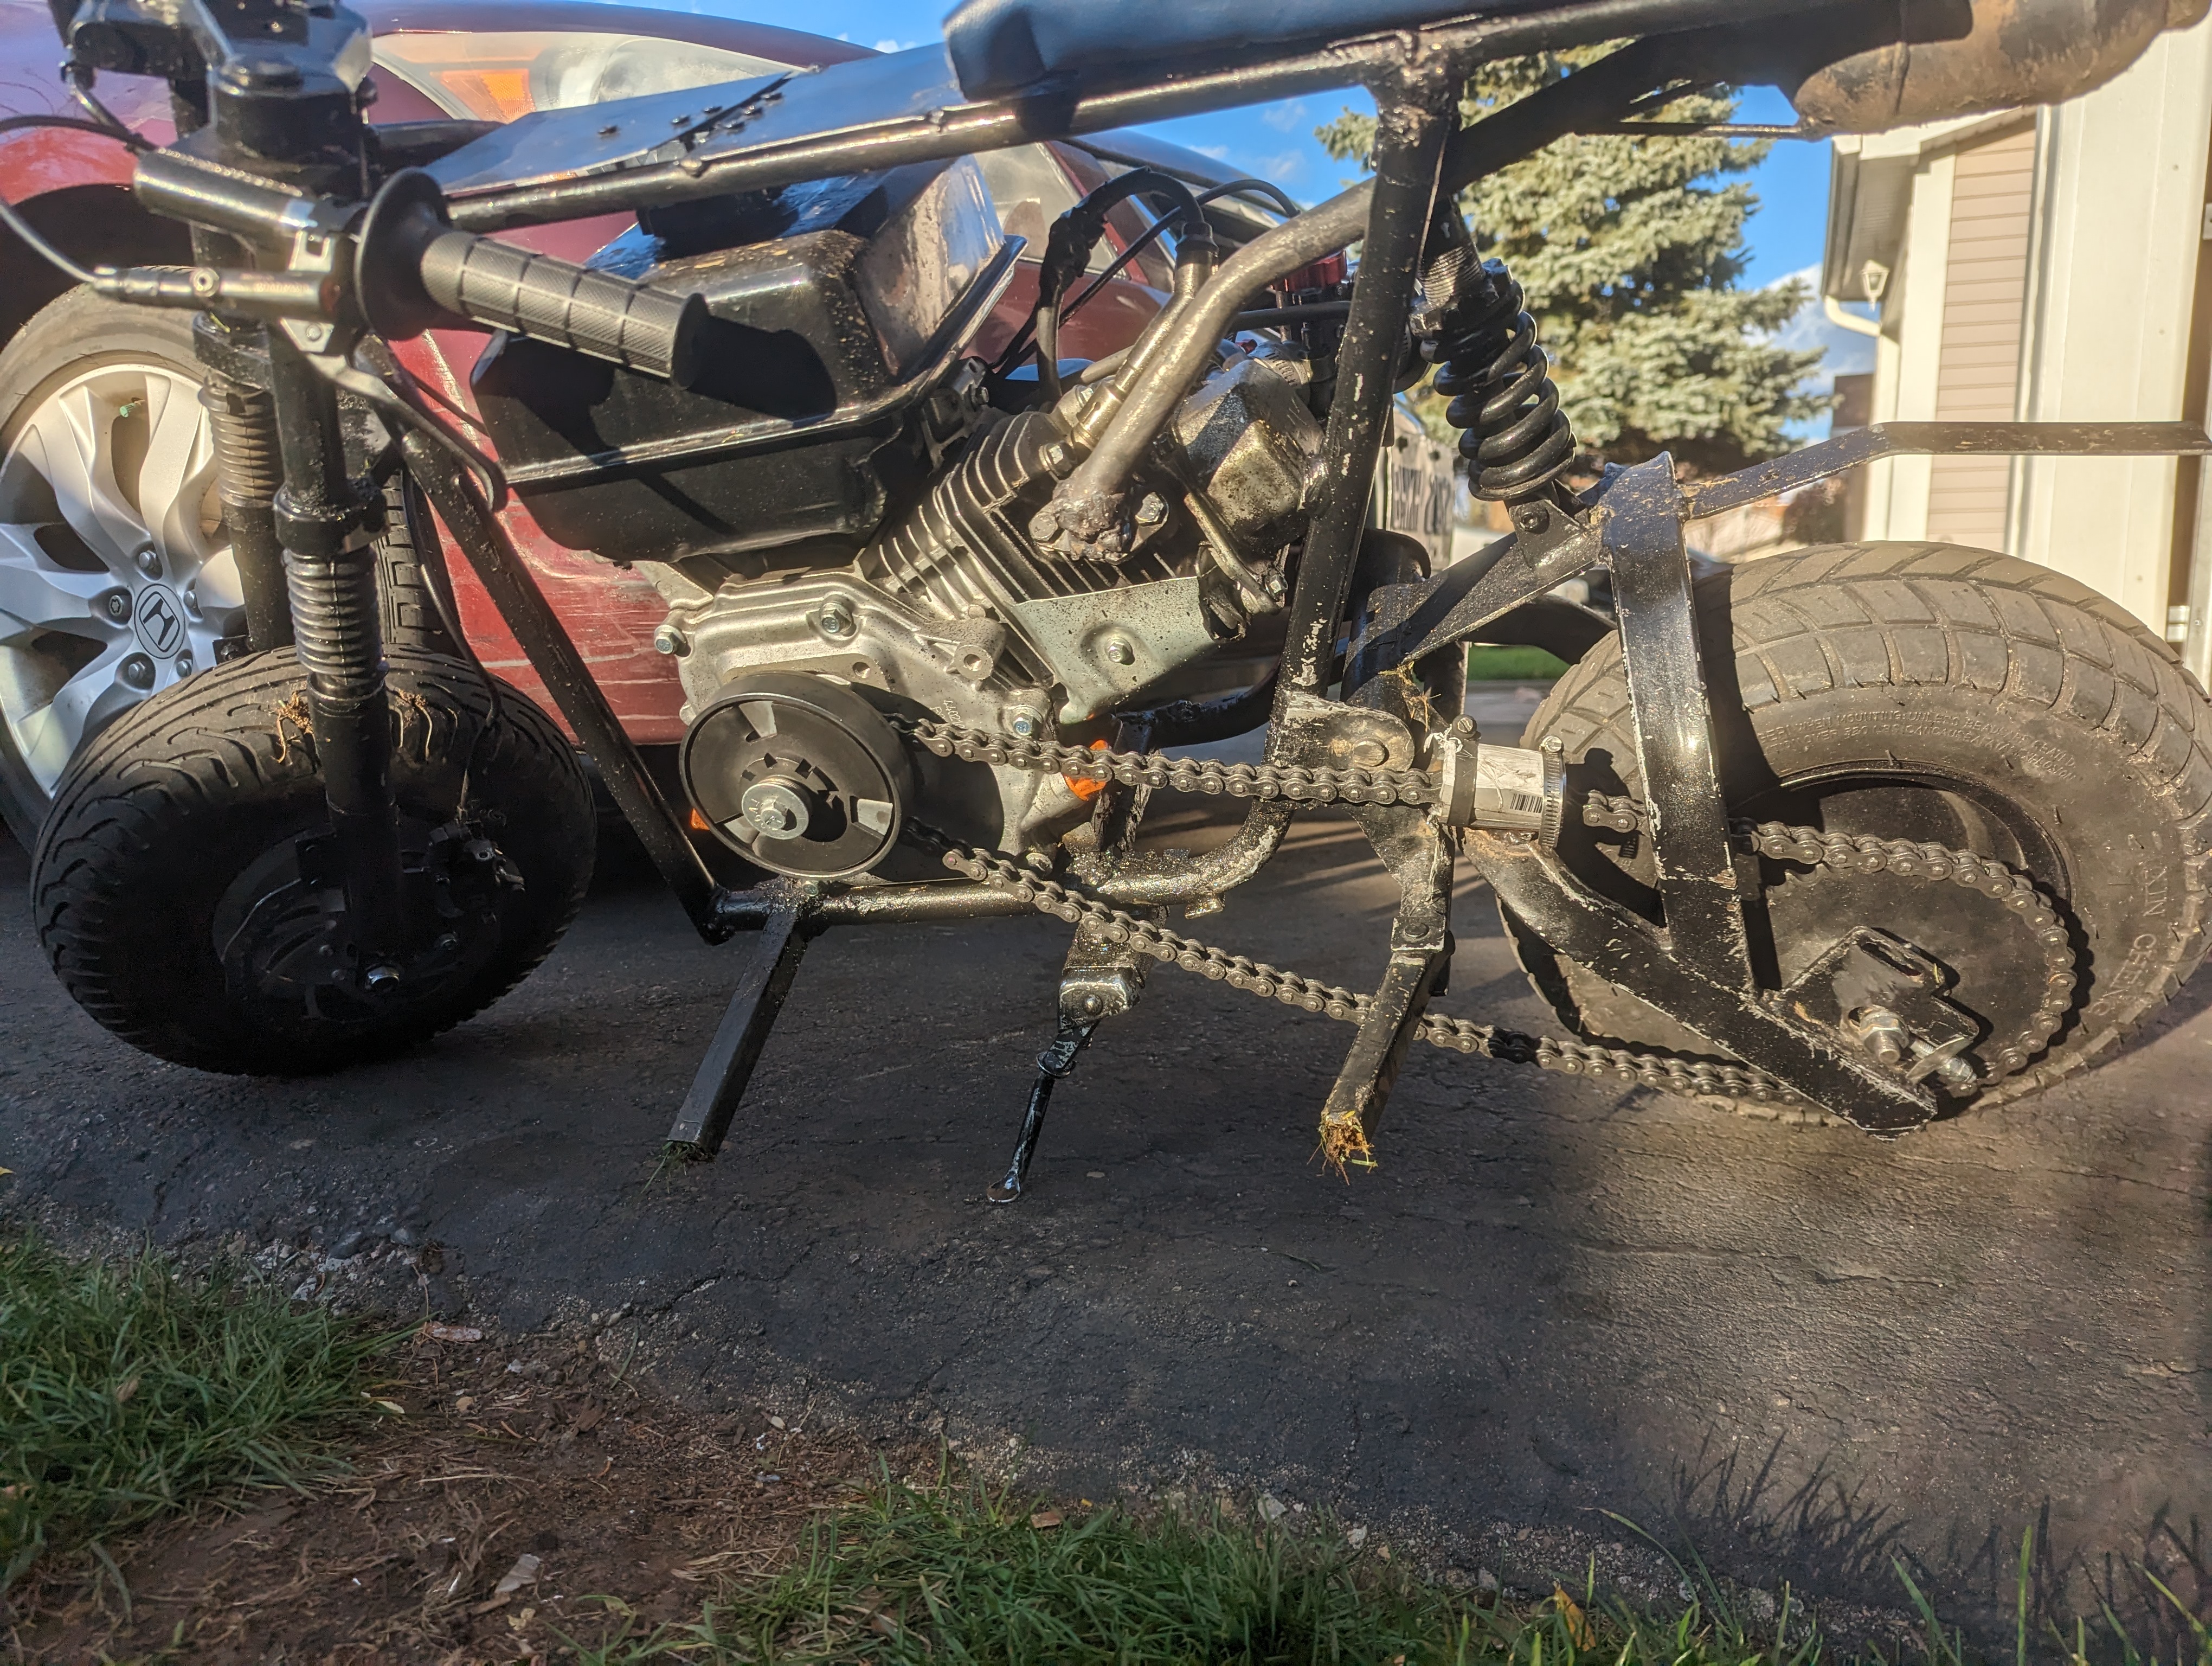
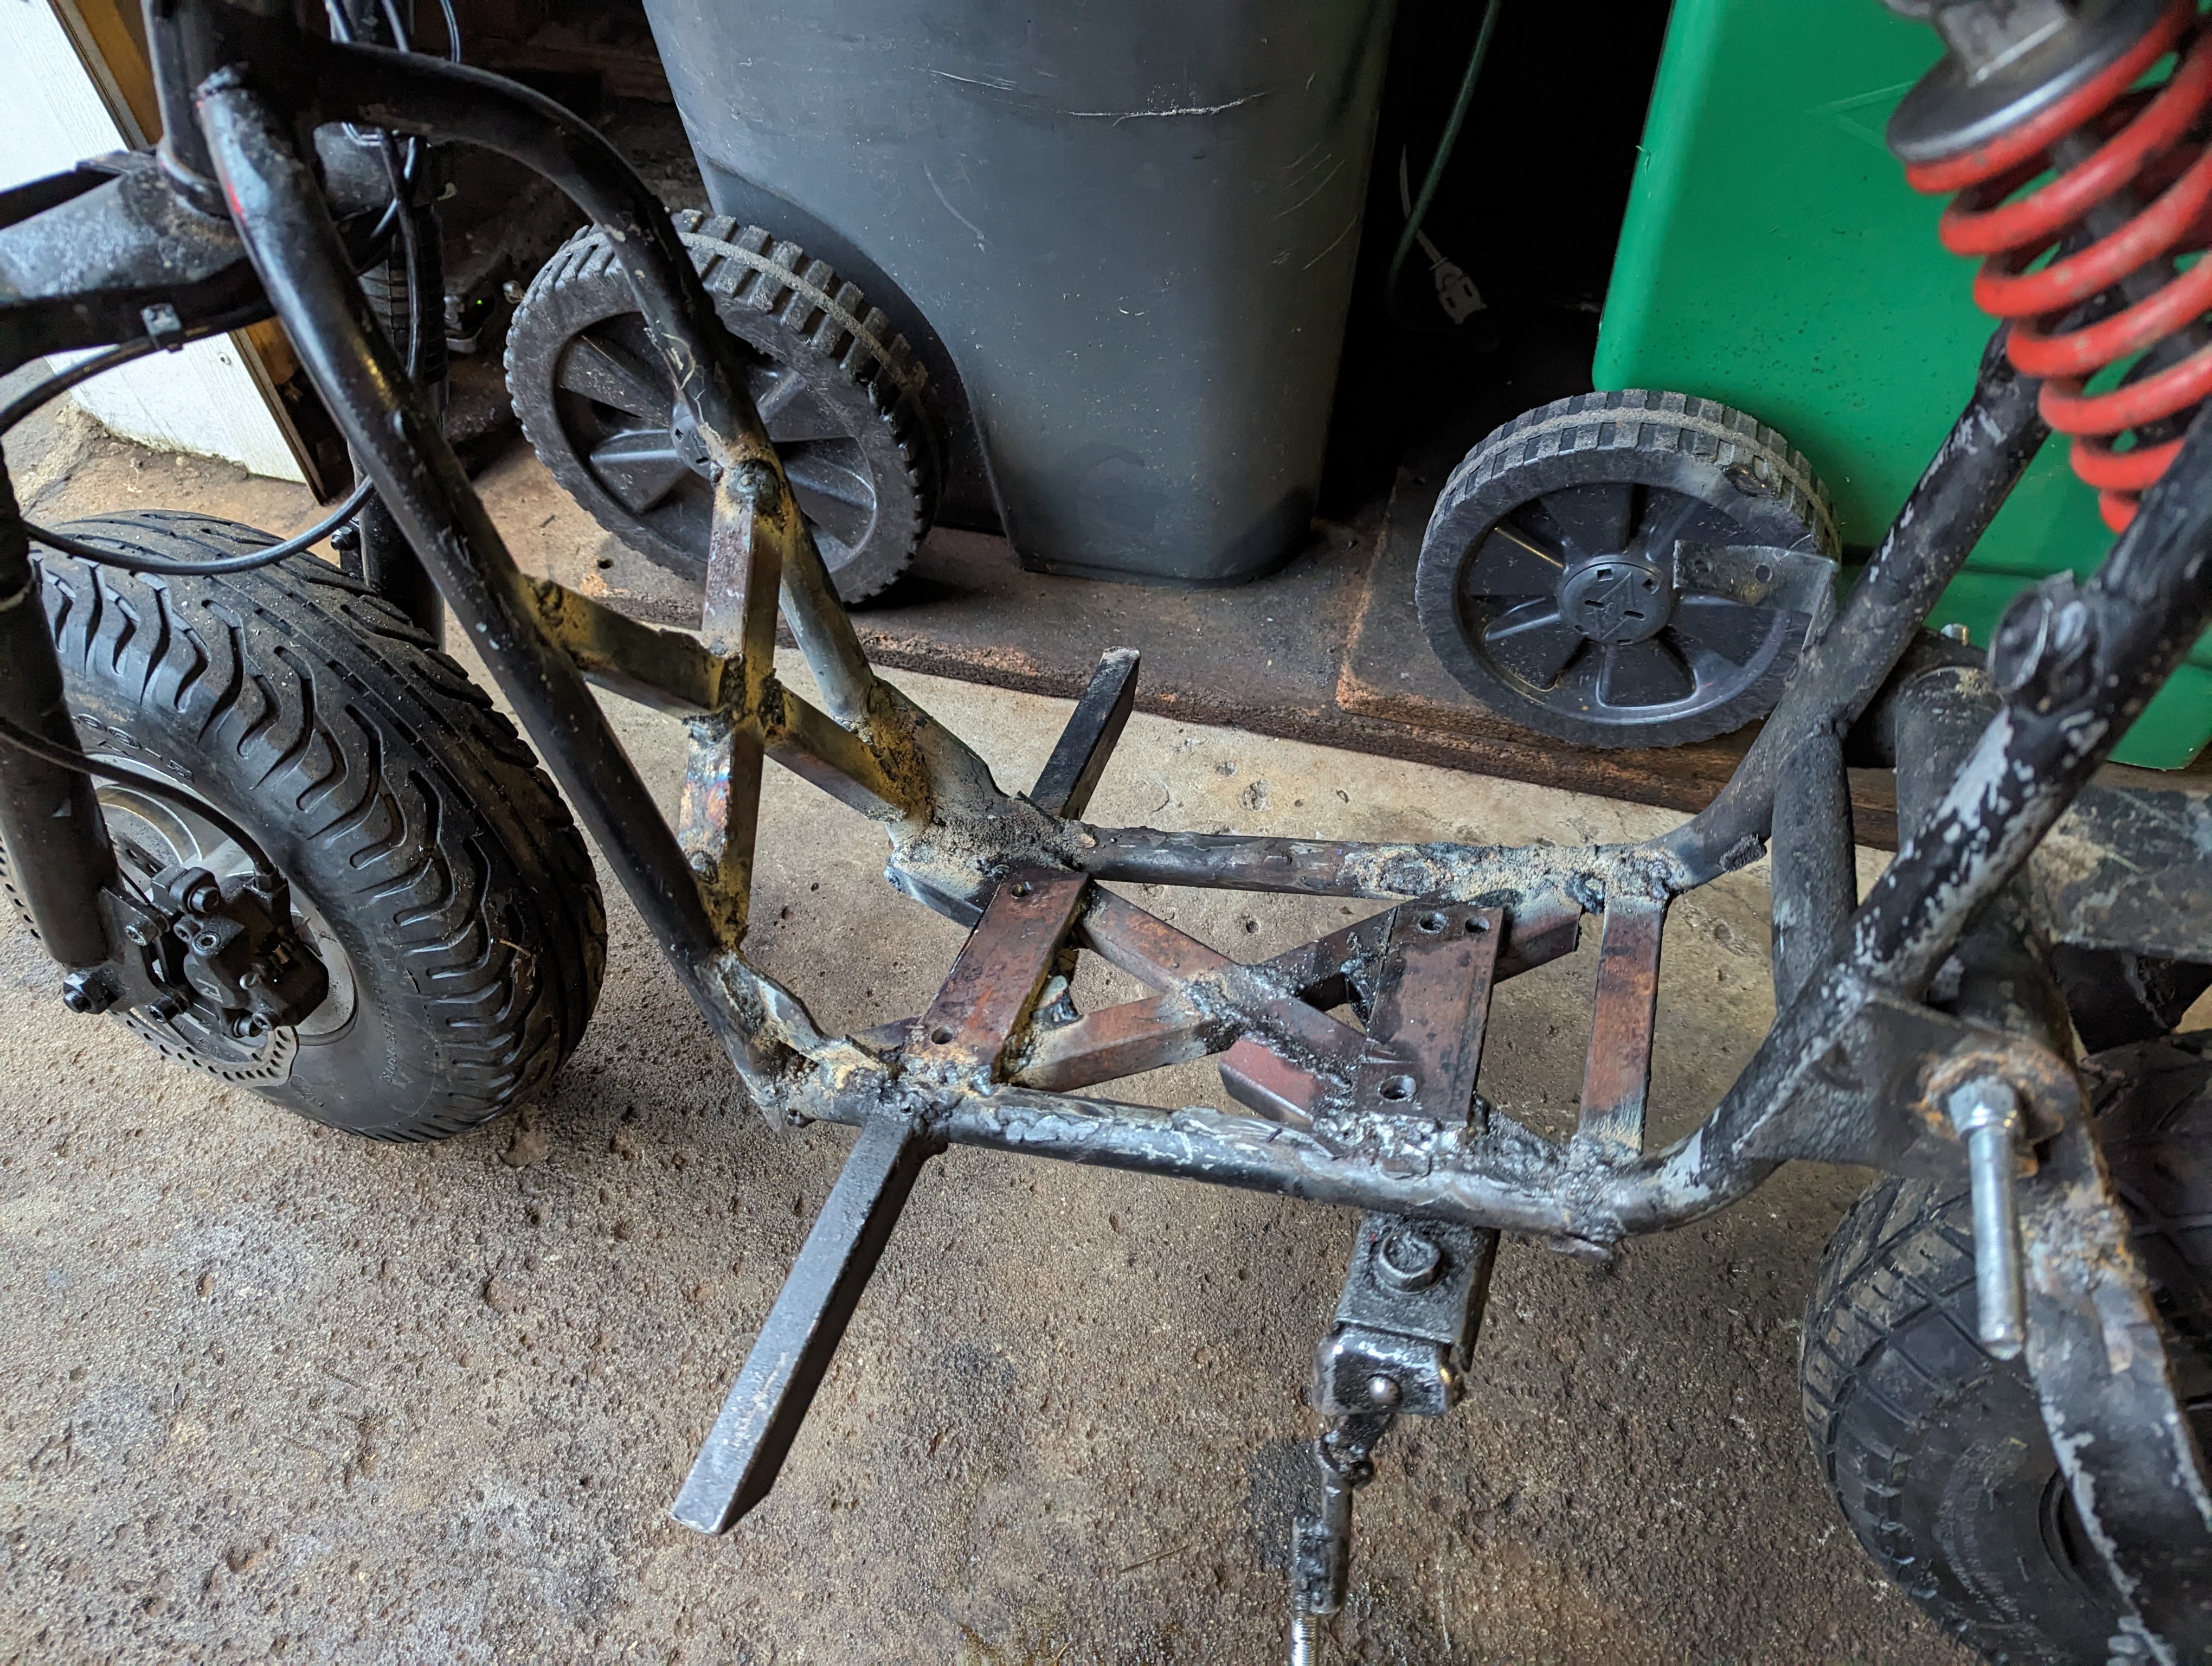
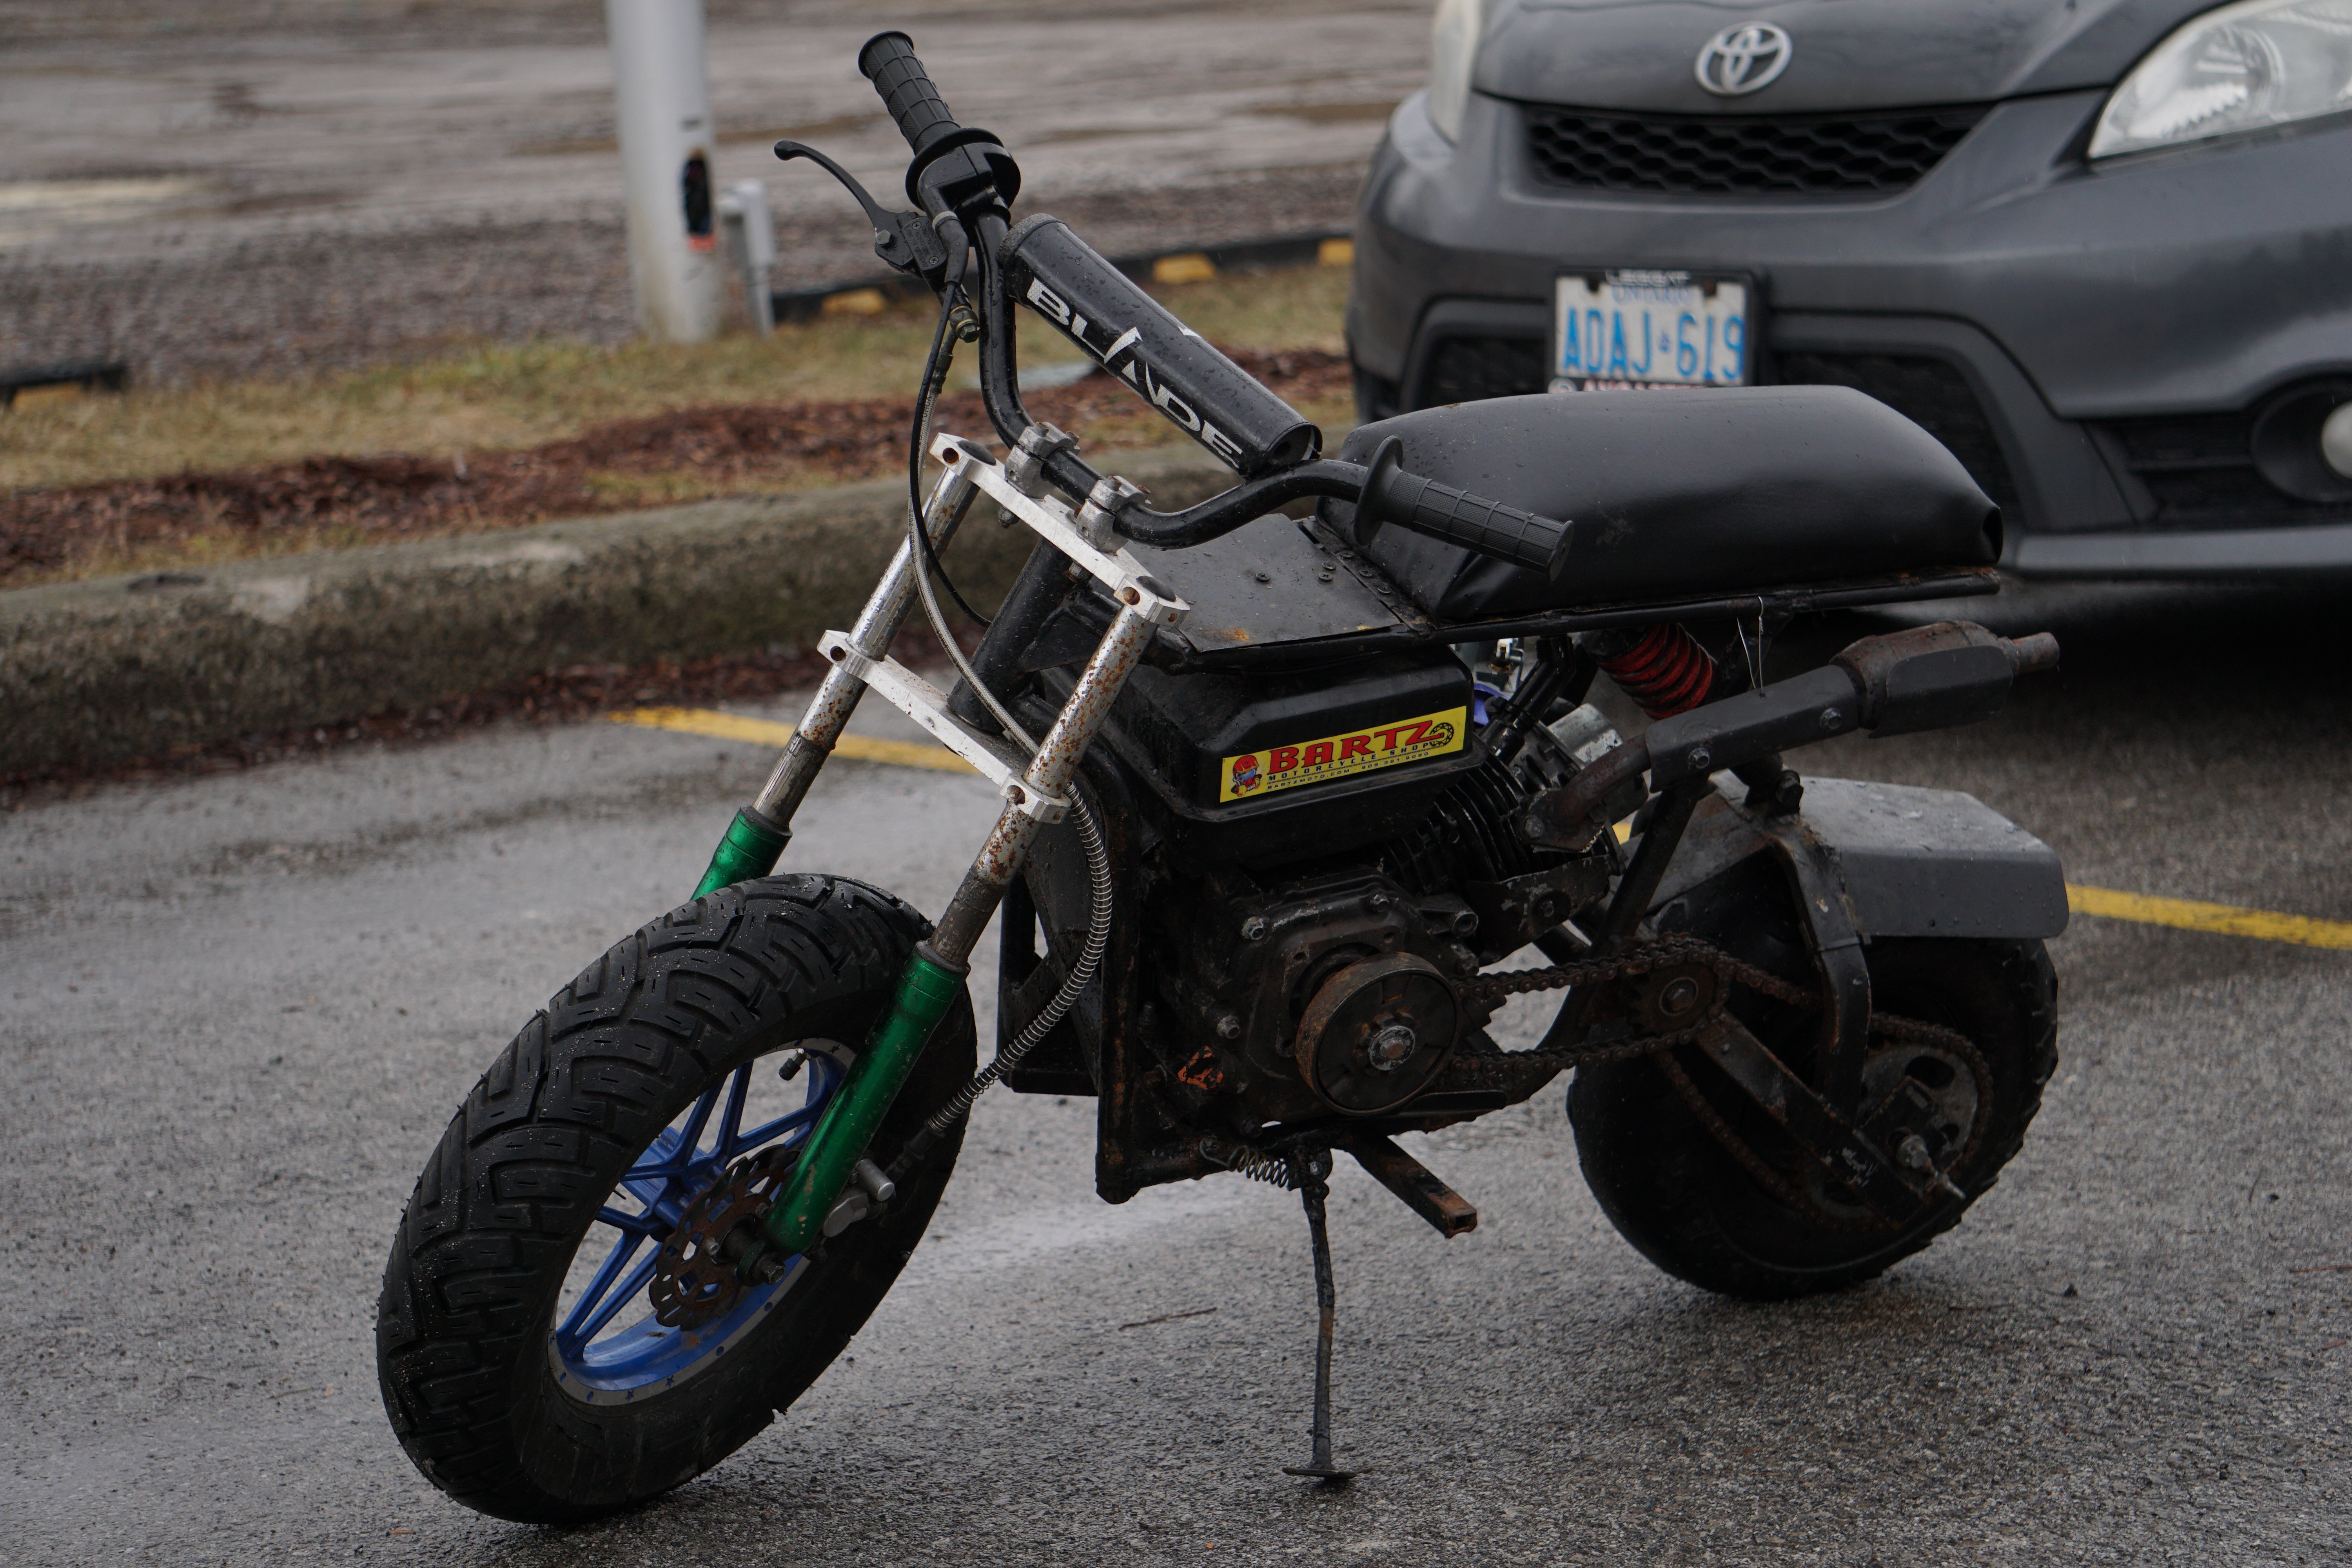
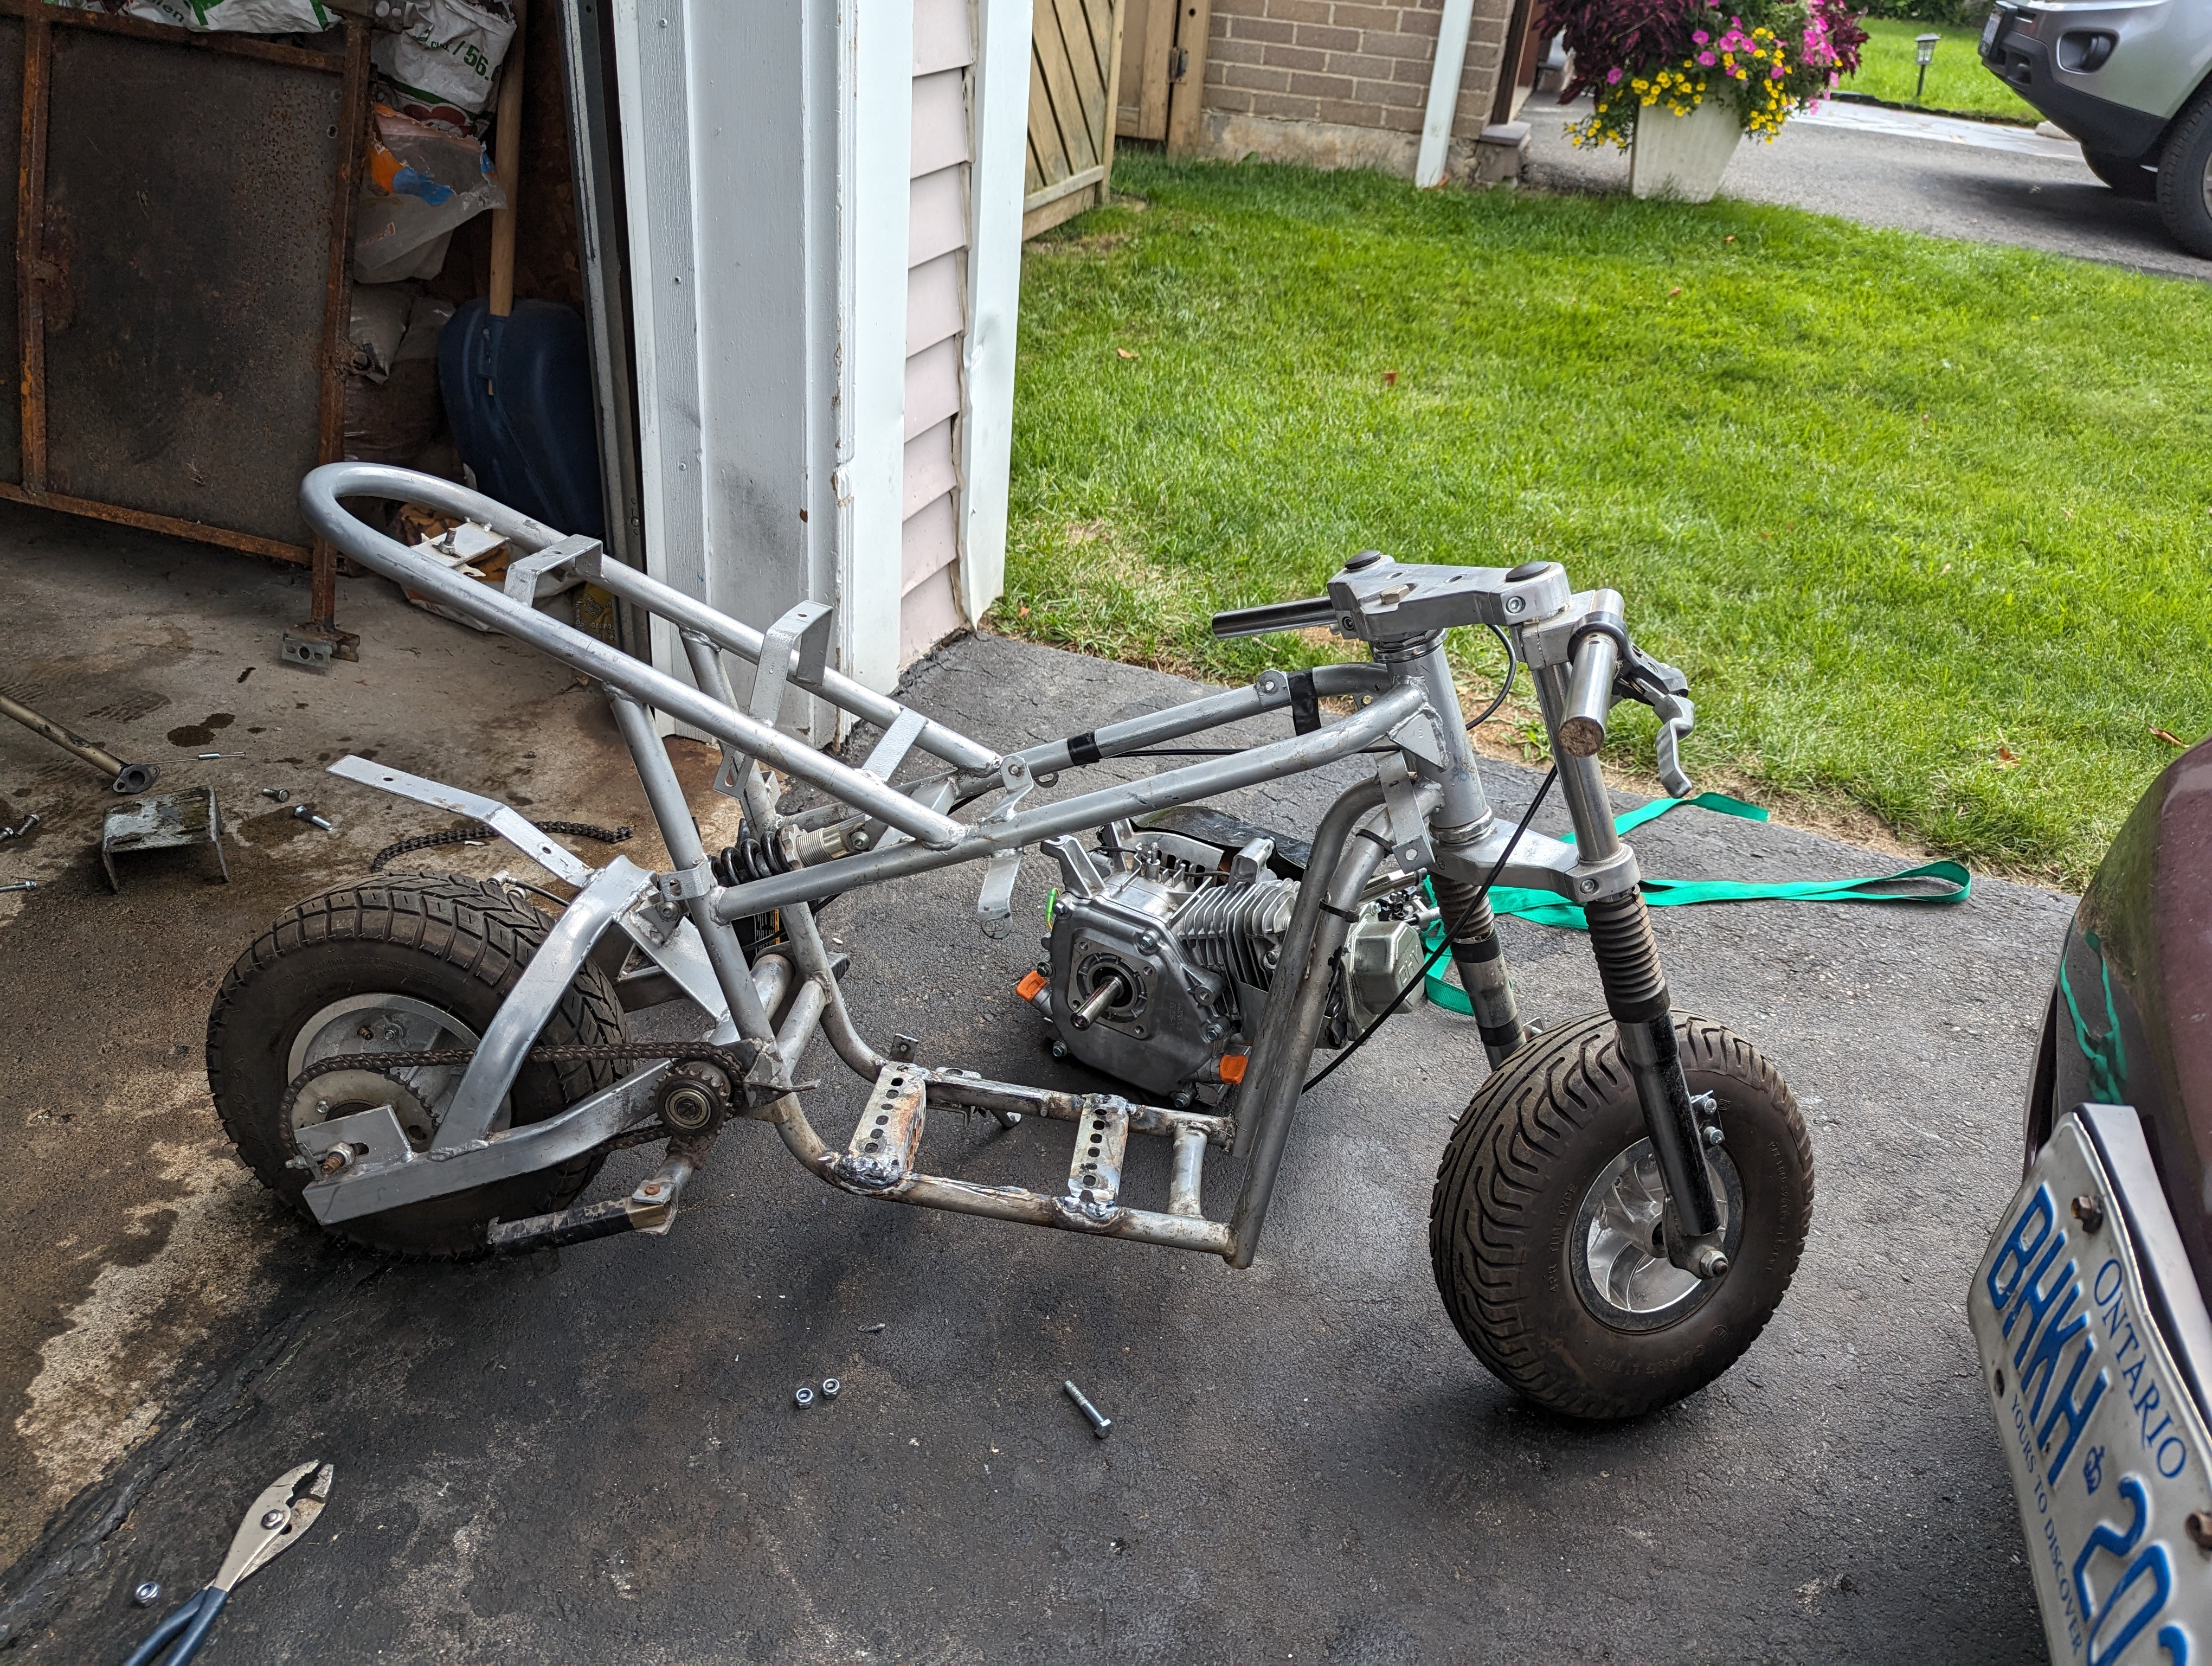
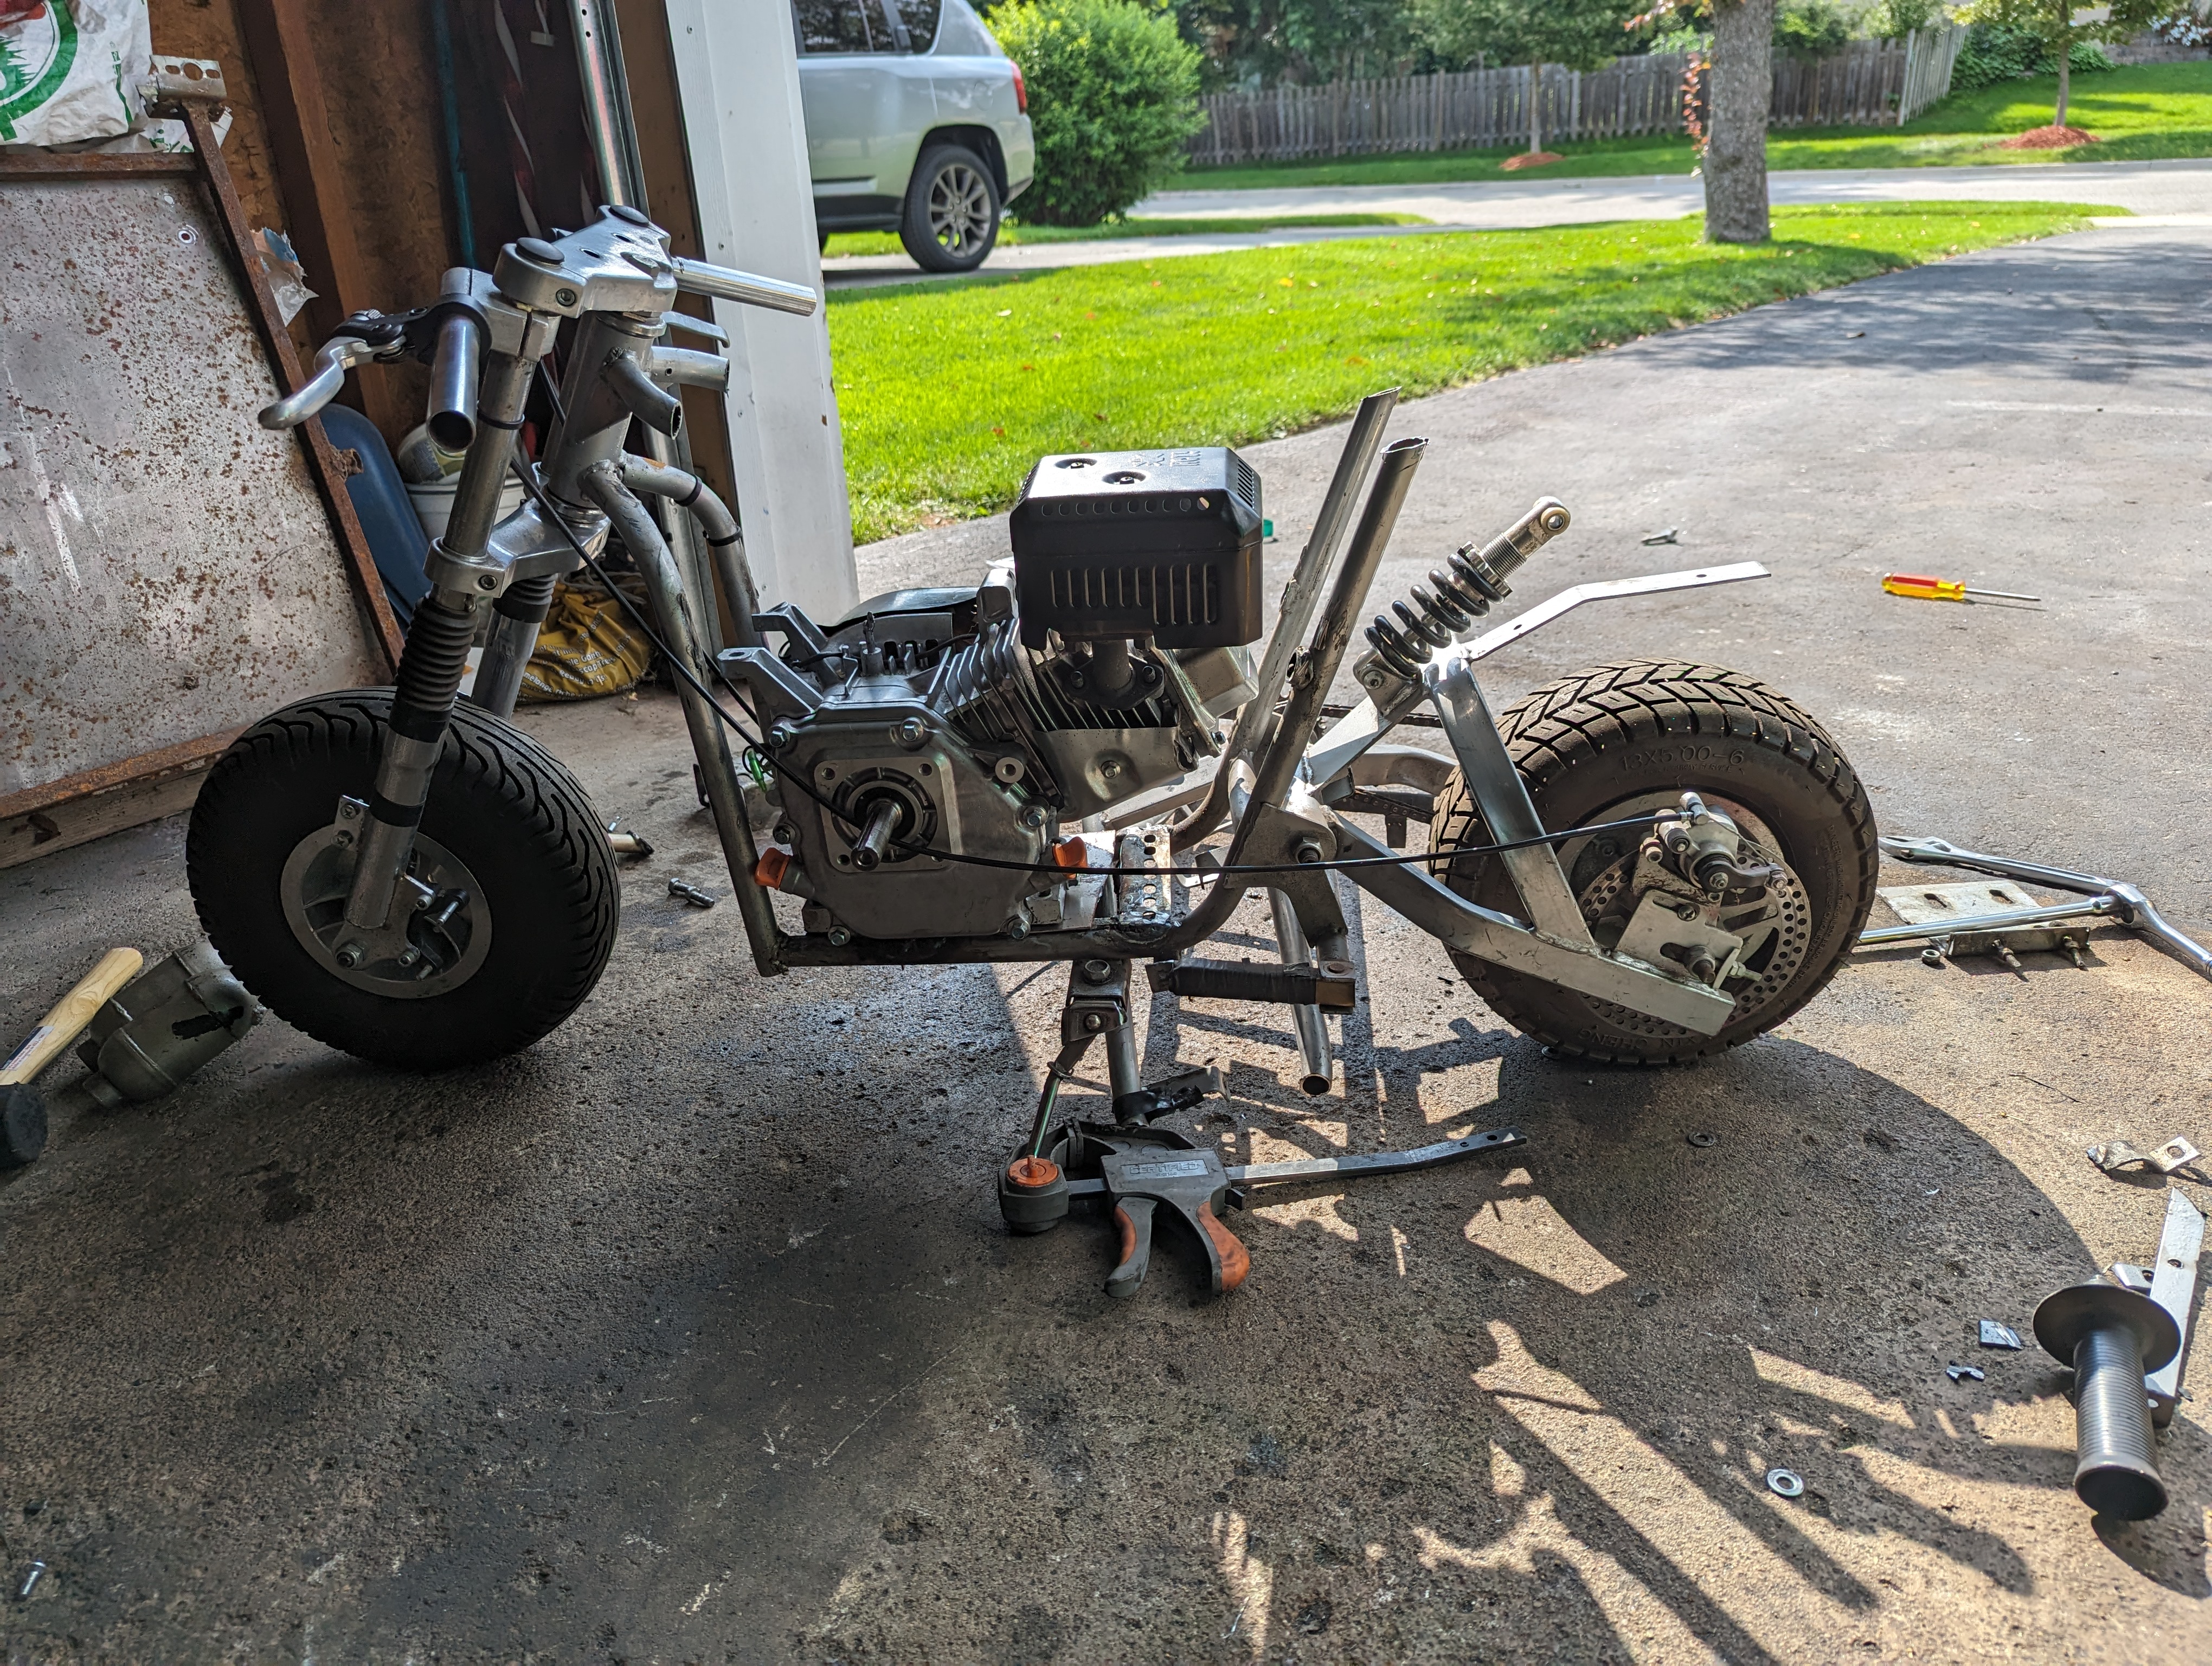
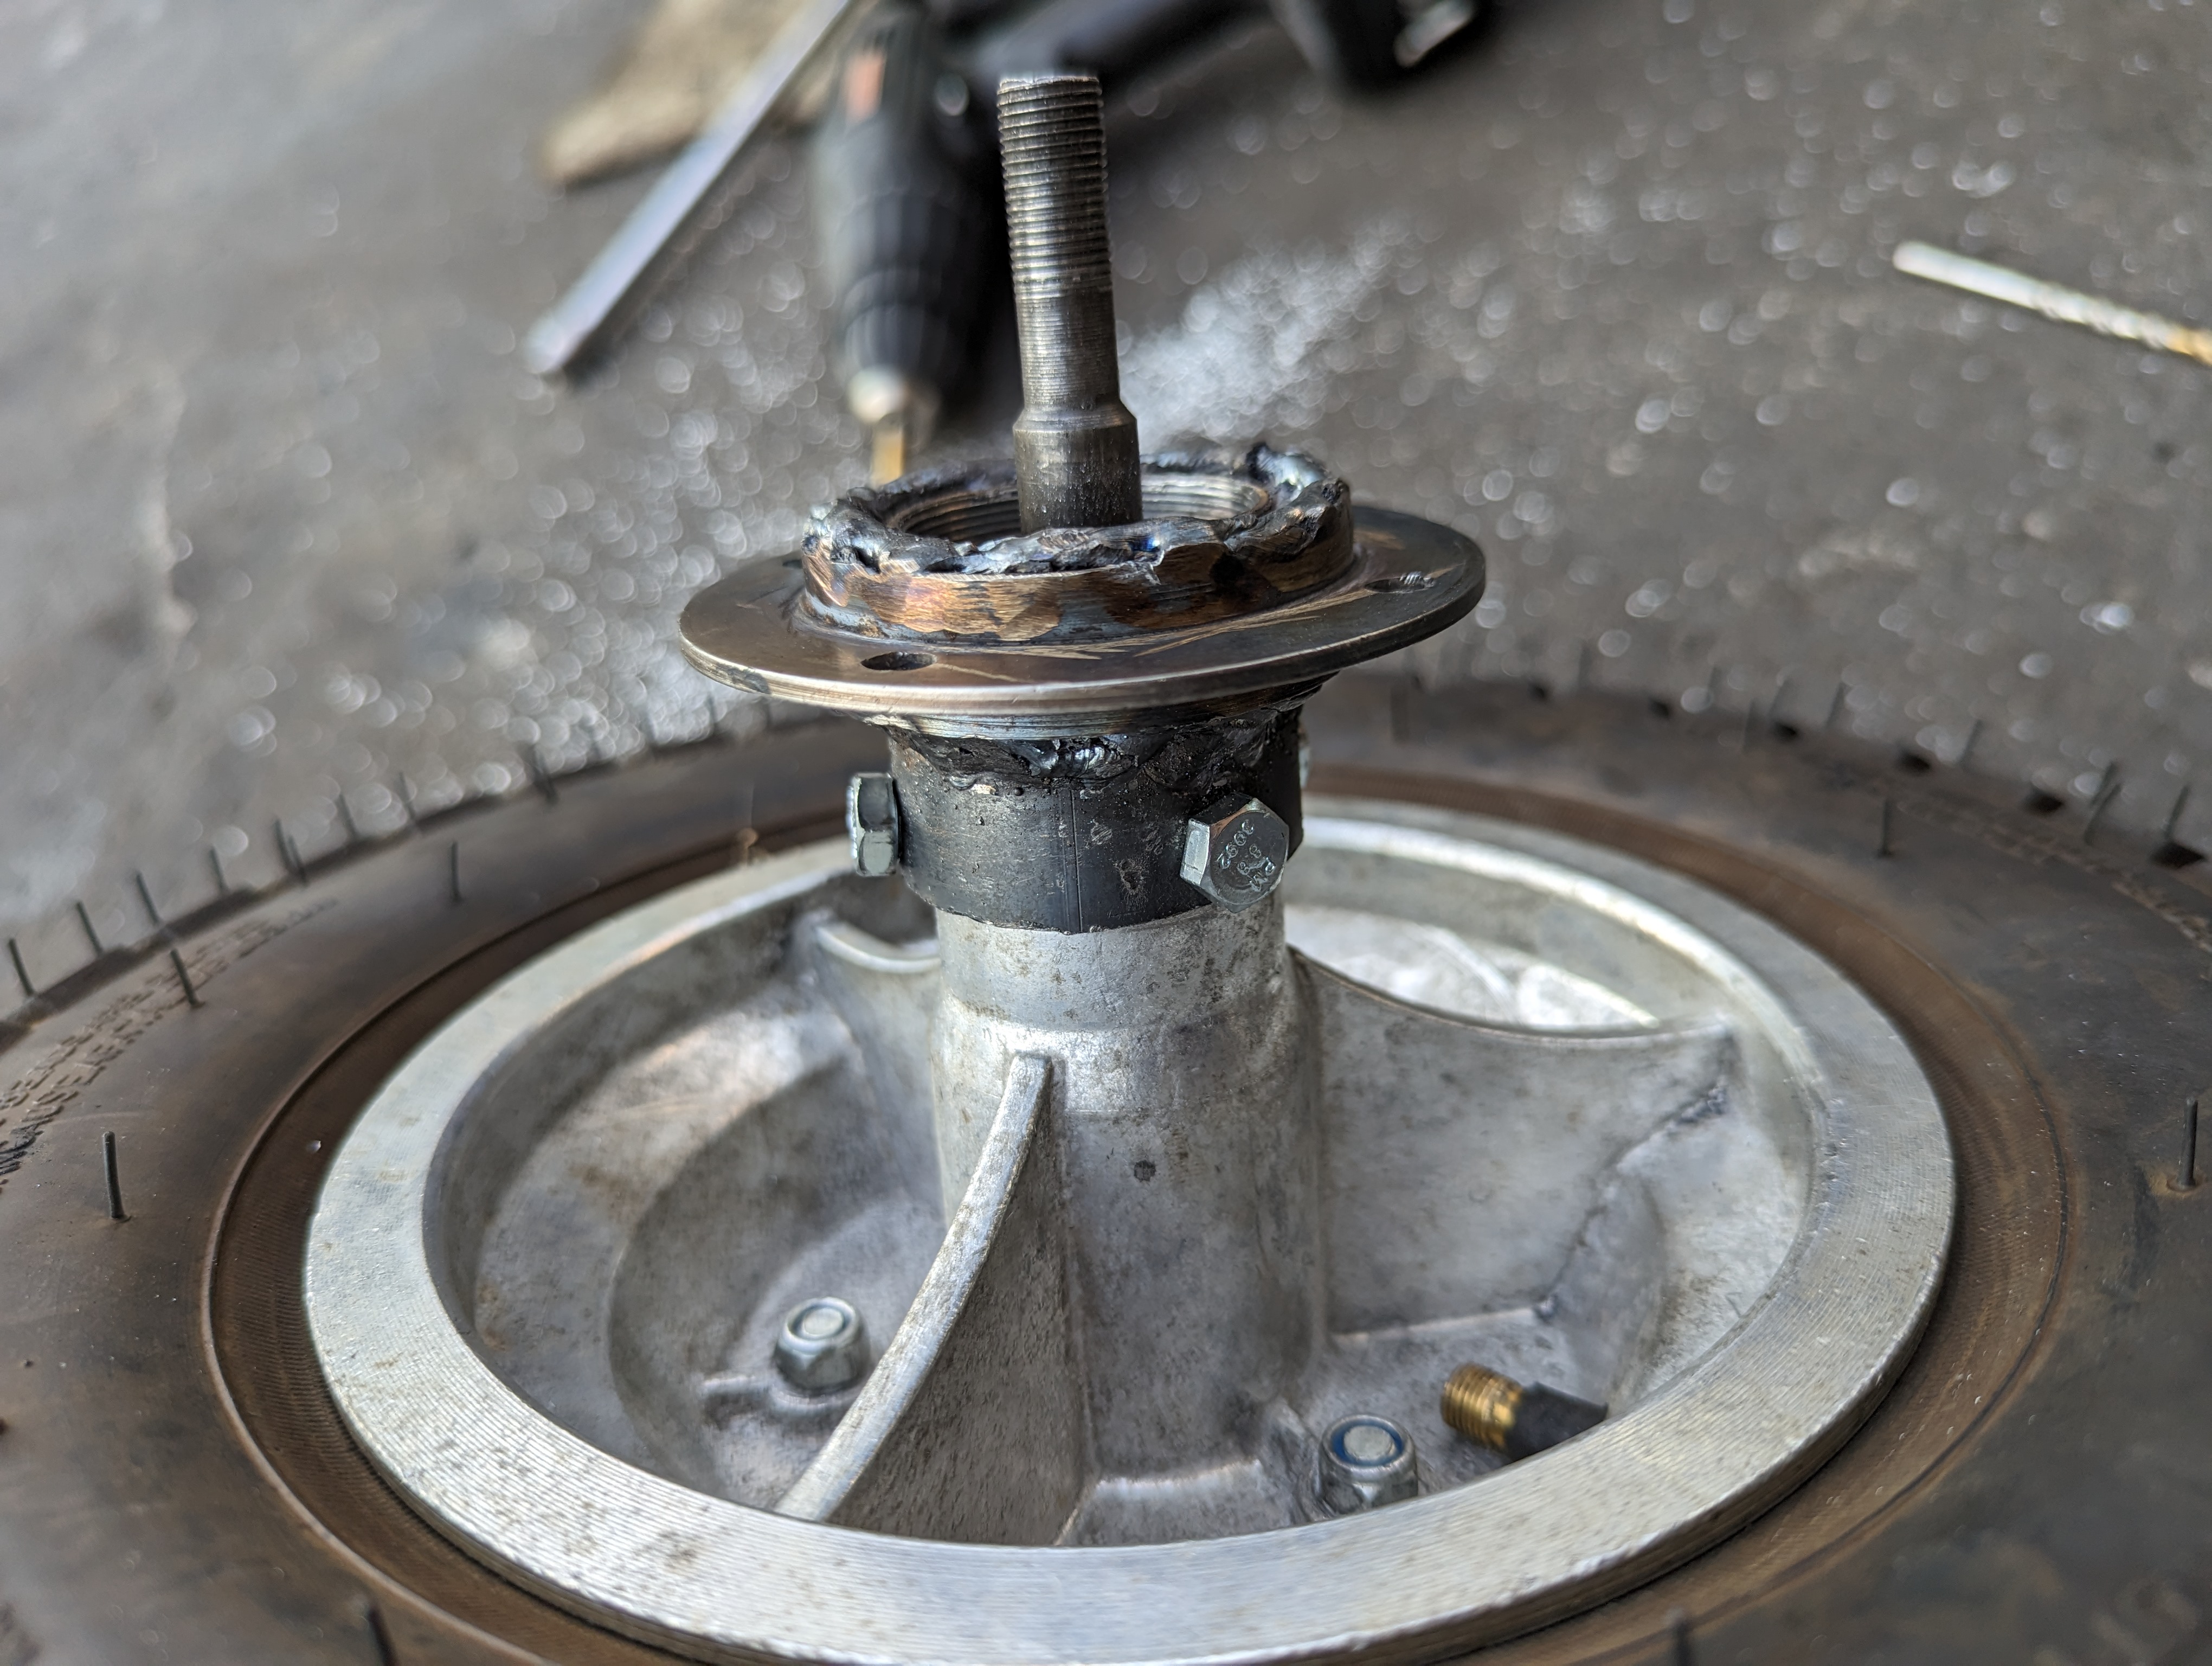
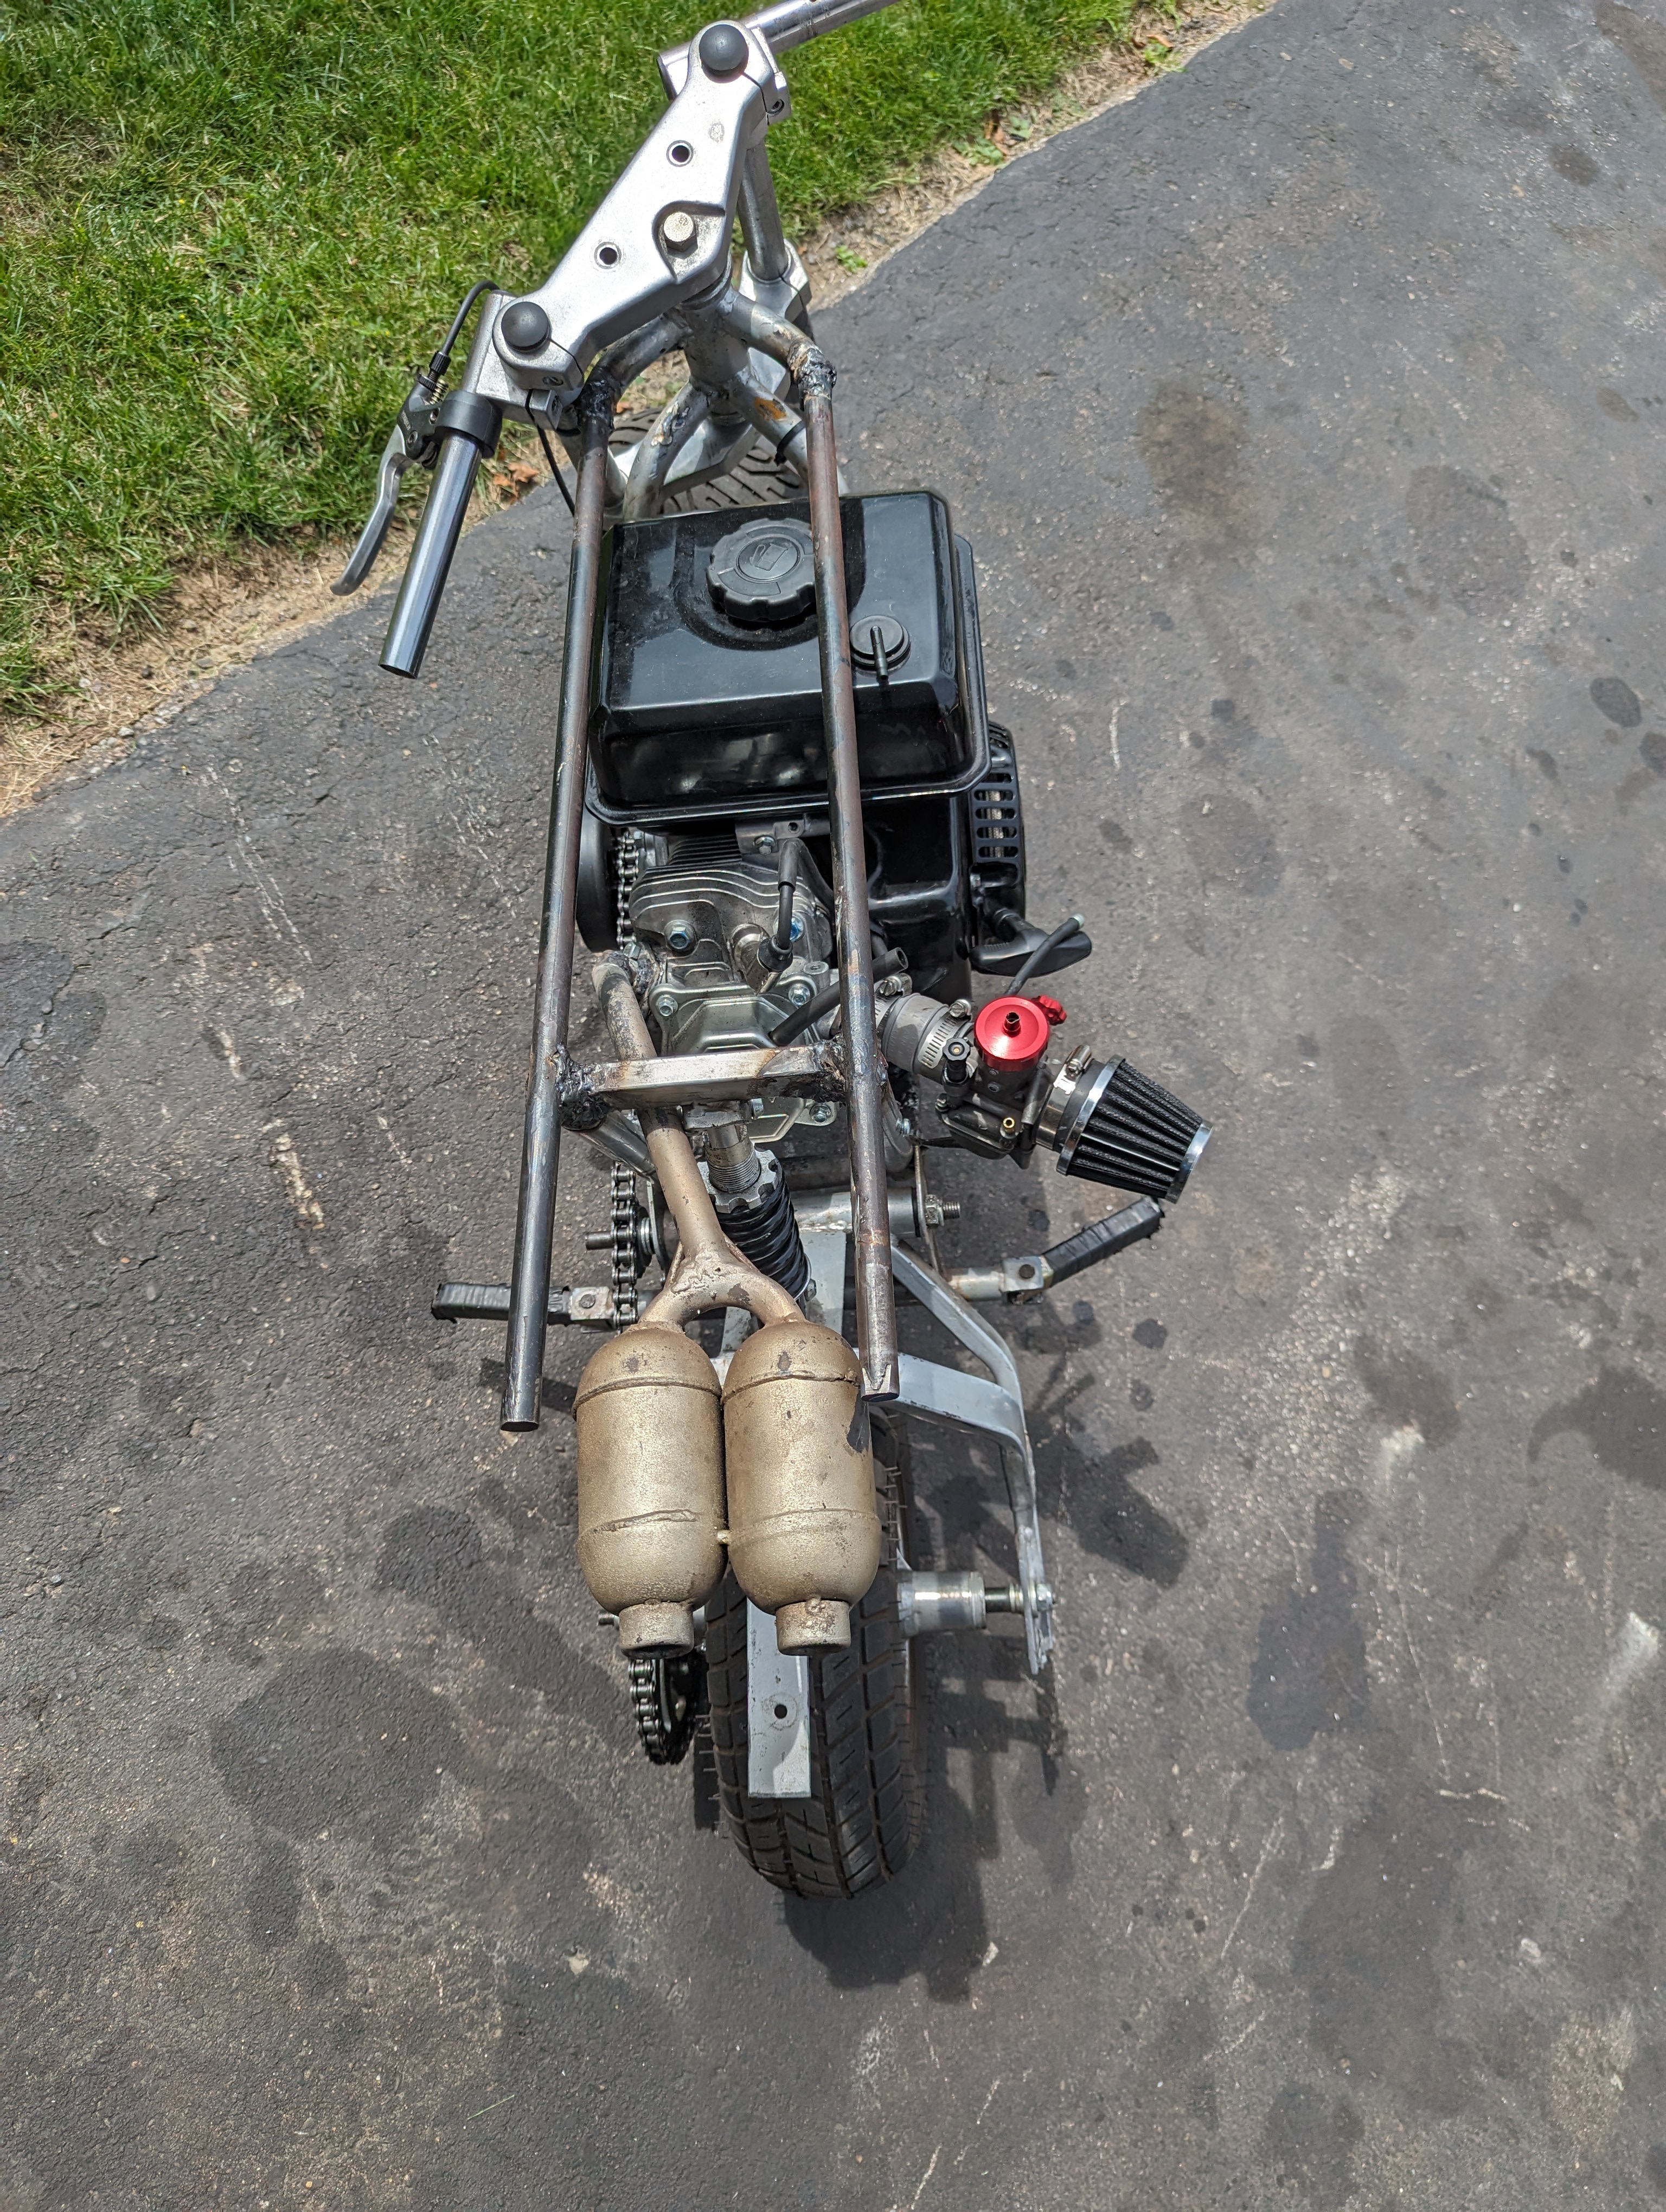
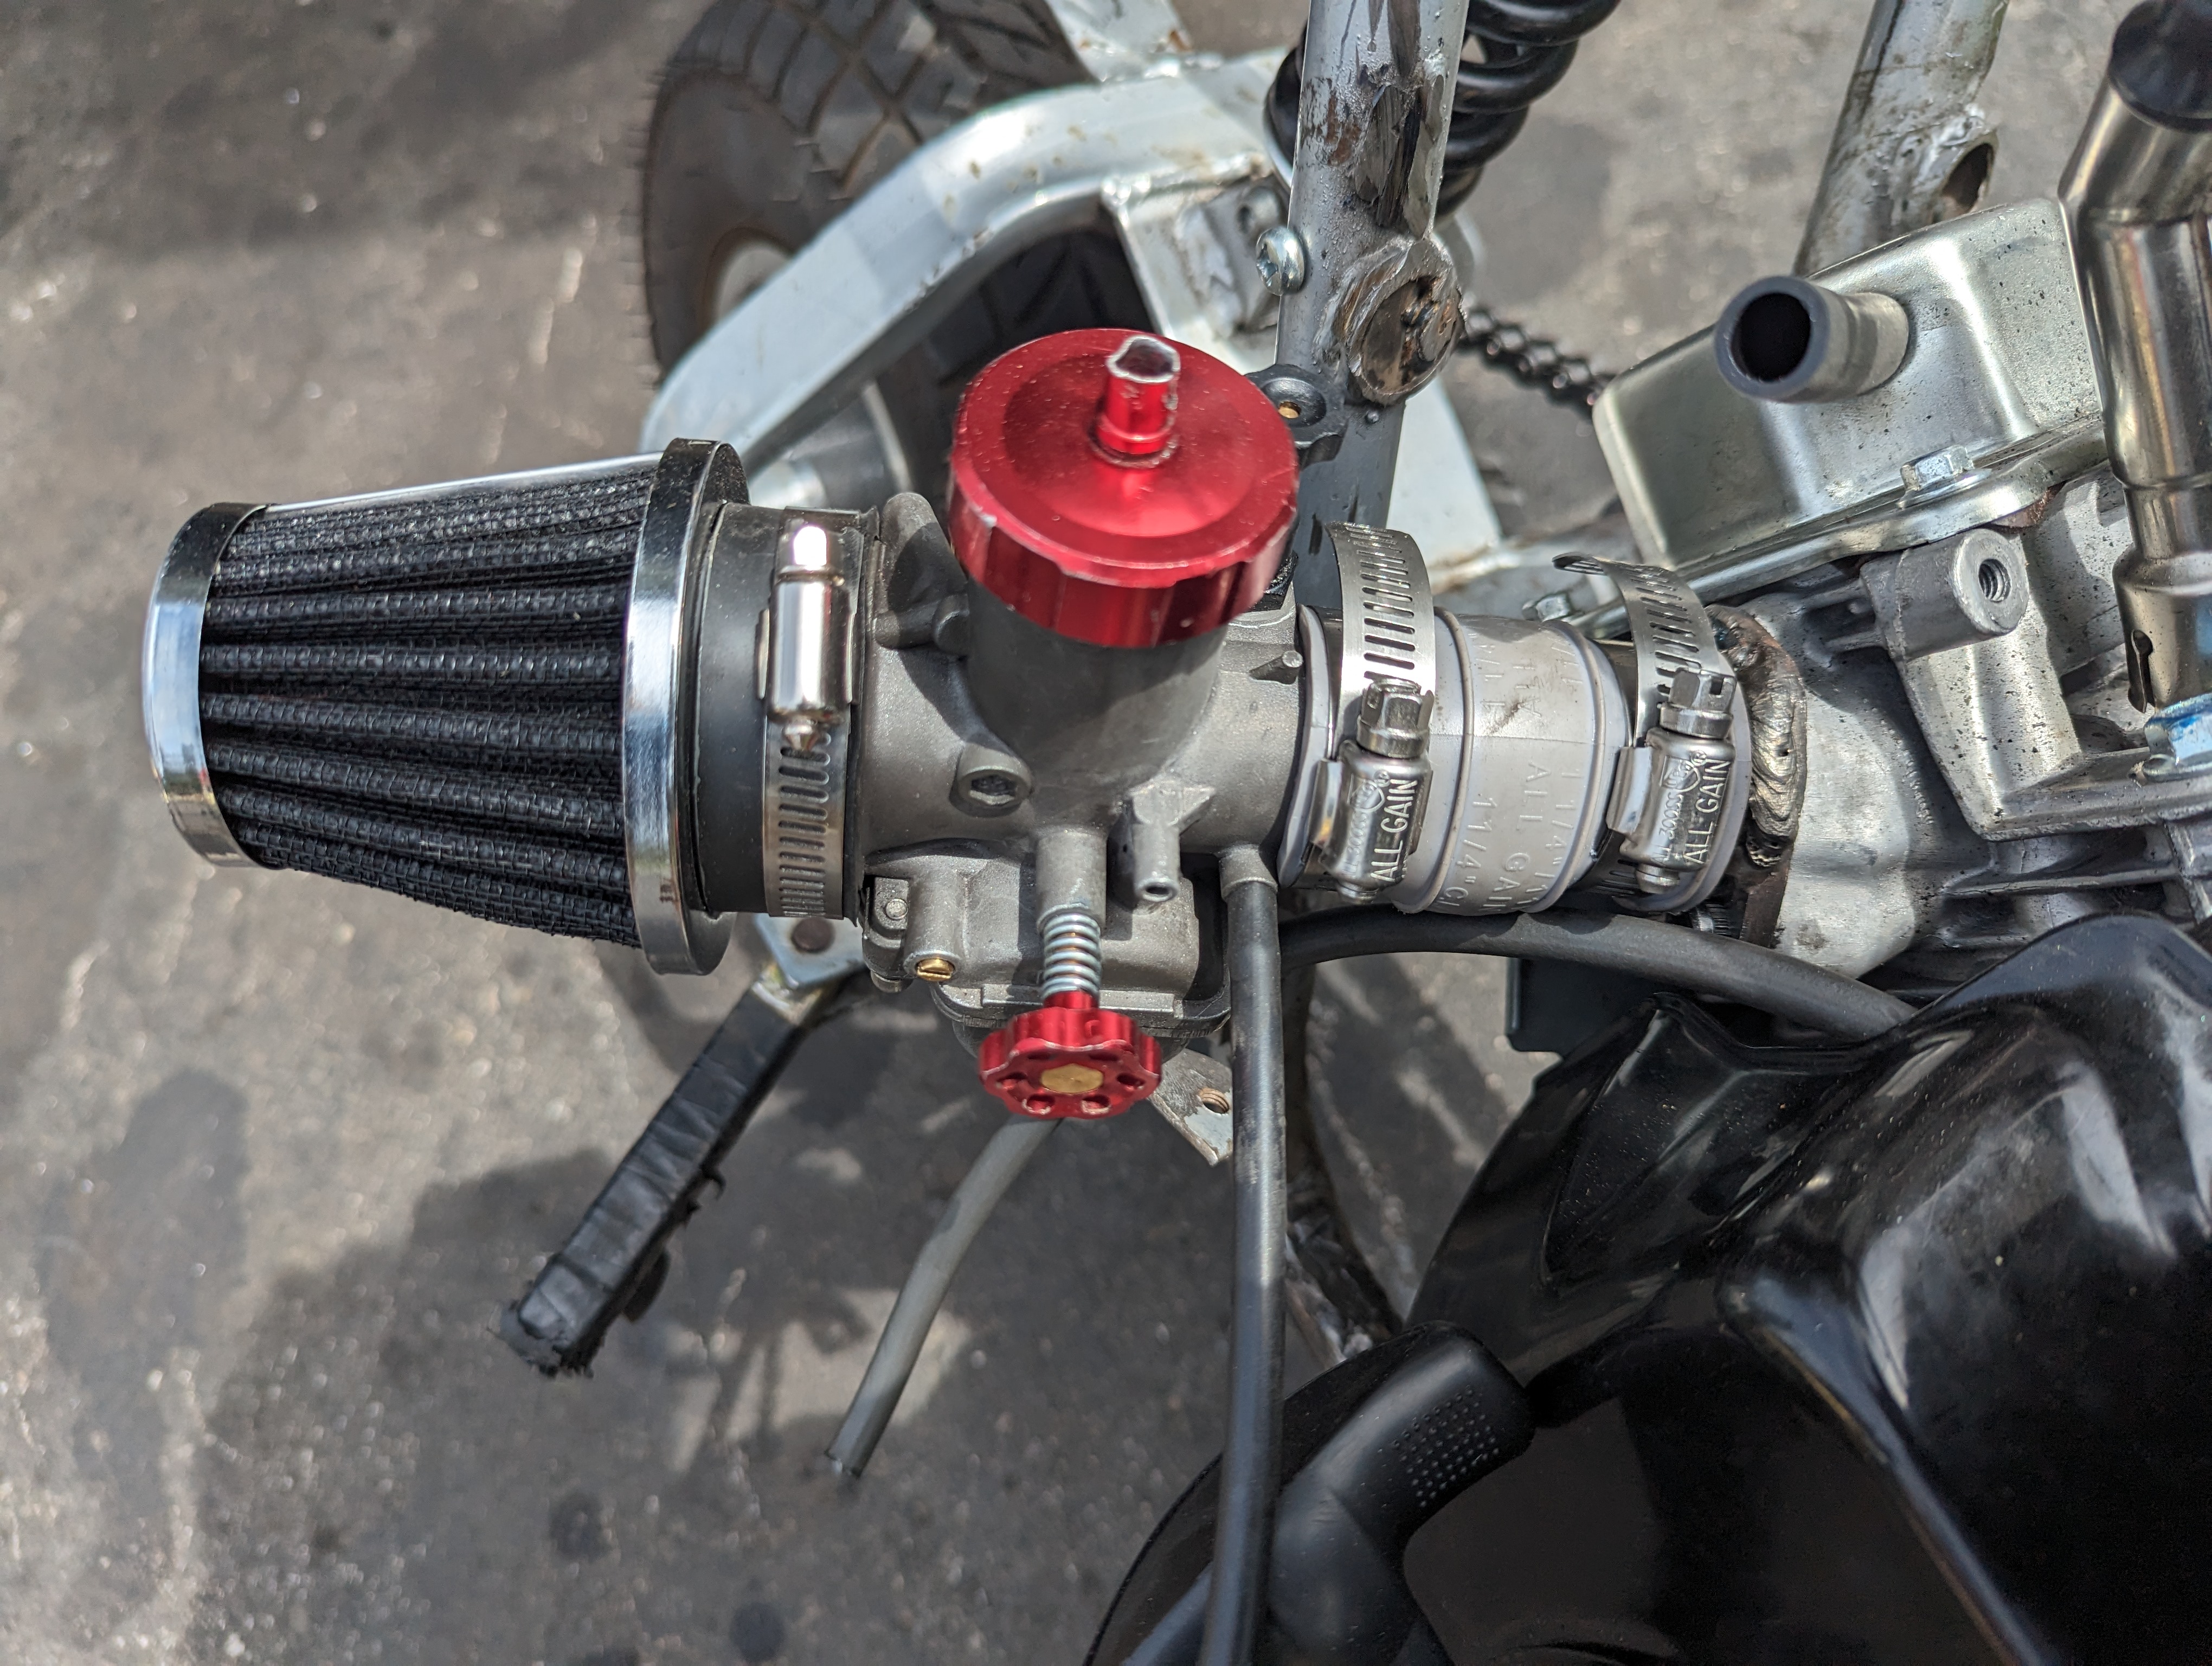
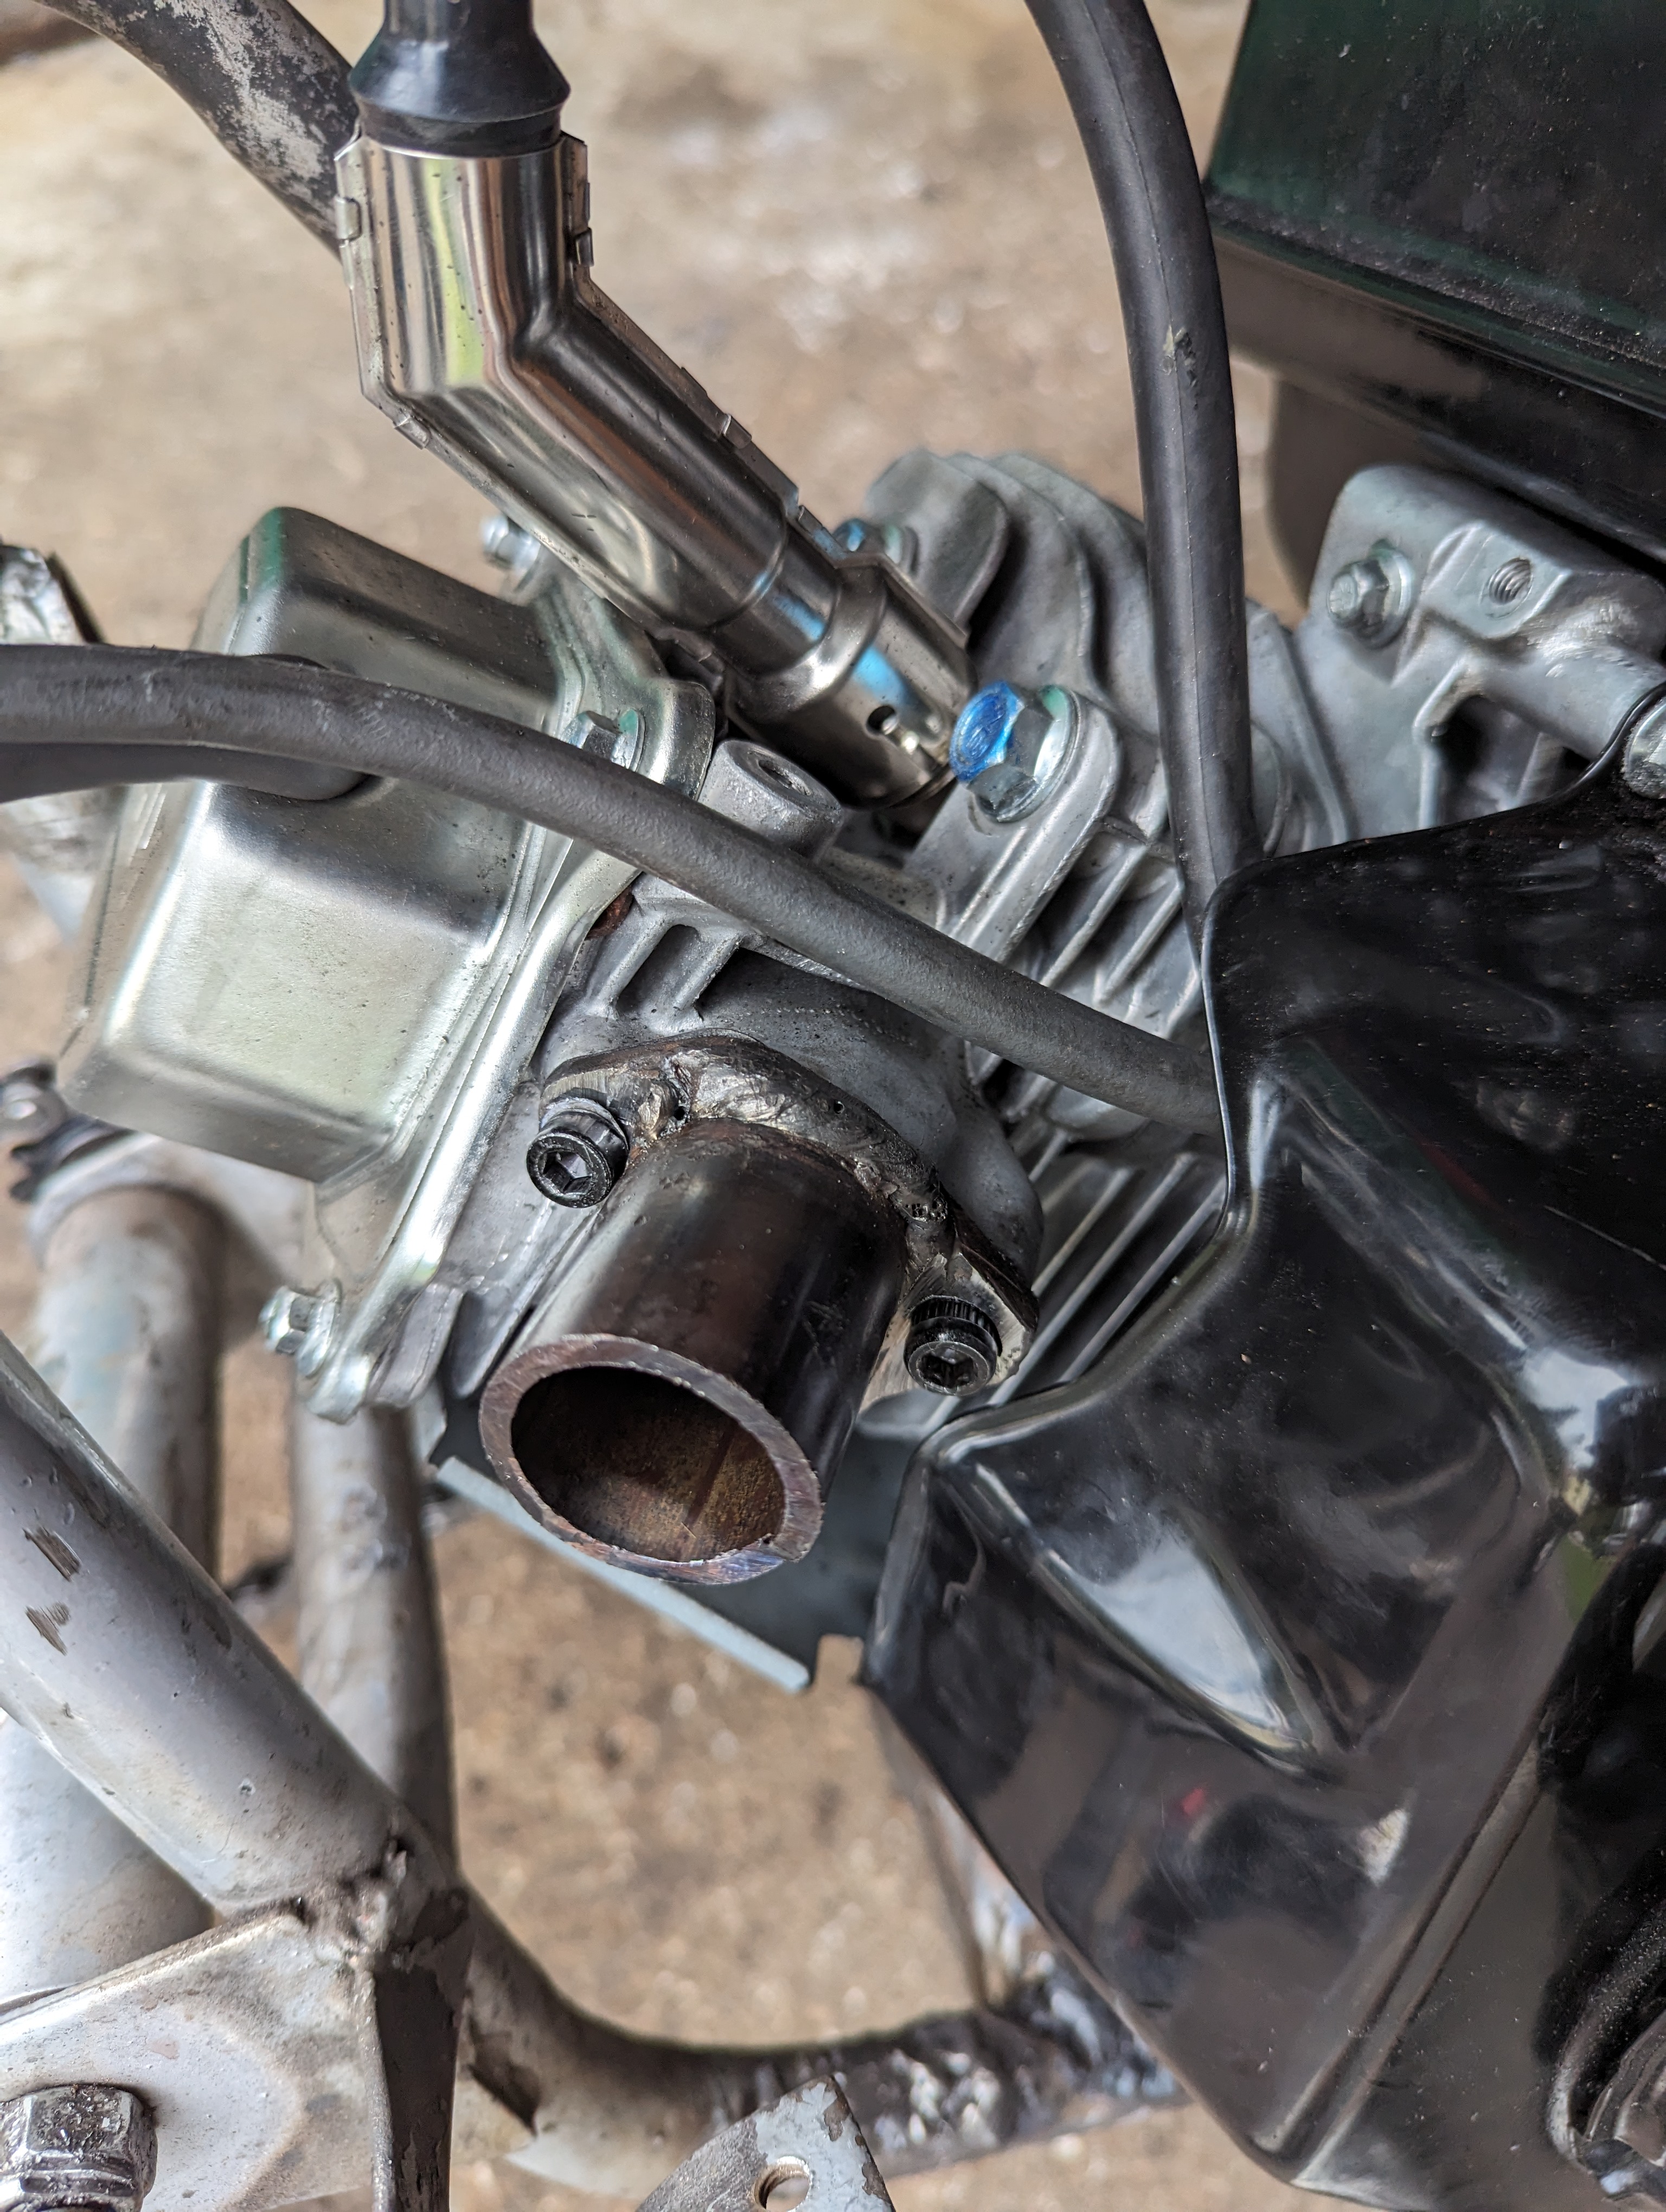
    My minibike began as a pocket bike frame, a 225 cc utility engine, and a vision. I modified the pocket bike frame to fit the larger engine by cutting the top frame rails and welding straight bars across the top. To mount the rear sprocket, I had to modify the aluminum wheel hub and sprocket mount. Since the hub is aluminum, I couldn't weld to it, so I made a notch-and-key system: the sprocket mount keys into a slot in the hub and is secured with screws. To power the engine, I used a large 28 mm carburetor attached to an intake manifold I made myself. I made a magnetic gas cap, modified the exhaust to fit the frame, and cut a chain to size. Within 10 days, I had a working minibike that cost $315 to build.
  2. Minibike: Improvements
    Minibike: Improvements
    Minibike: Improvements
    Minibike: Improvements
    Minibike: Improvements
    Minibike: Improvements
    Minibike: Improvements

    Improvements

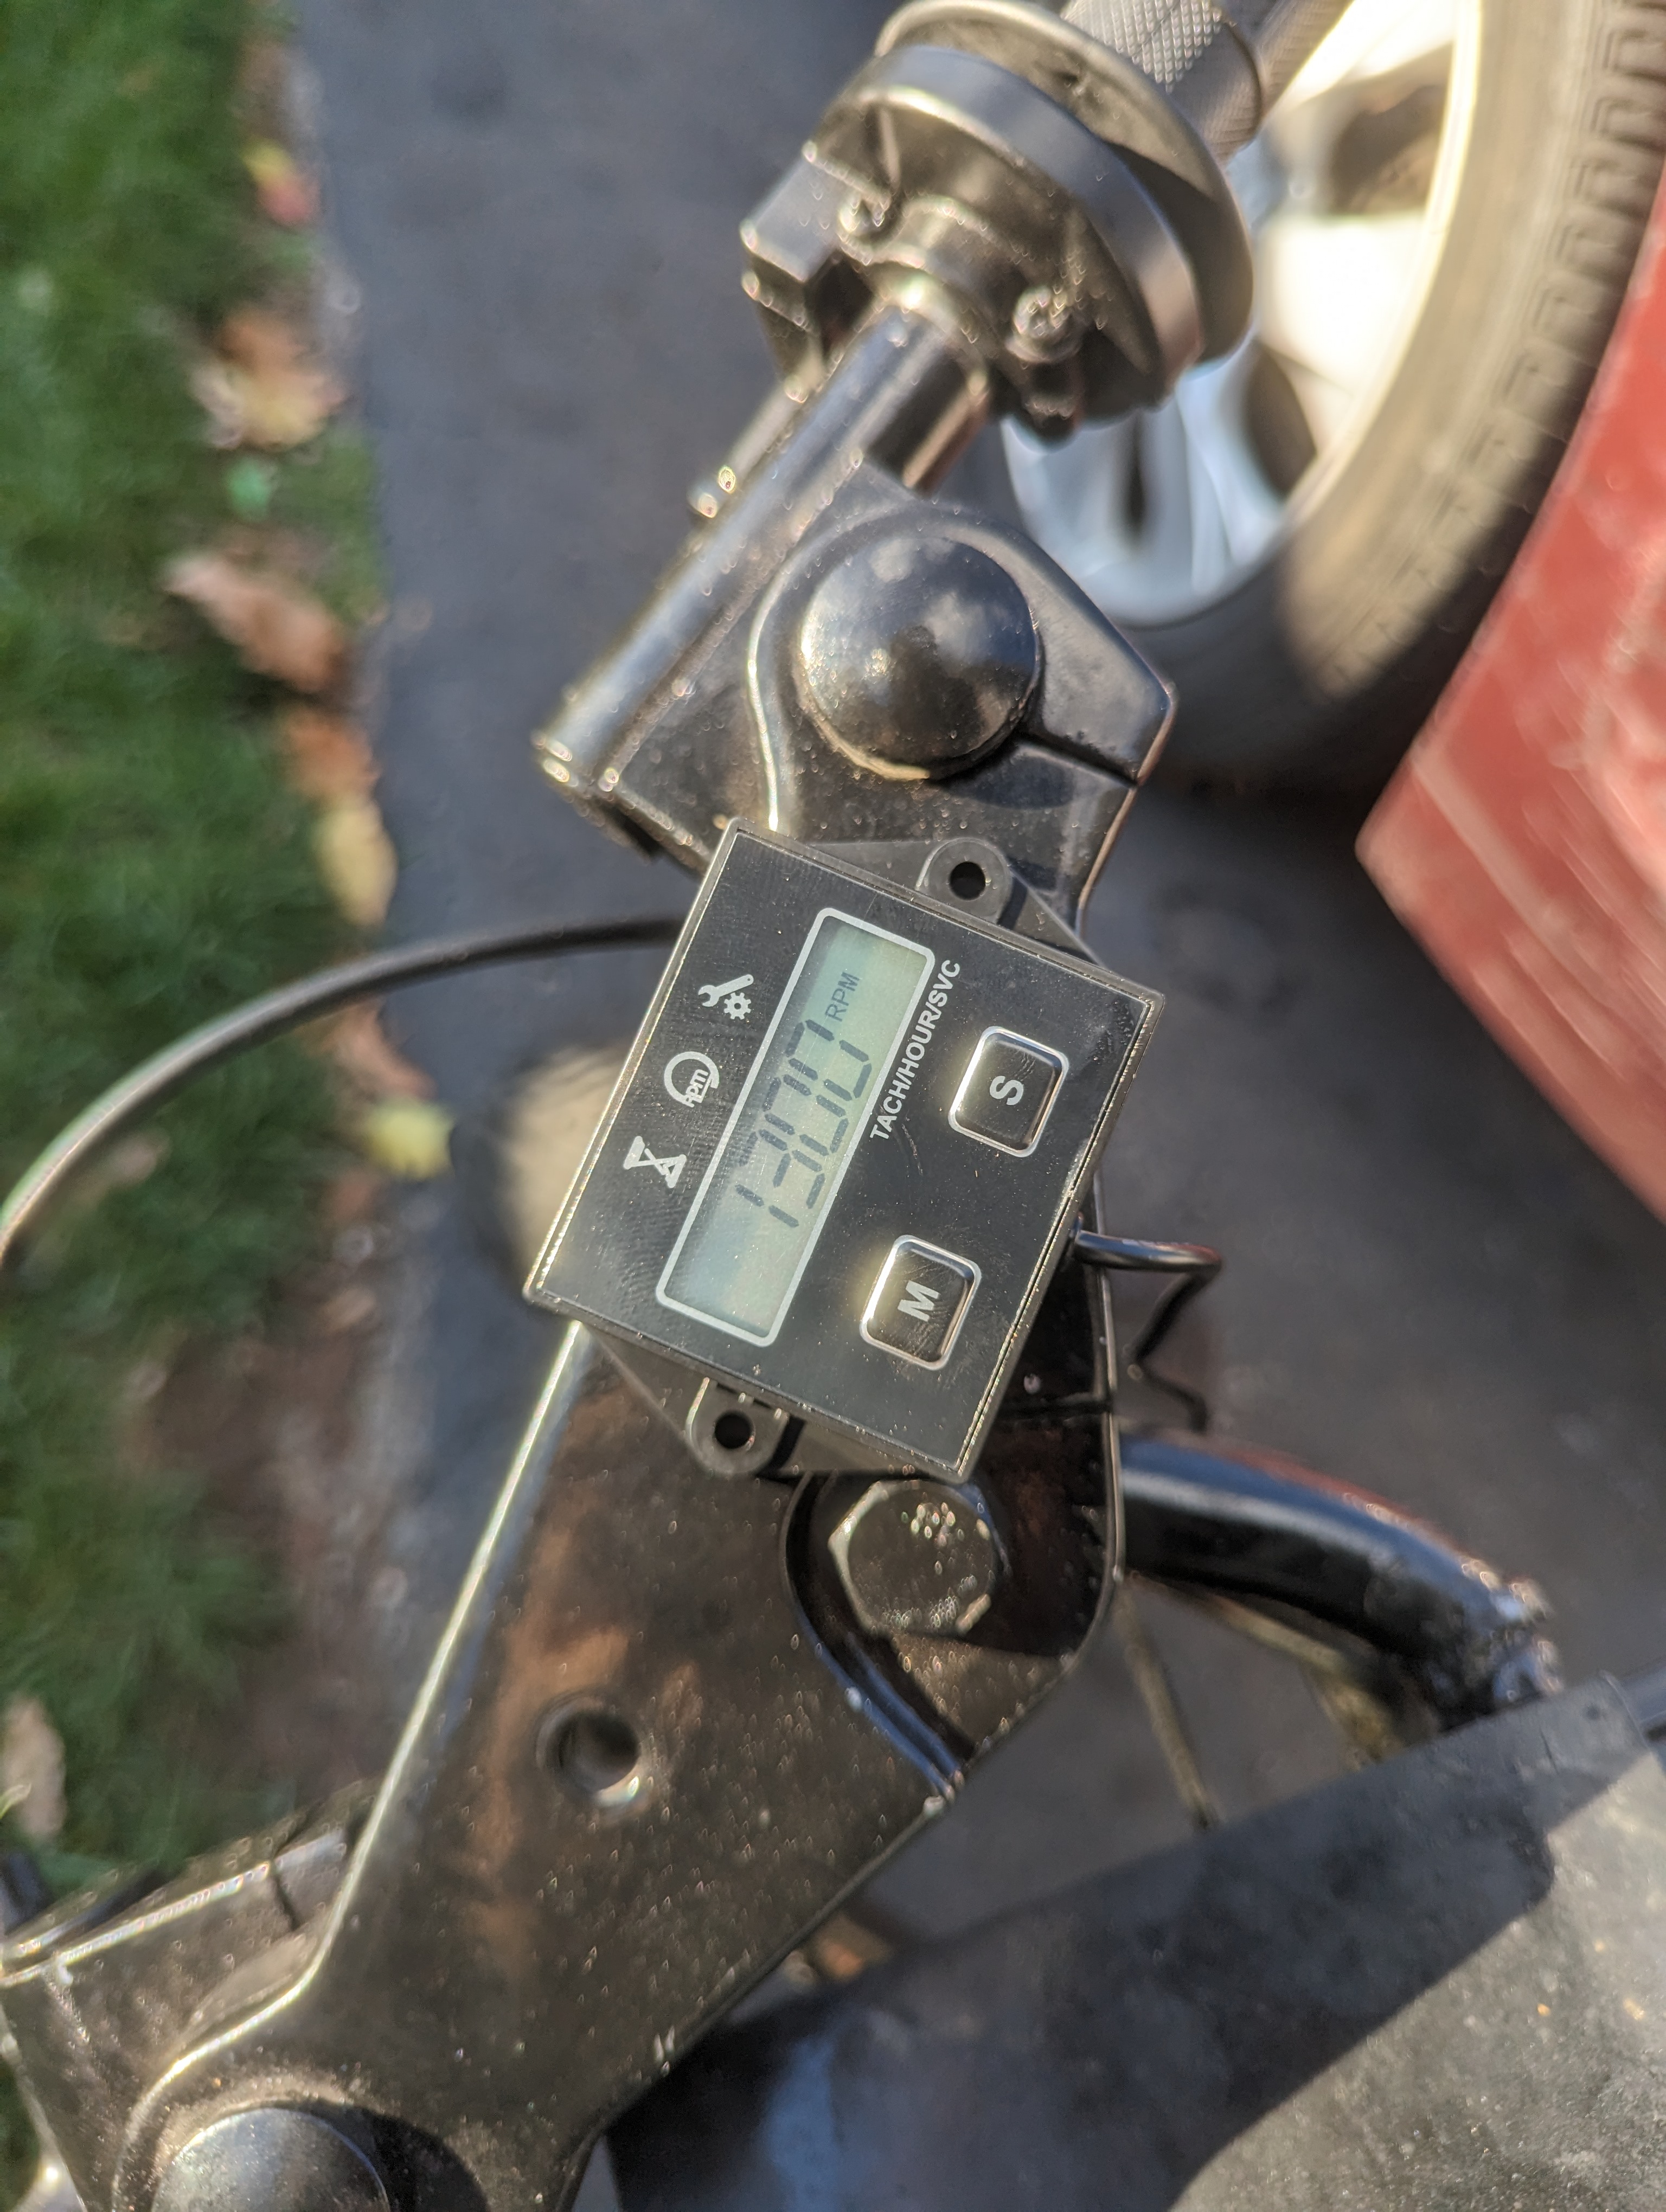
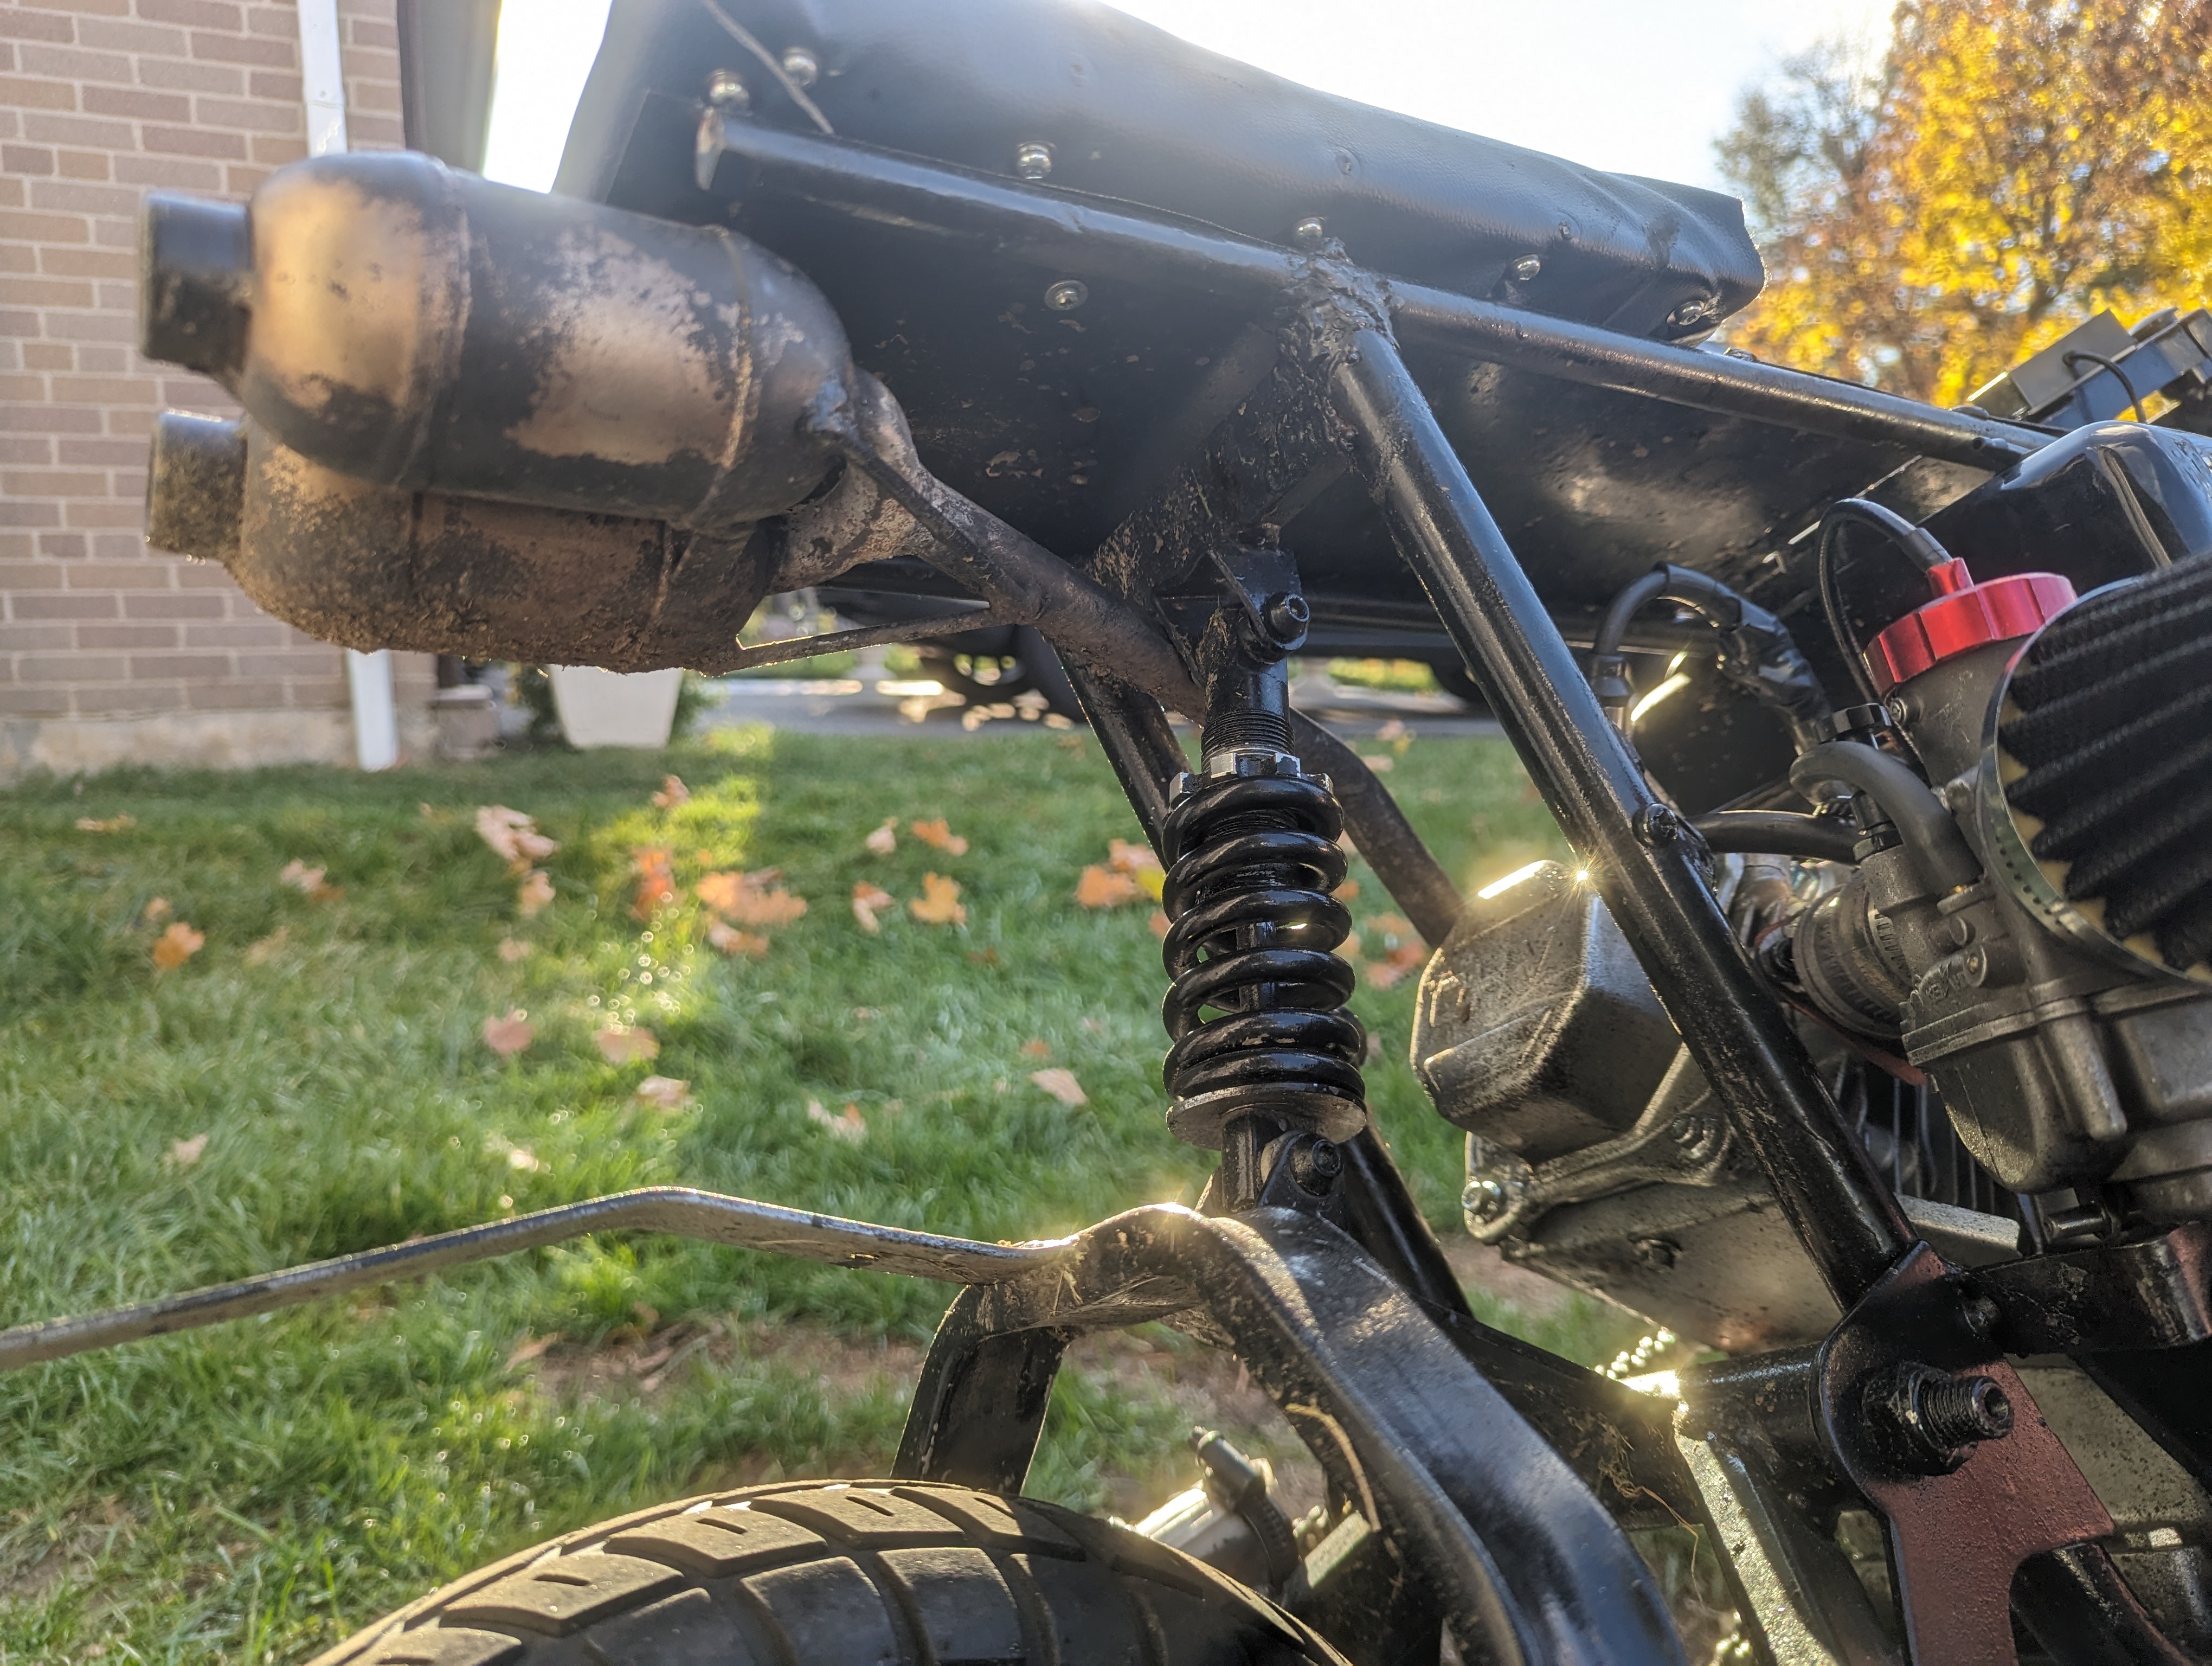
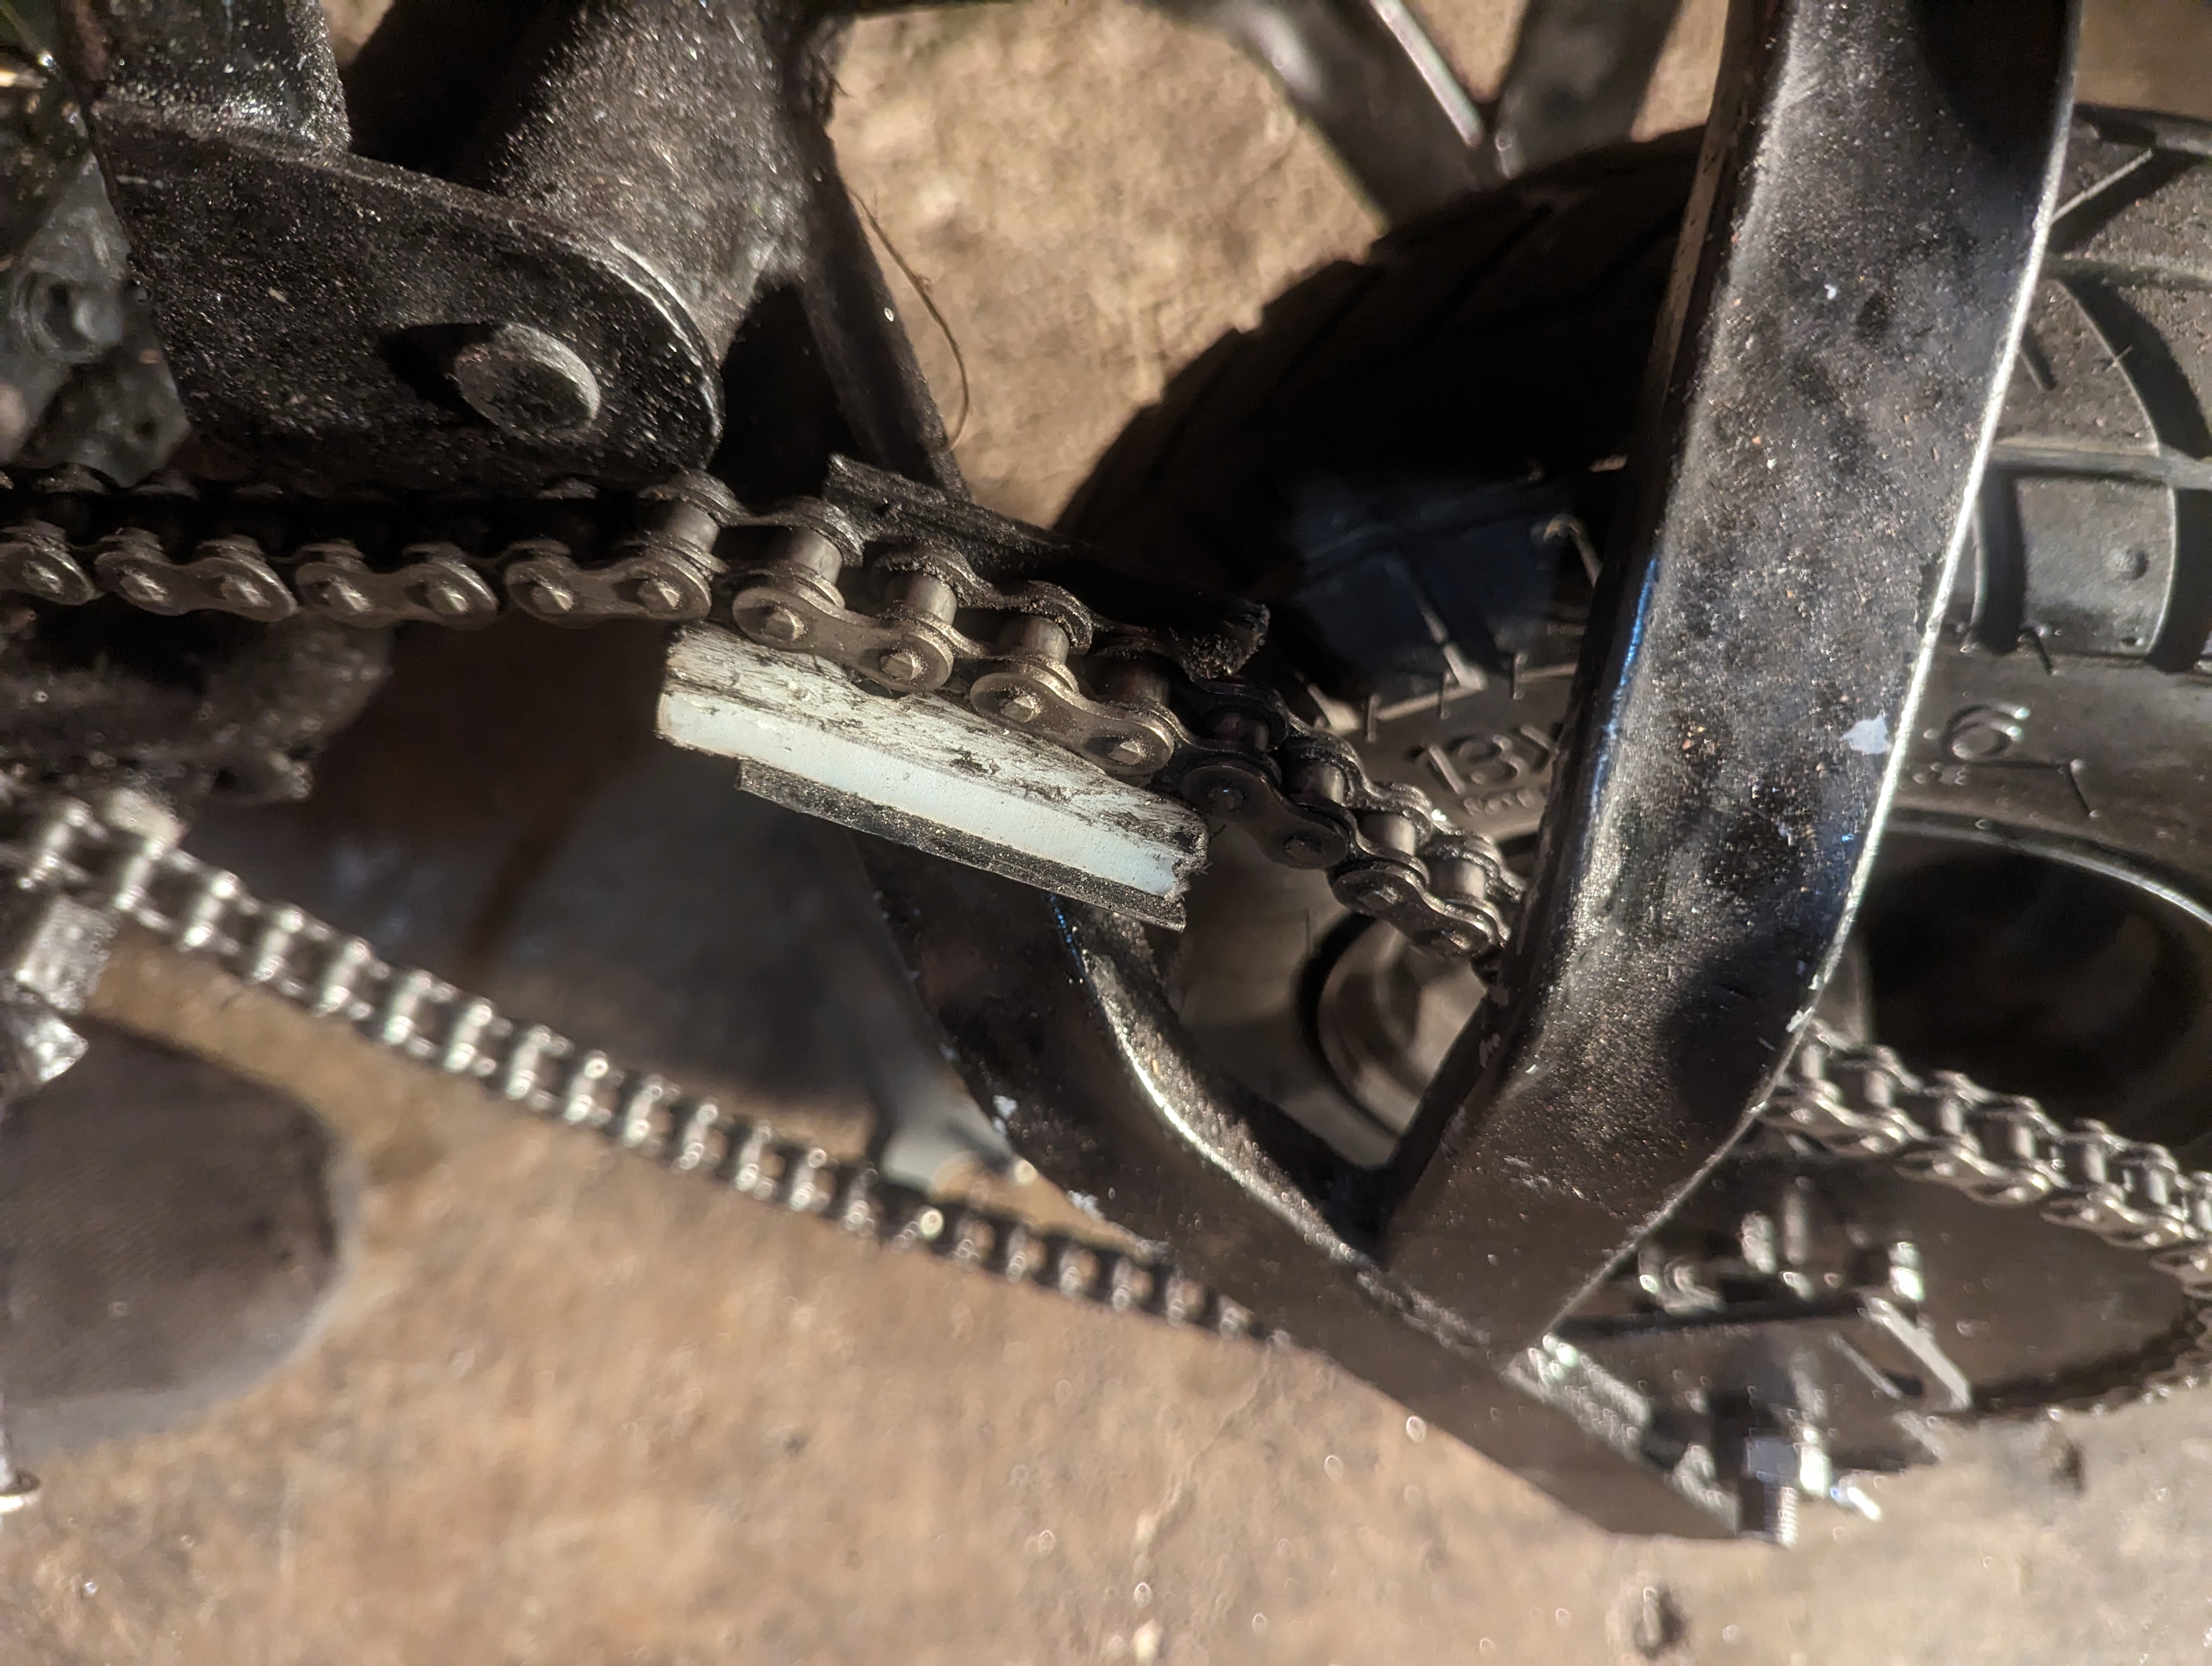
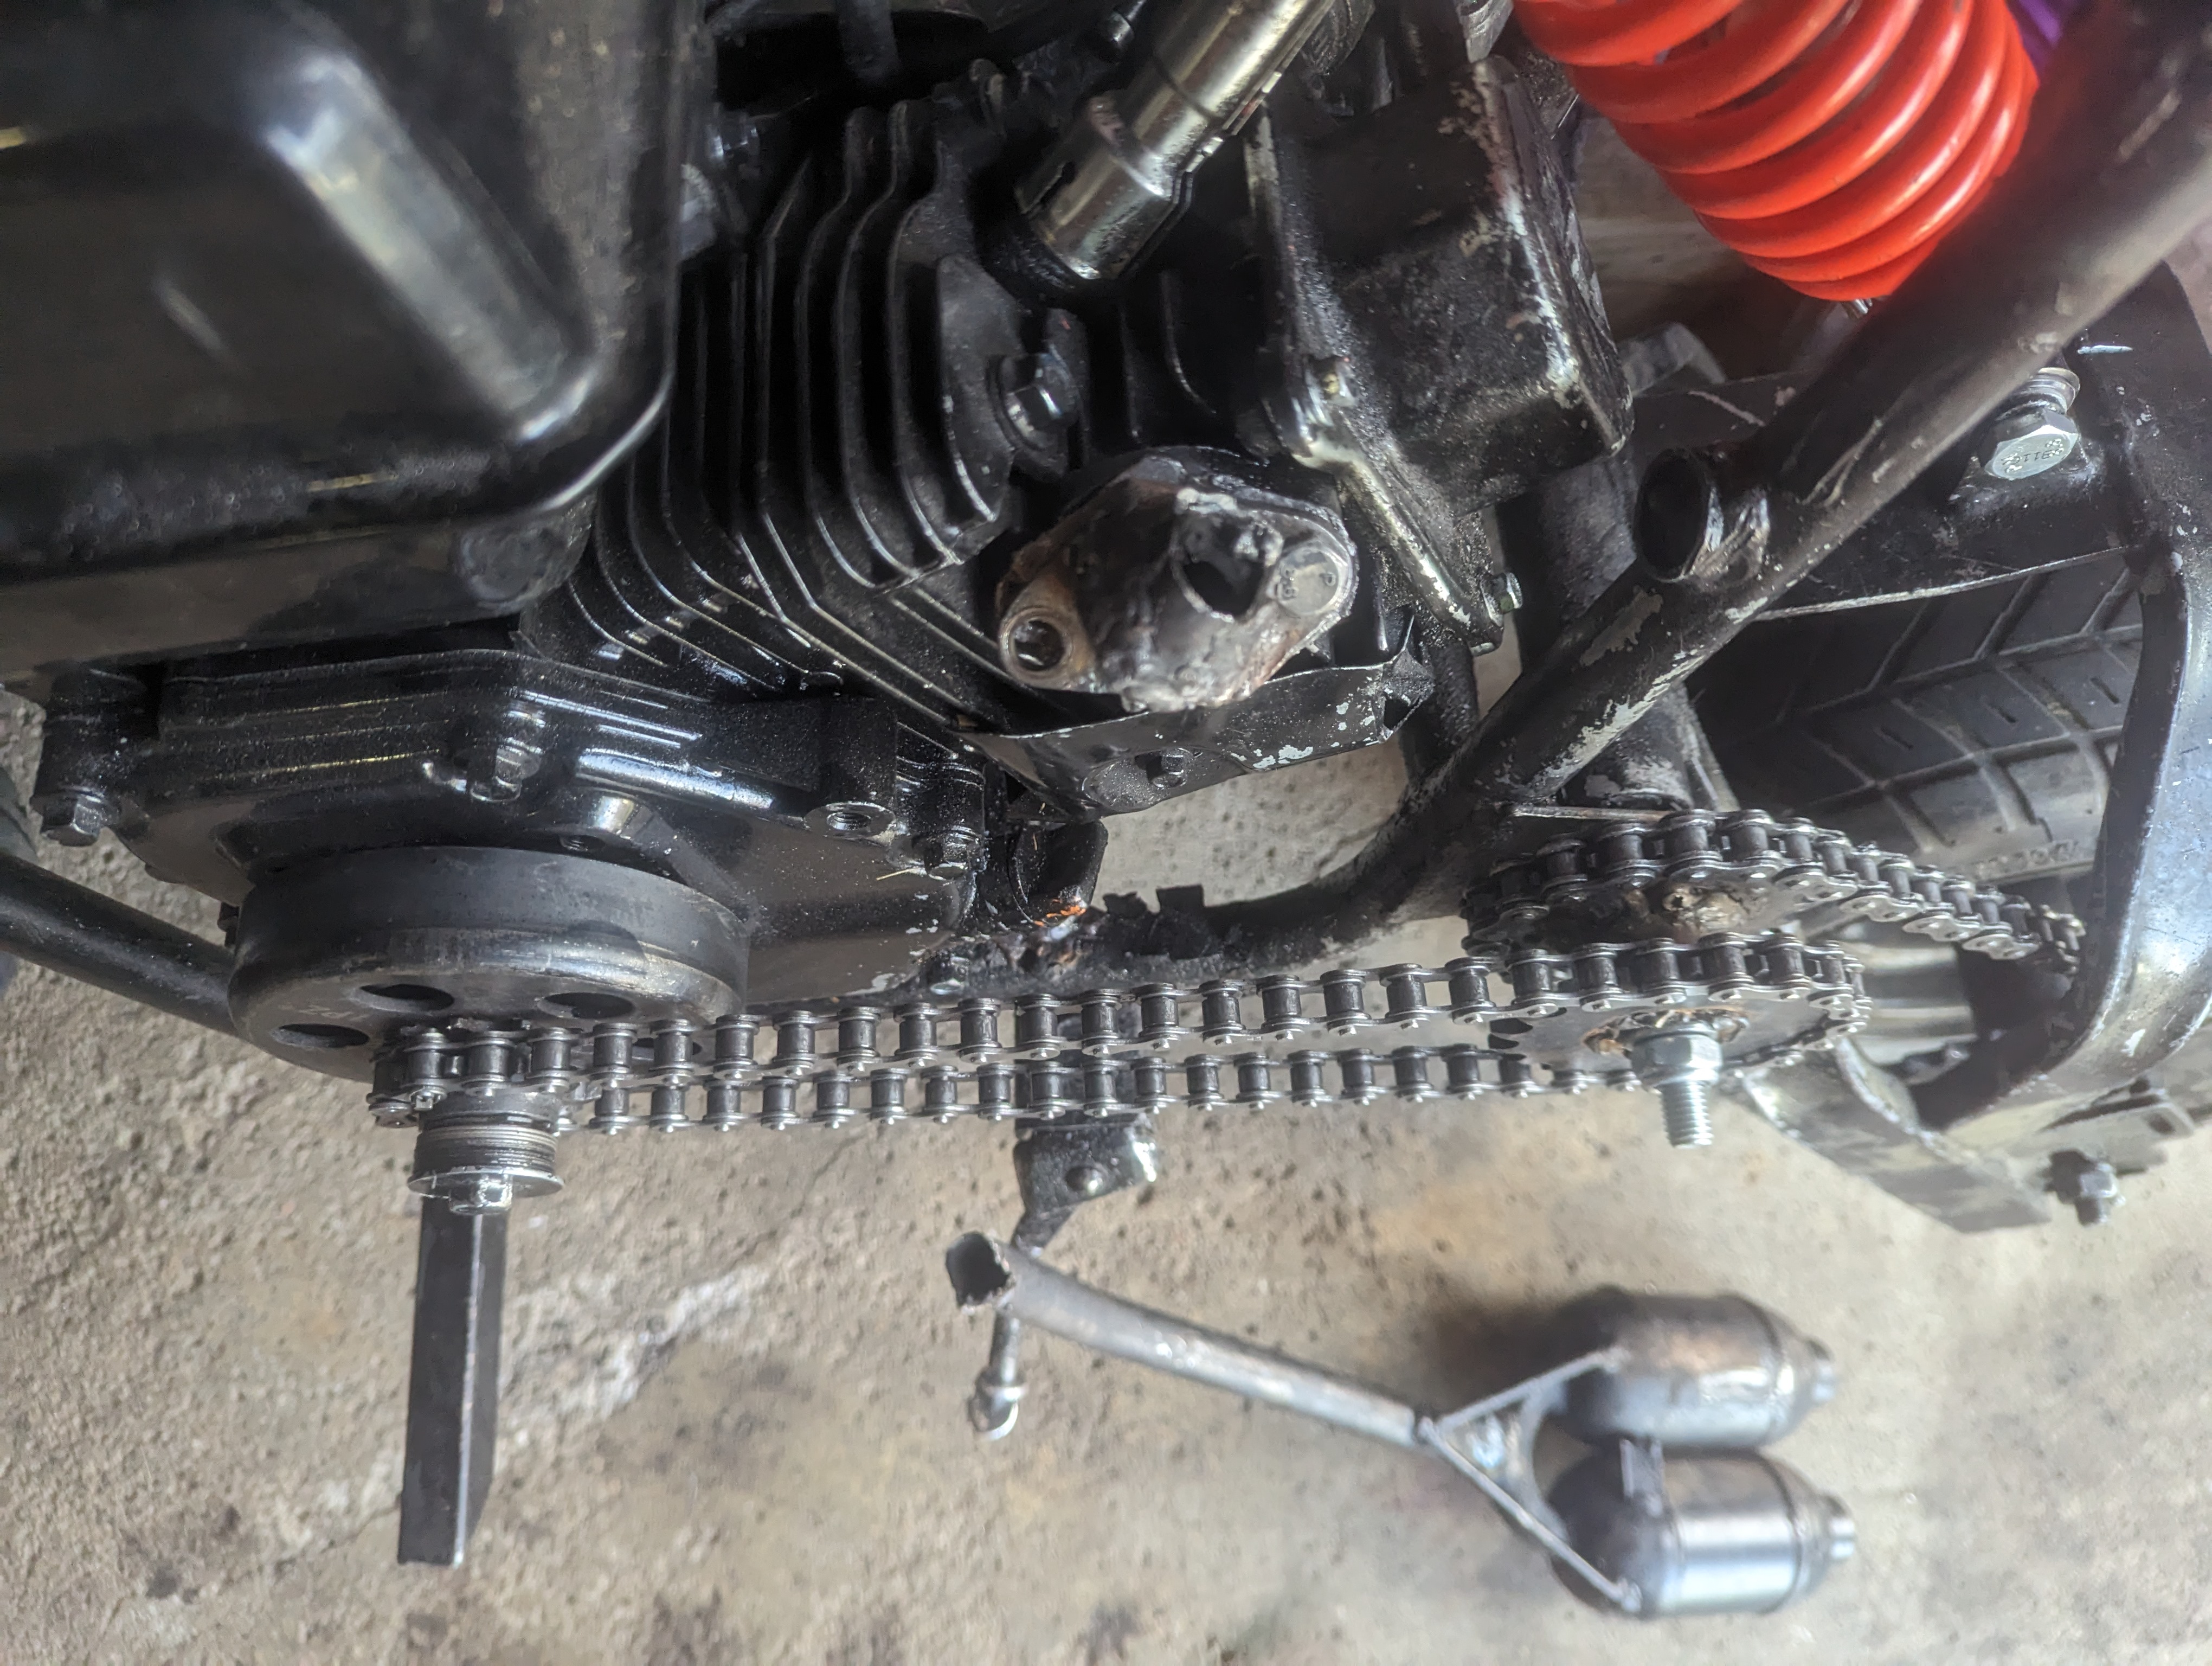
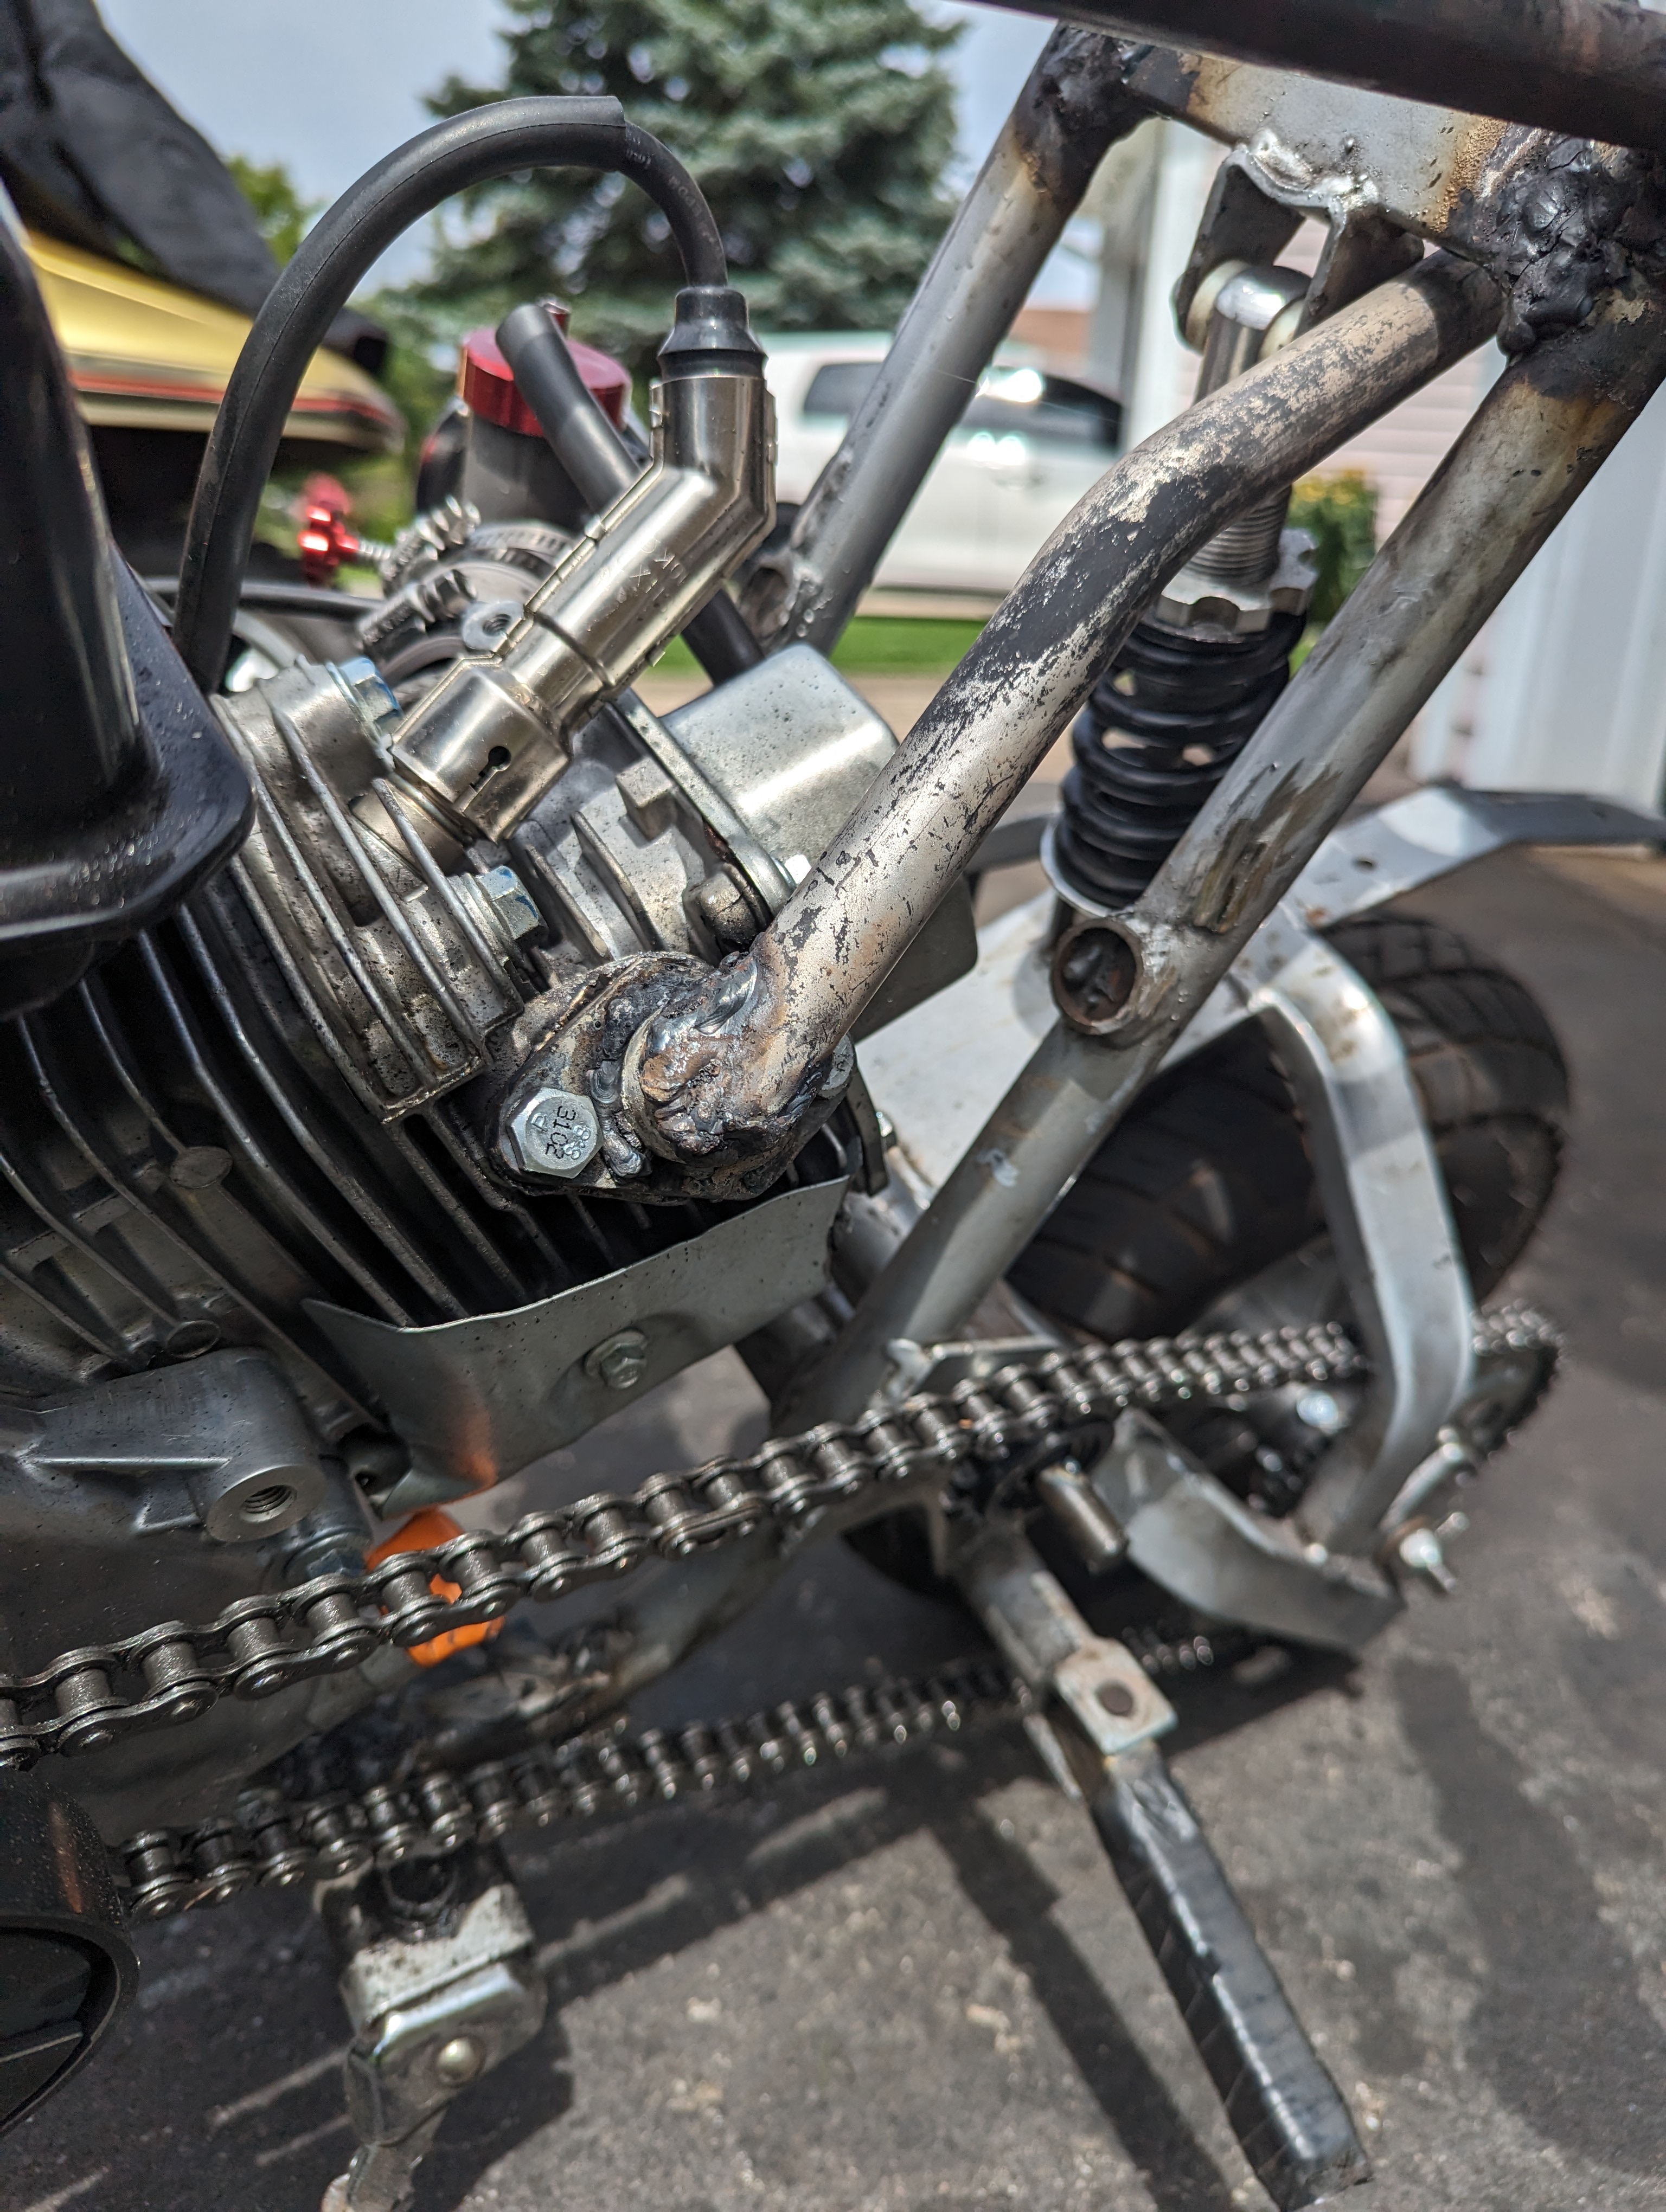
    Over the next year, I made small improvements all over the bike, including: Relocating the shock so it wouldn't rub on the valve cover. Installing a chain slider to stop the chain from hitting the frame during suspension travel. Adding a tachometer to help with carburetor tuning. Replacing the weak cable brakes with hydraulic brakes. Installing lights and a battery. Making a new chain slider out of Delrin instead of PVC, which wore too quickly. Reinforcing the frame with steel plate in various locations.

  3. Minibike: Further fixes - on the road to reliability
    Minibike: Further fixes - on the road to reliability
    Minibike: Further fixes - on the road to reliability
    Minibike: Further fixes - on the road to reliability
    Minibike: Further fixes - on the road to reliability
    Minibike: Further fixes - on the road to reliability
    Minibike: Further fixes - on the road to reliability
    Minibike: Further fixes - on the road to reliability

    Further fixes - on the road to reliability

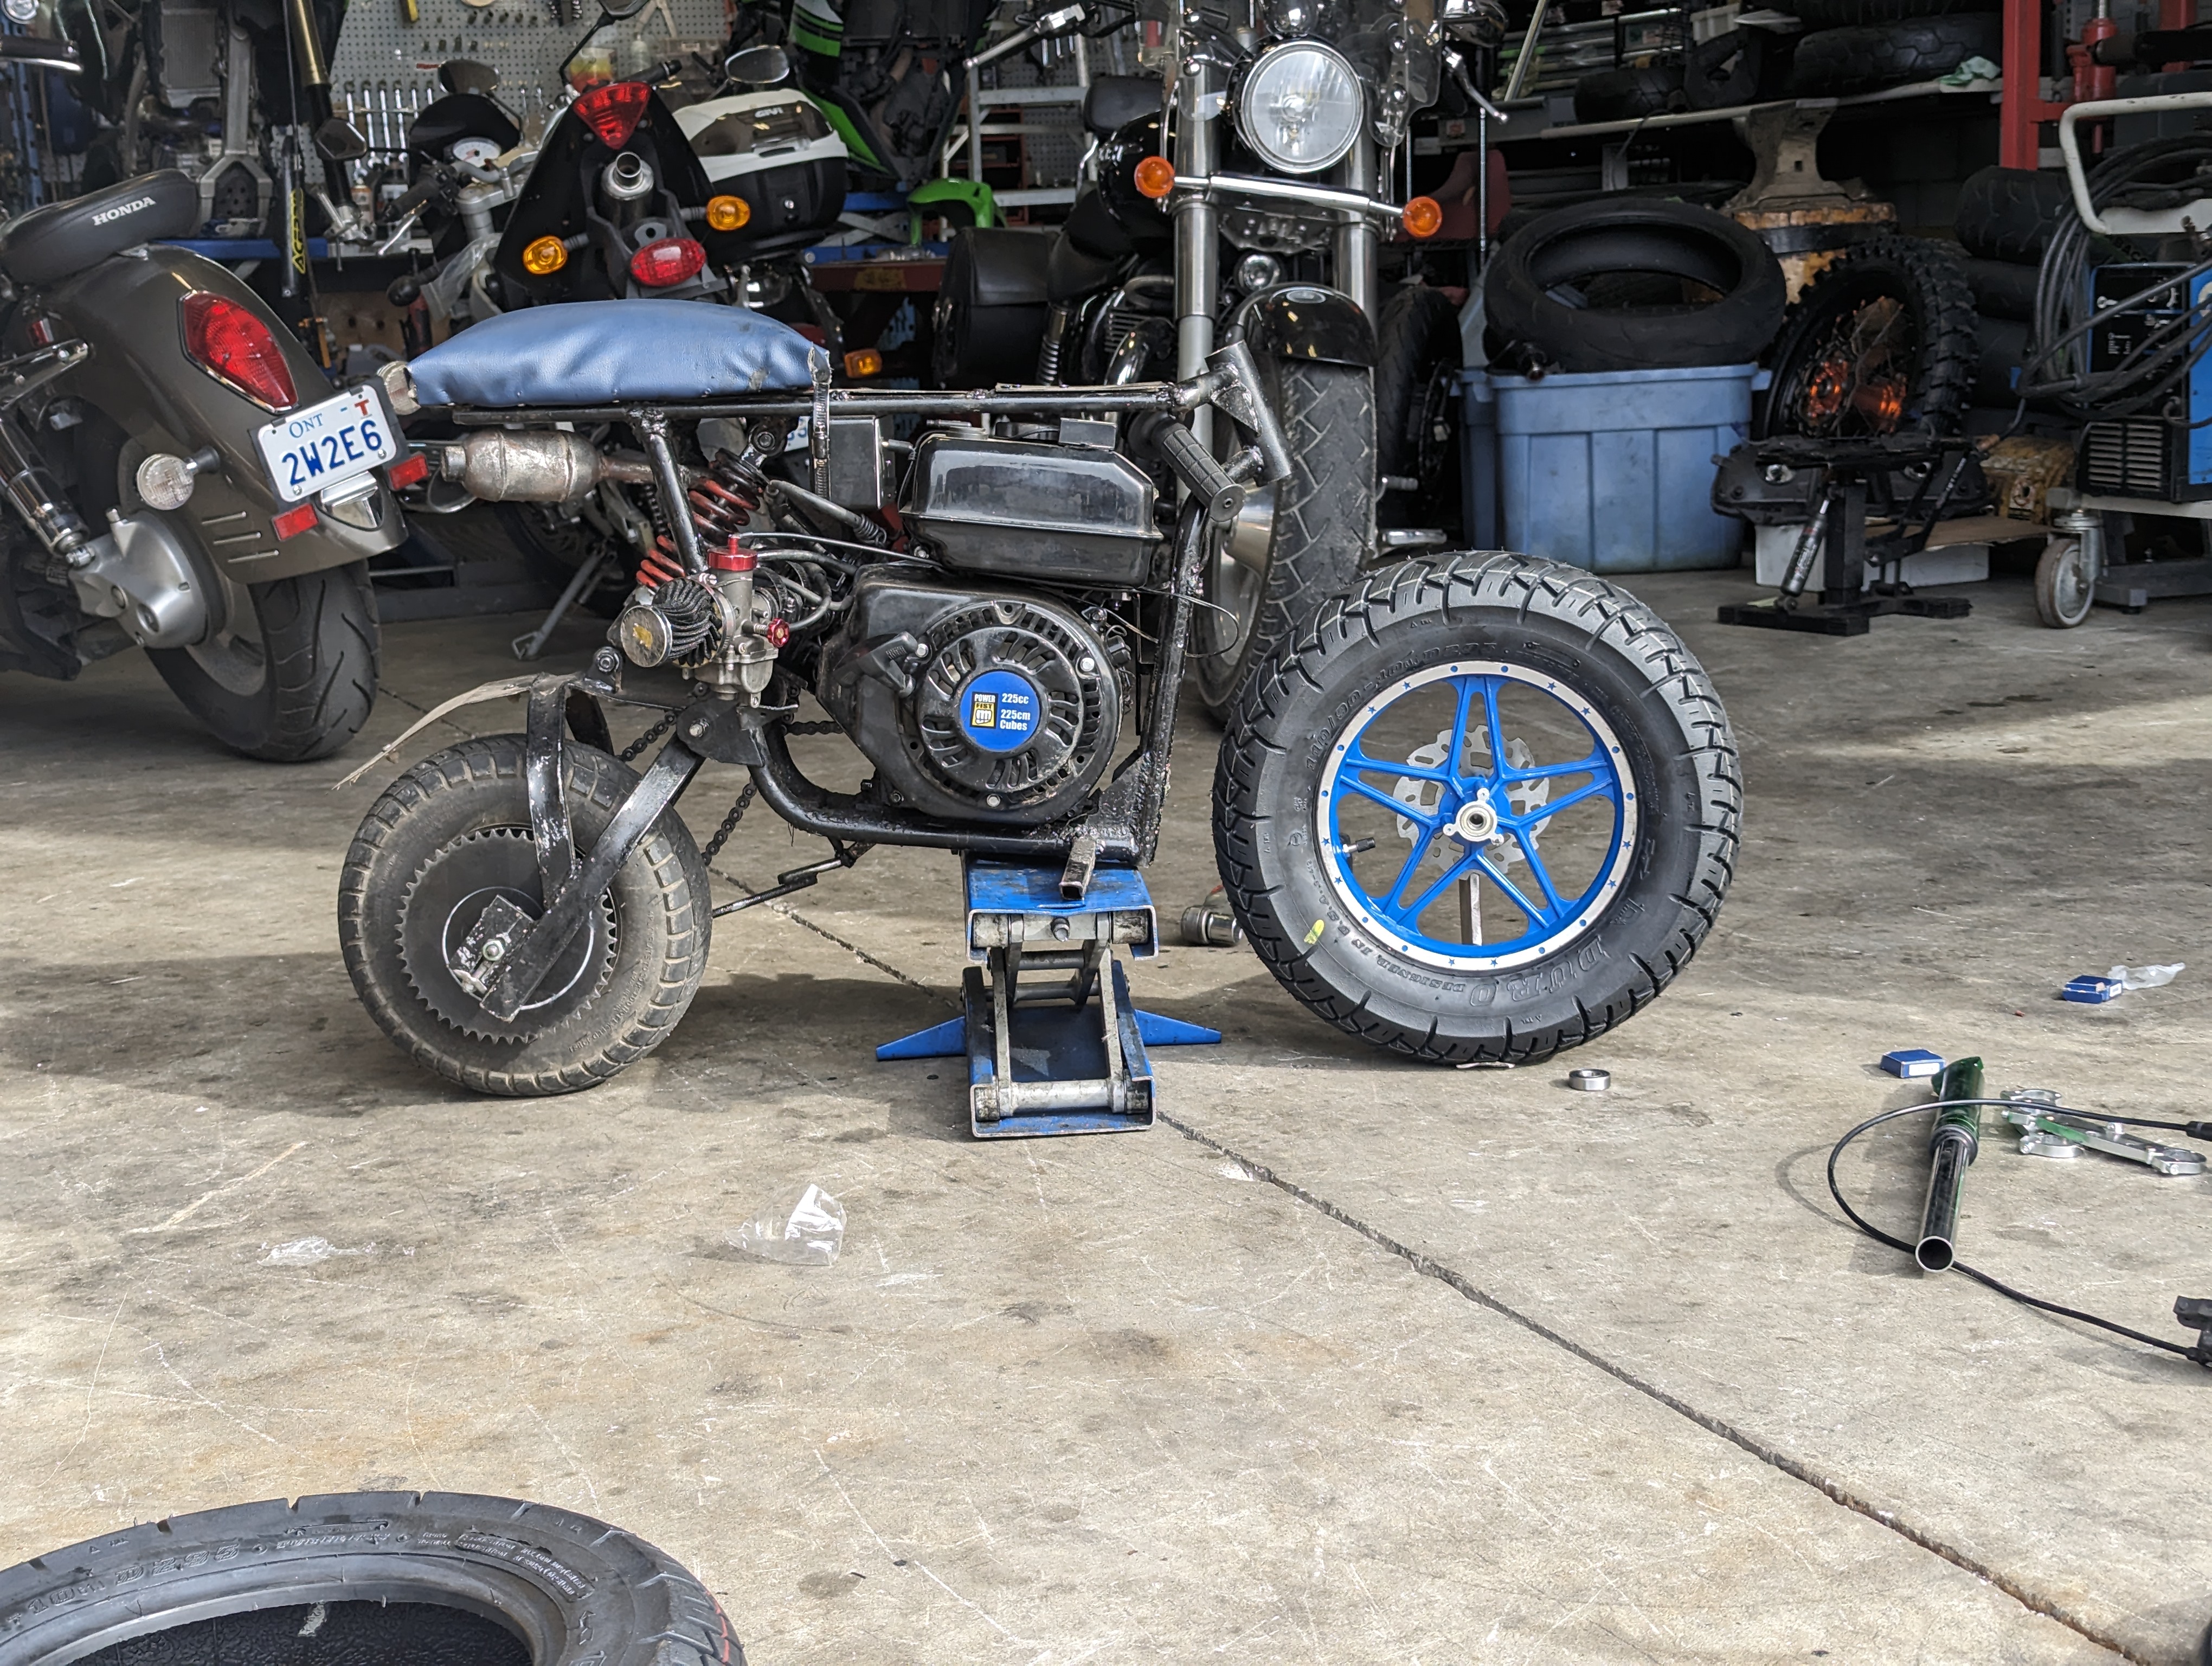
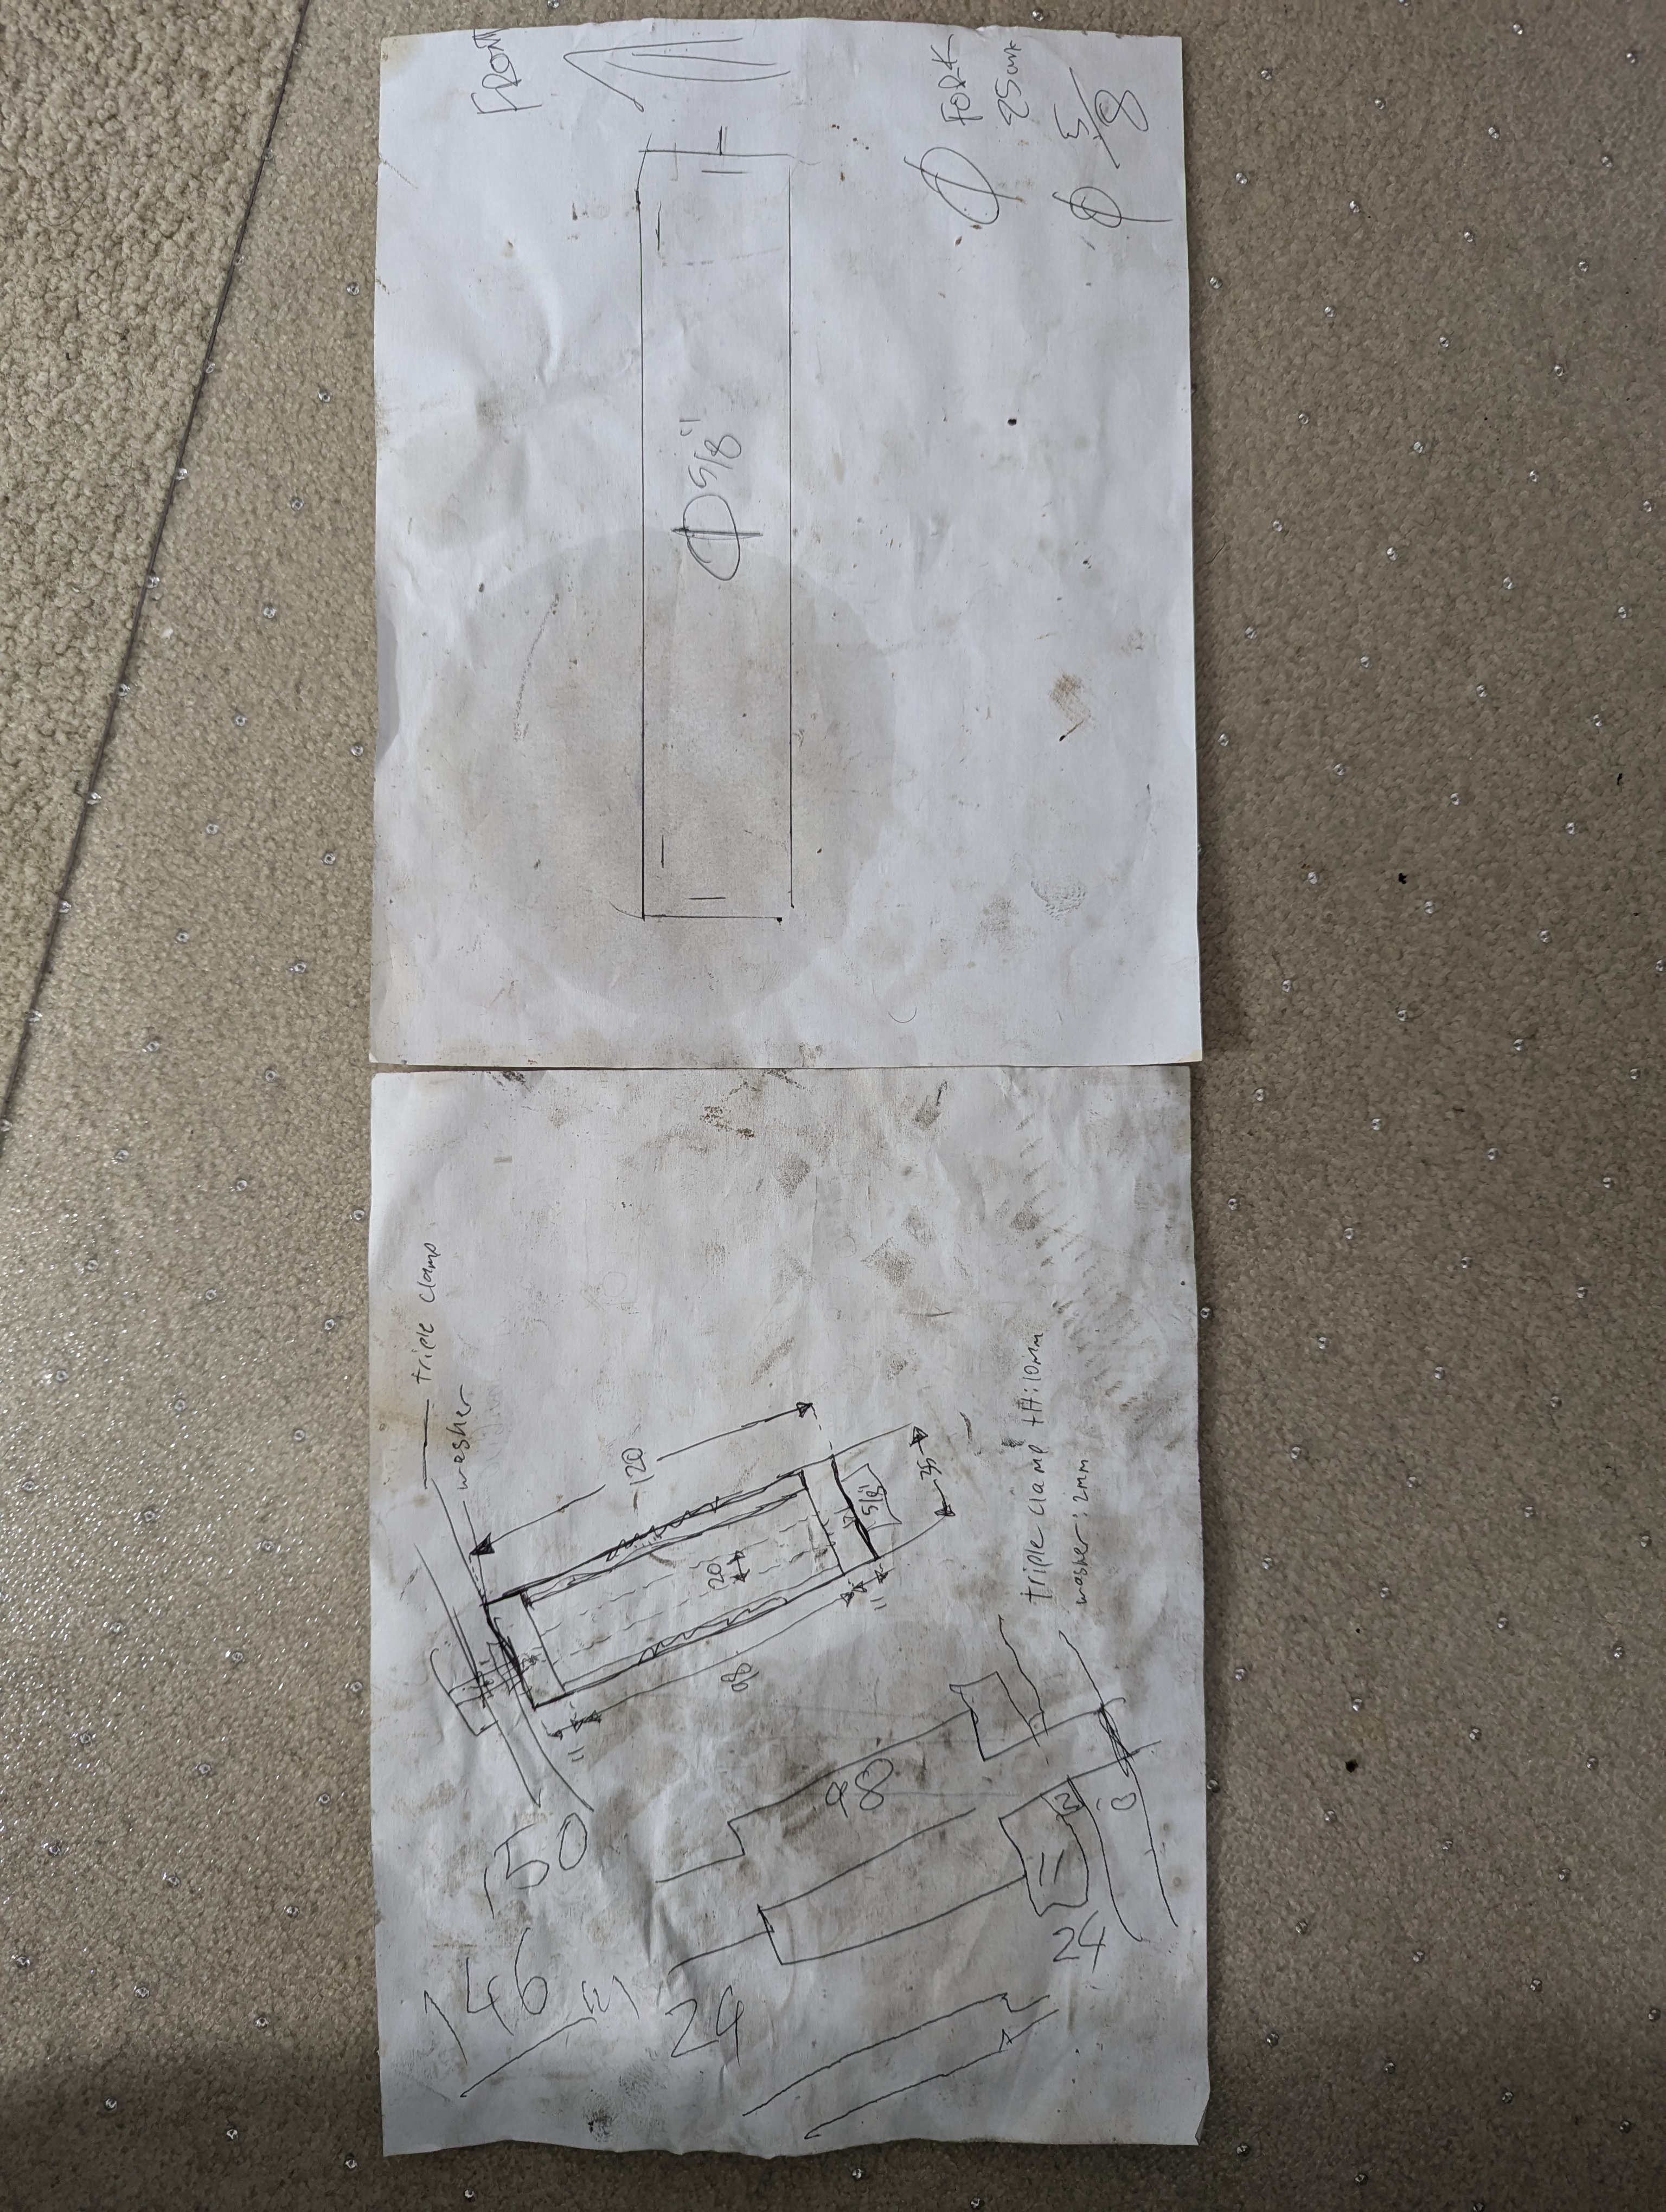
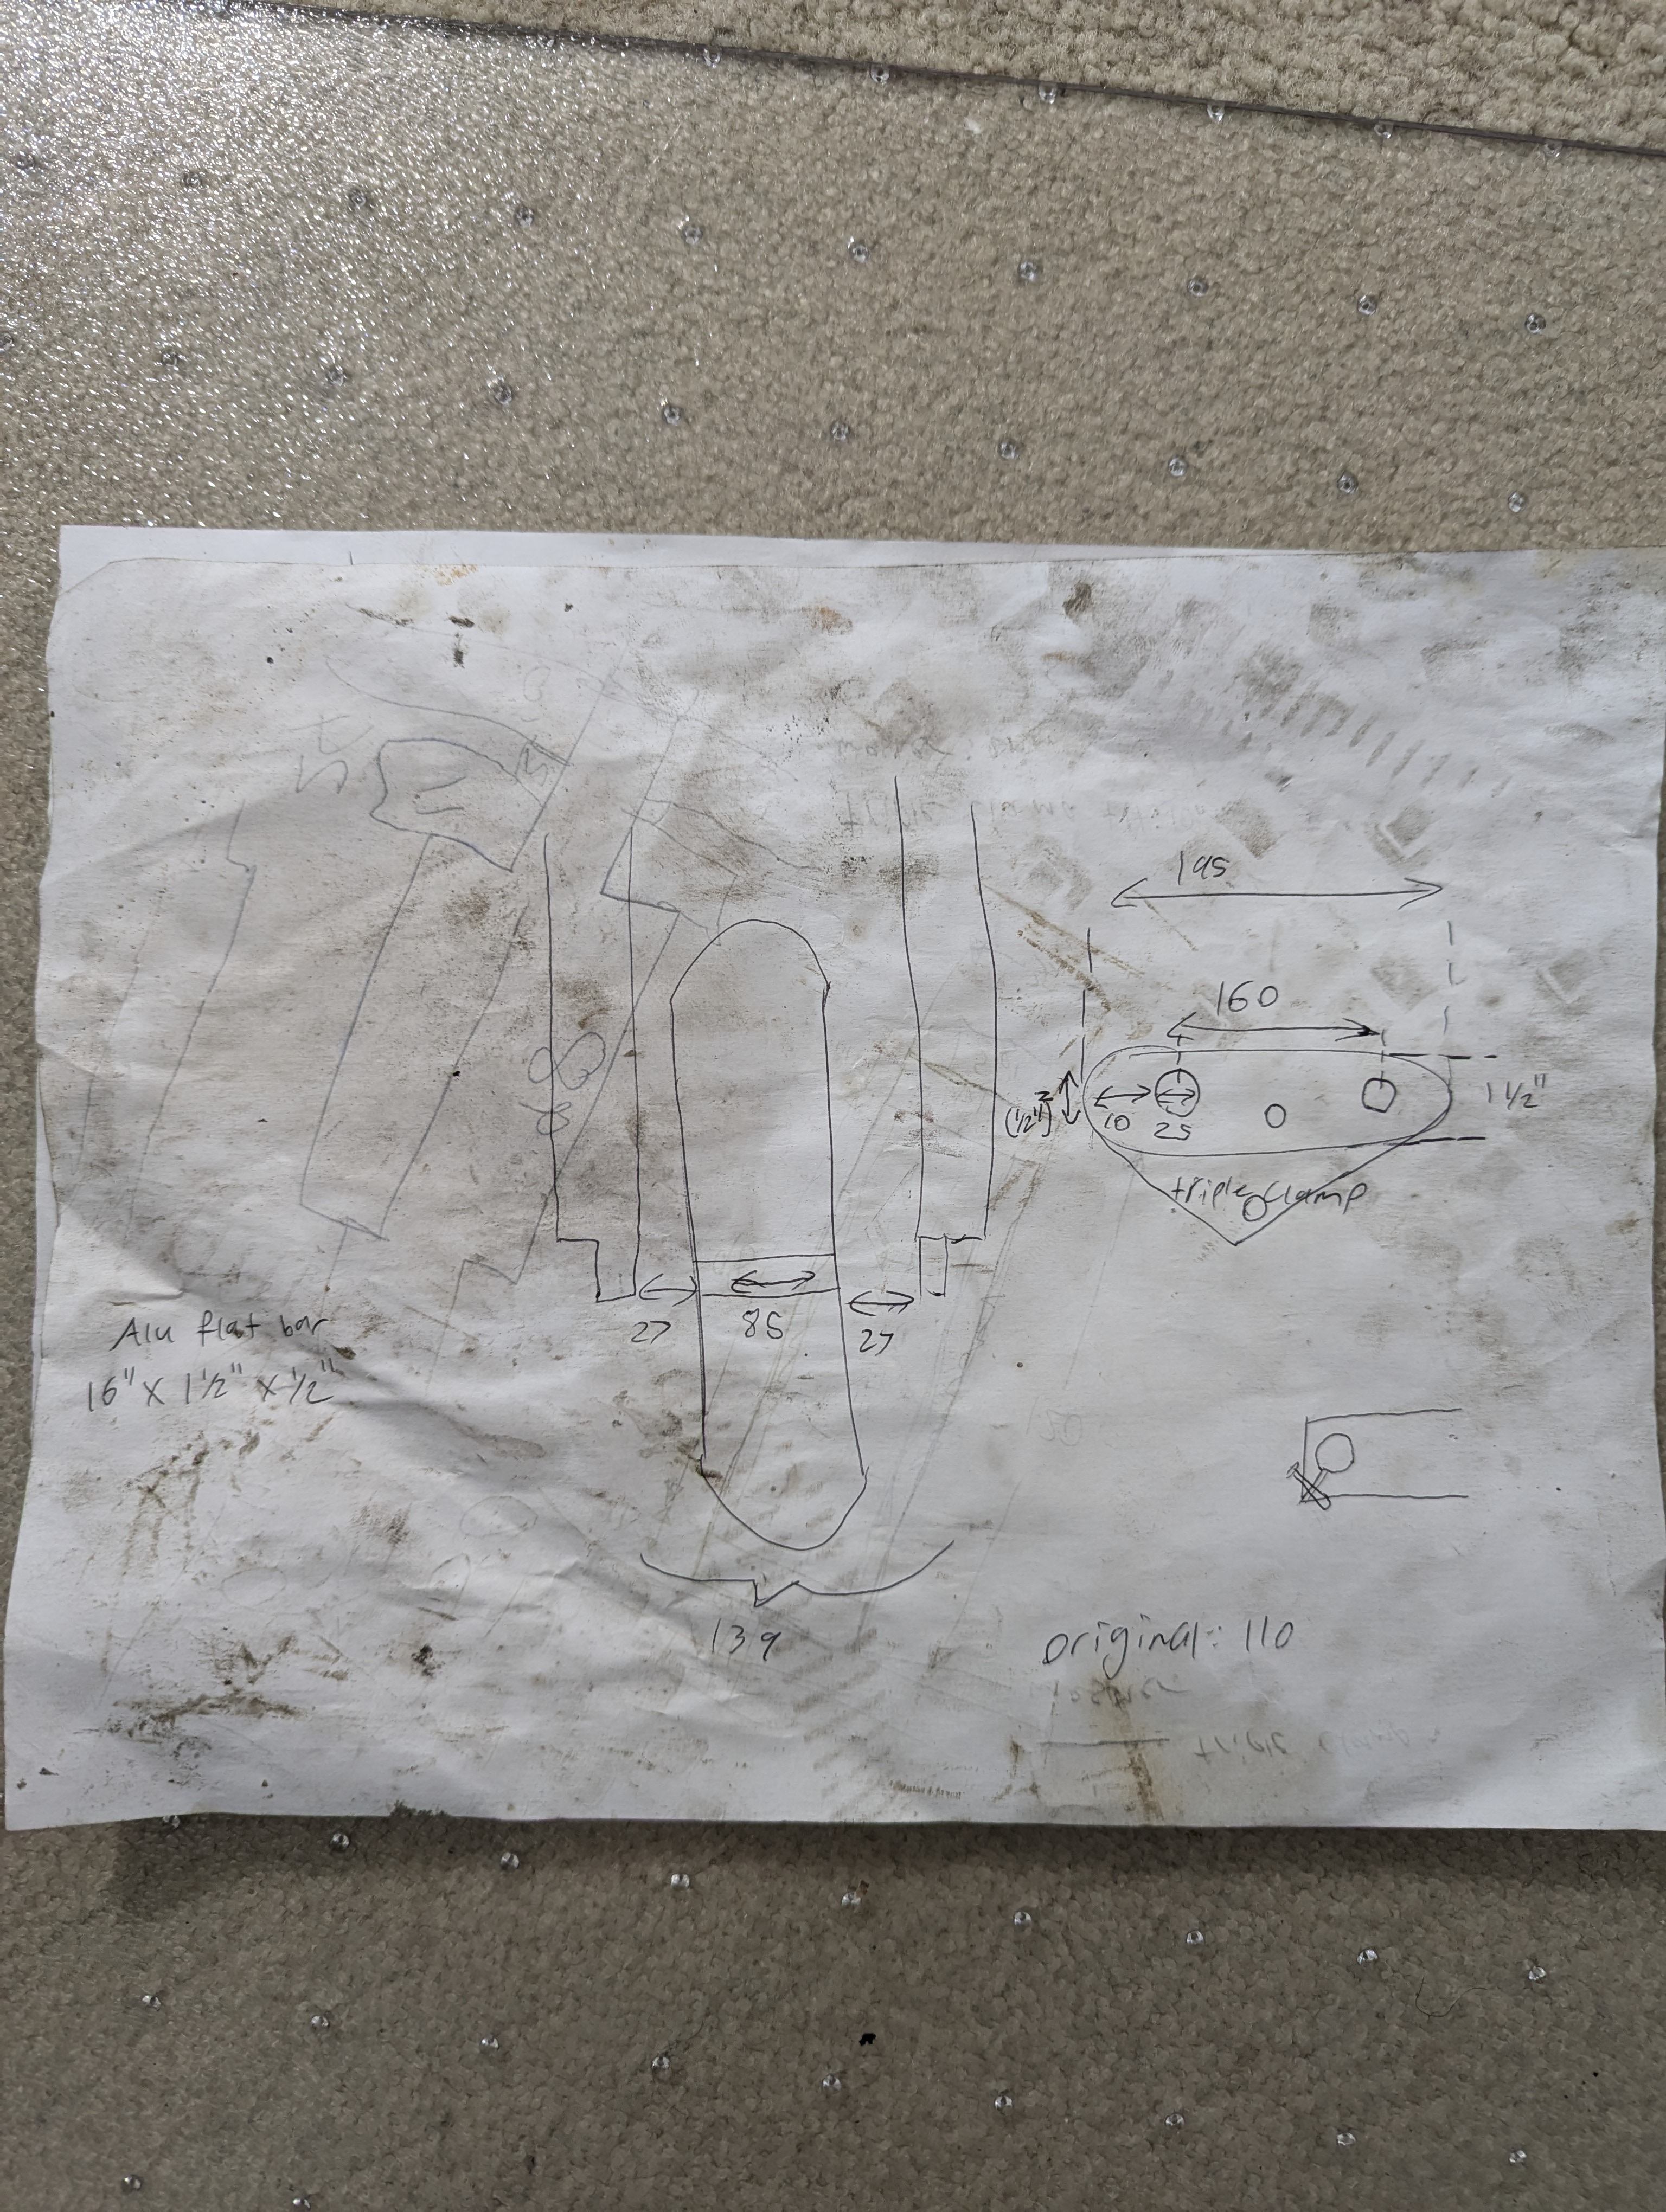
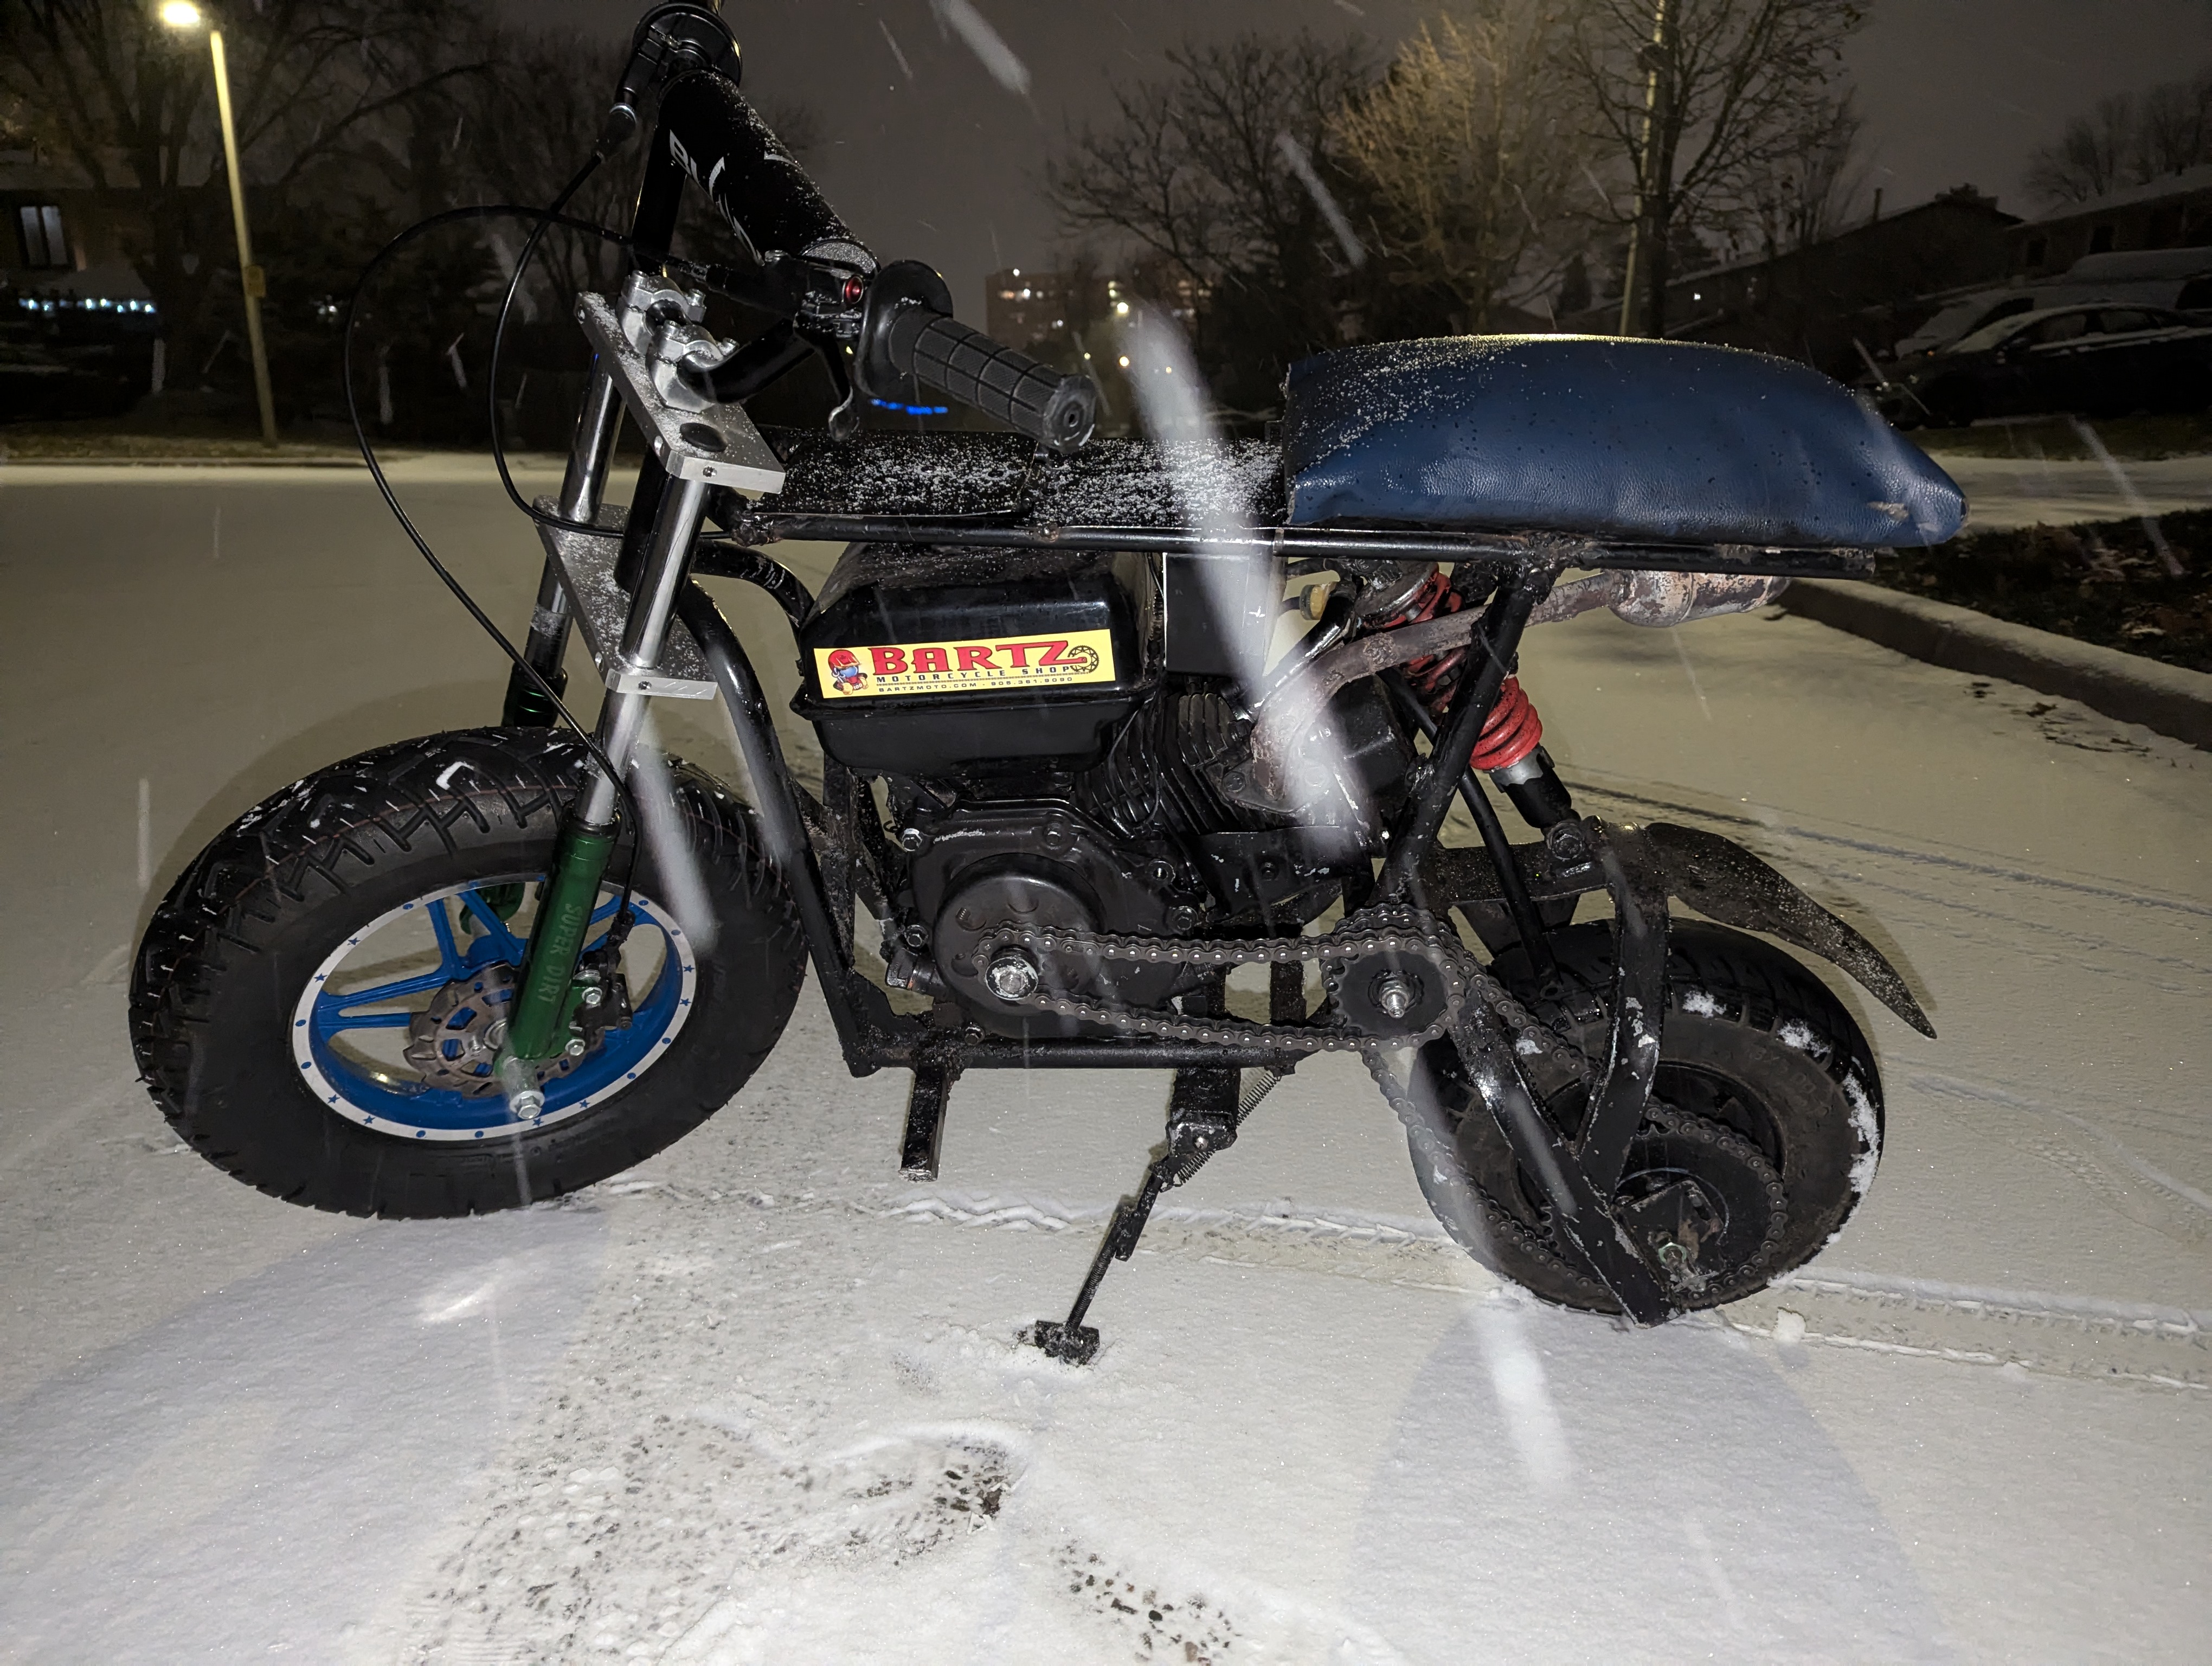
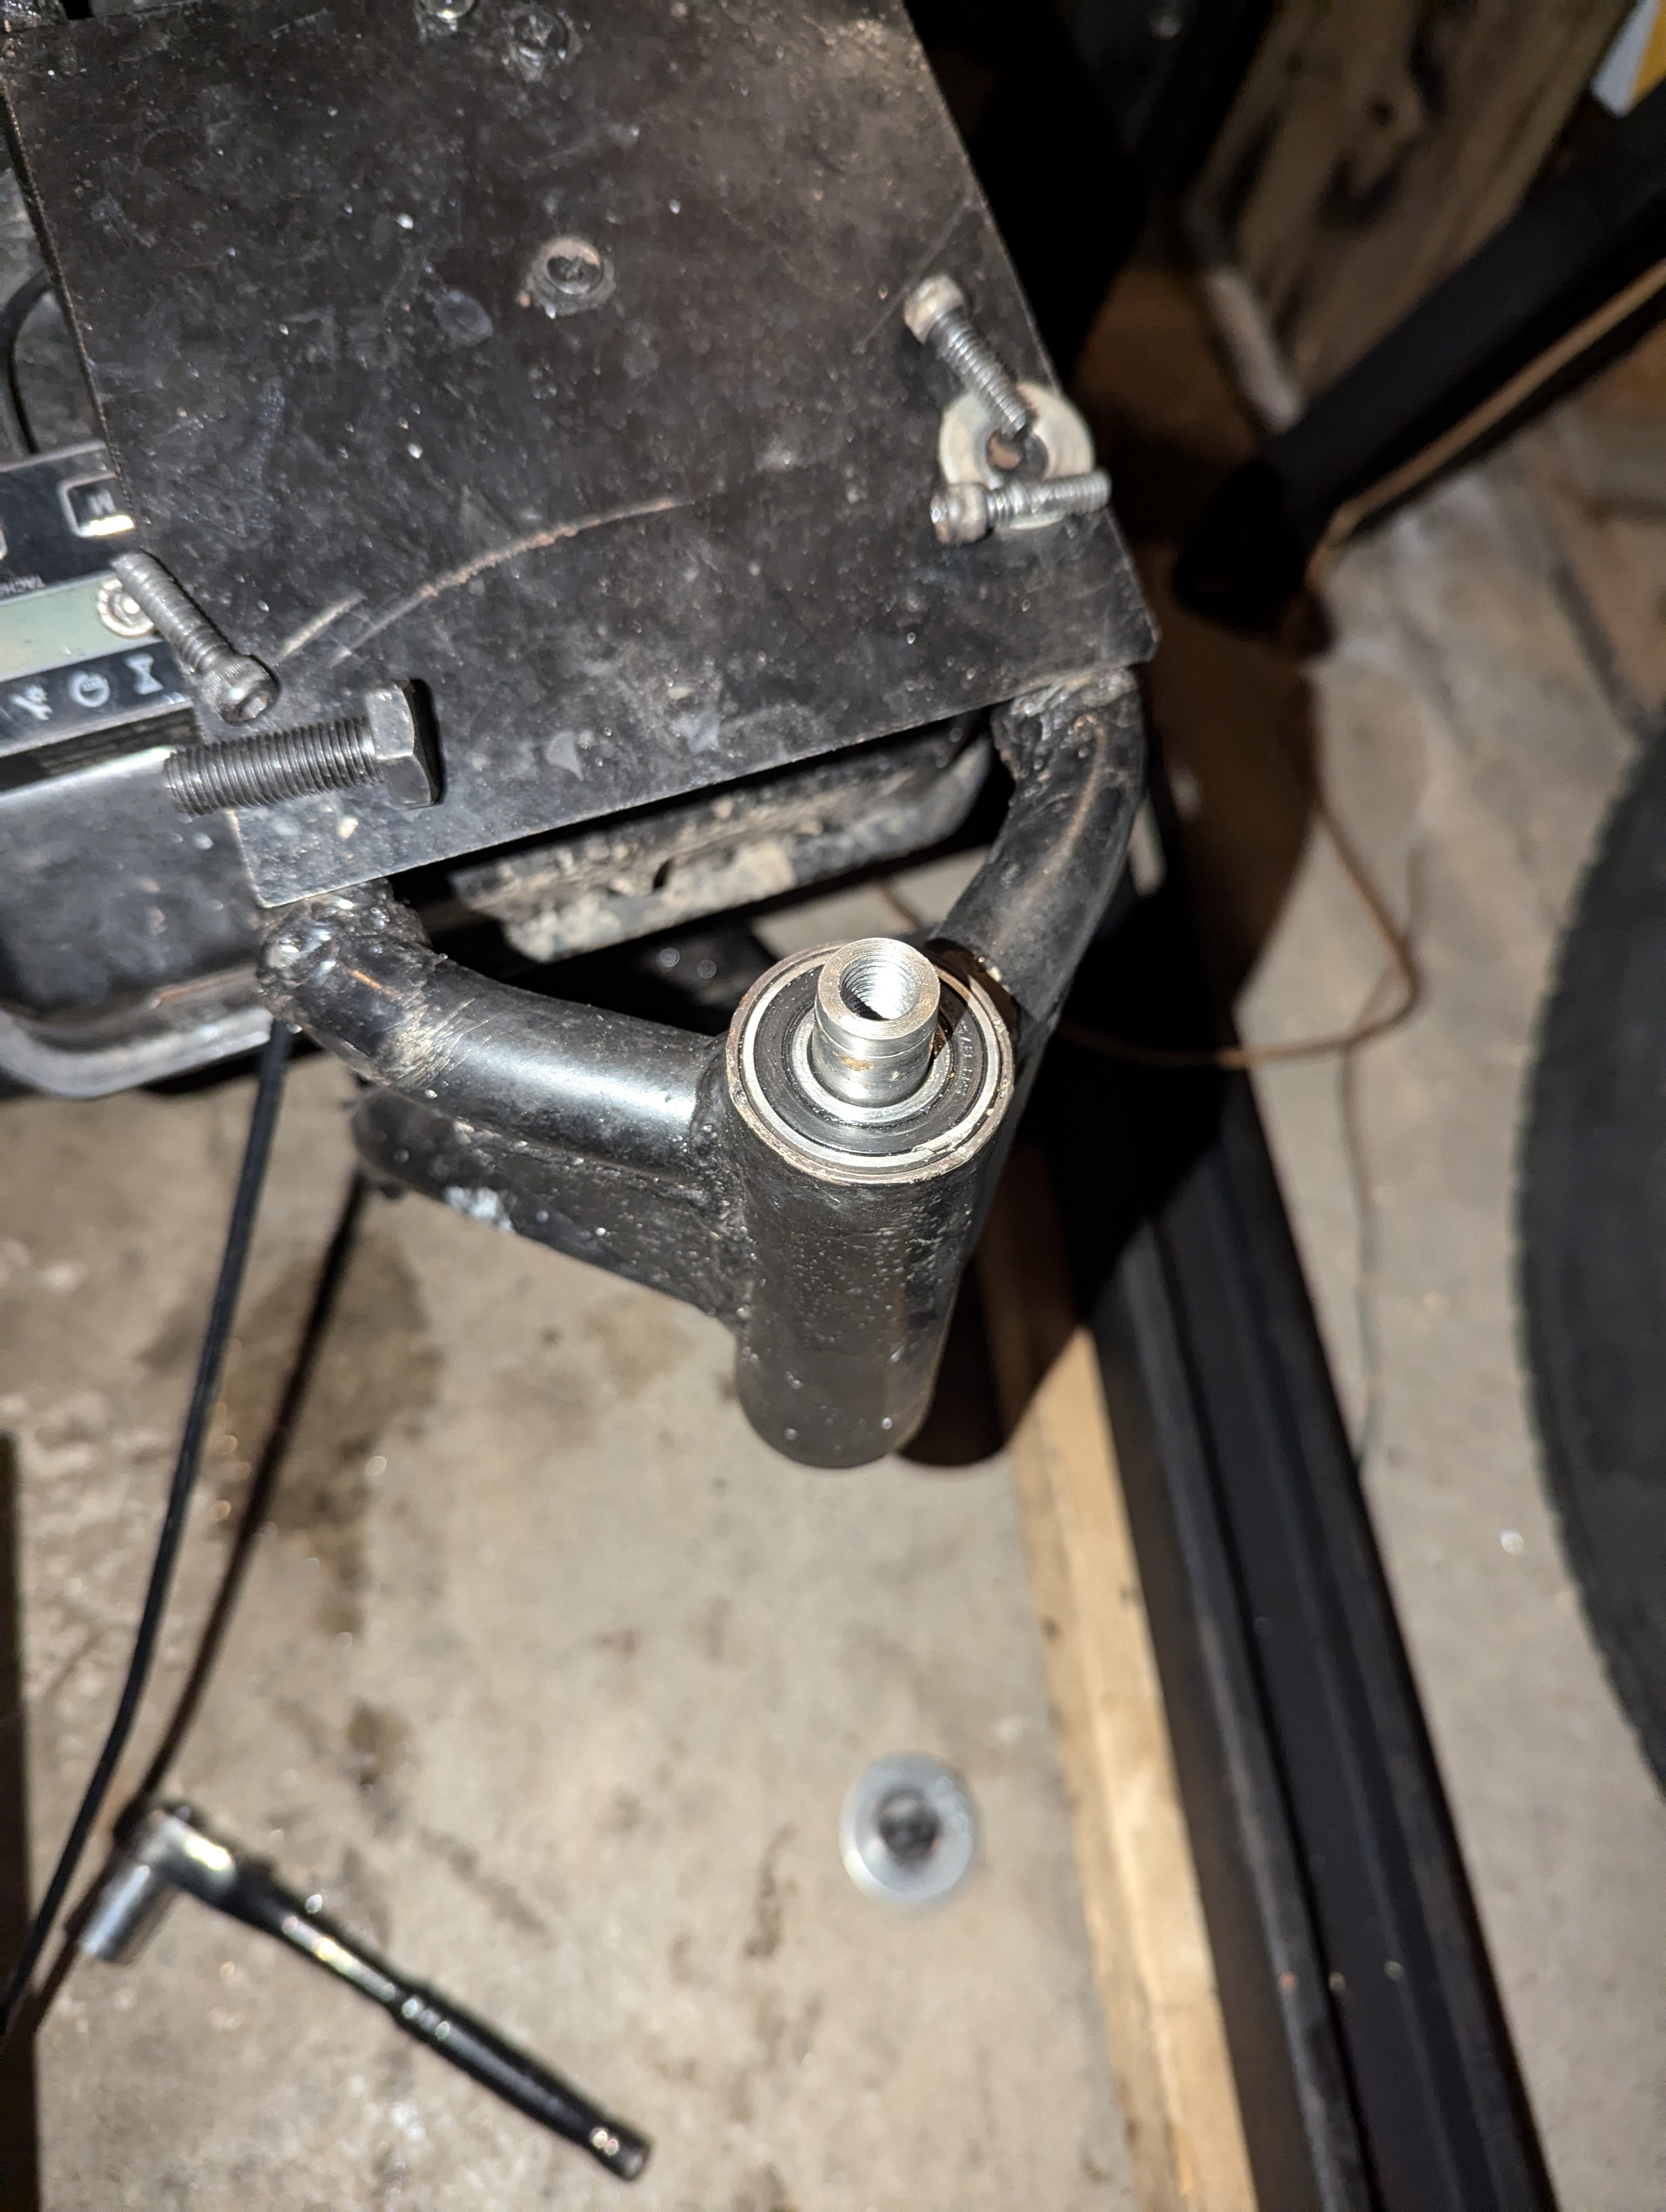
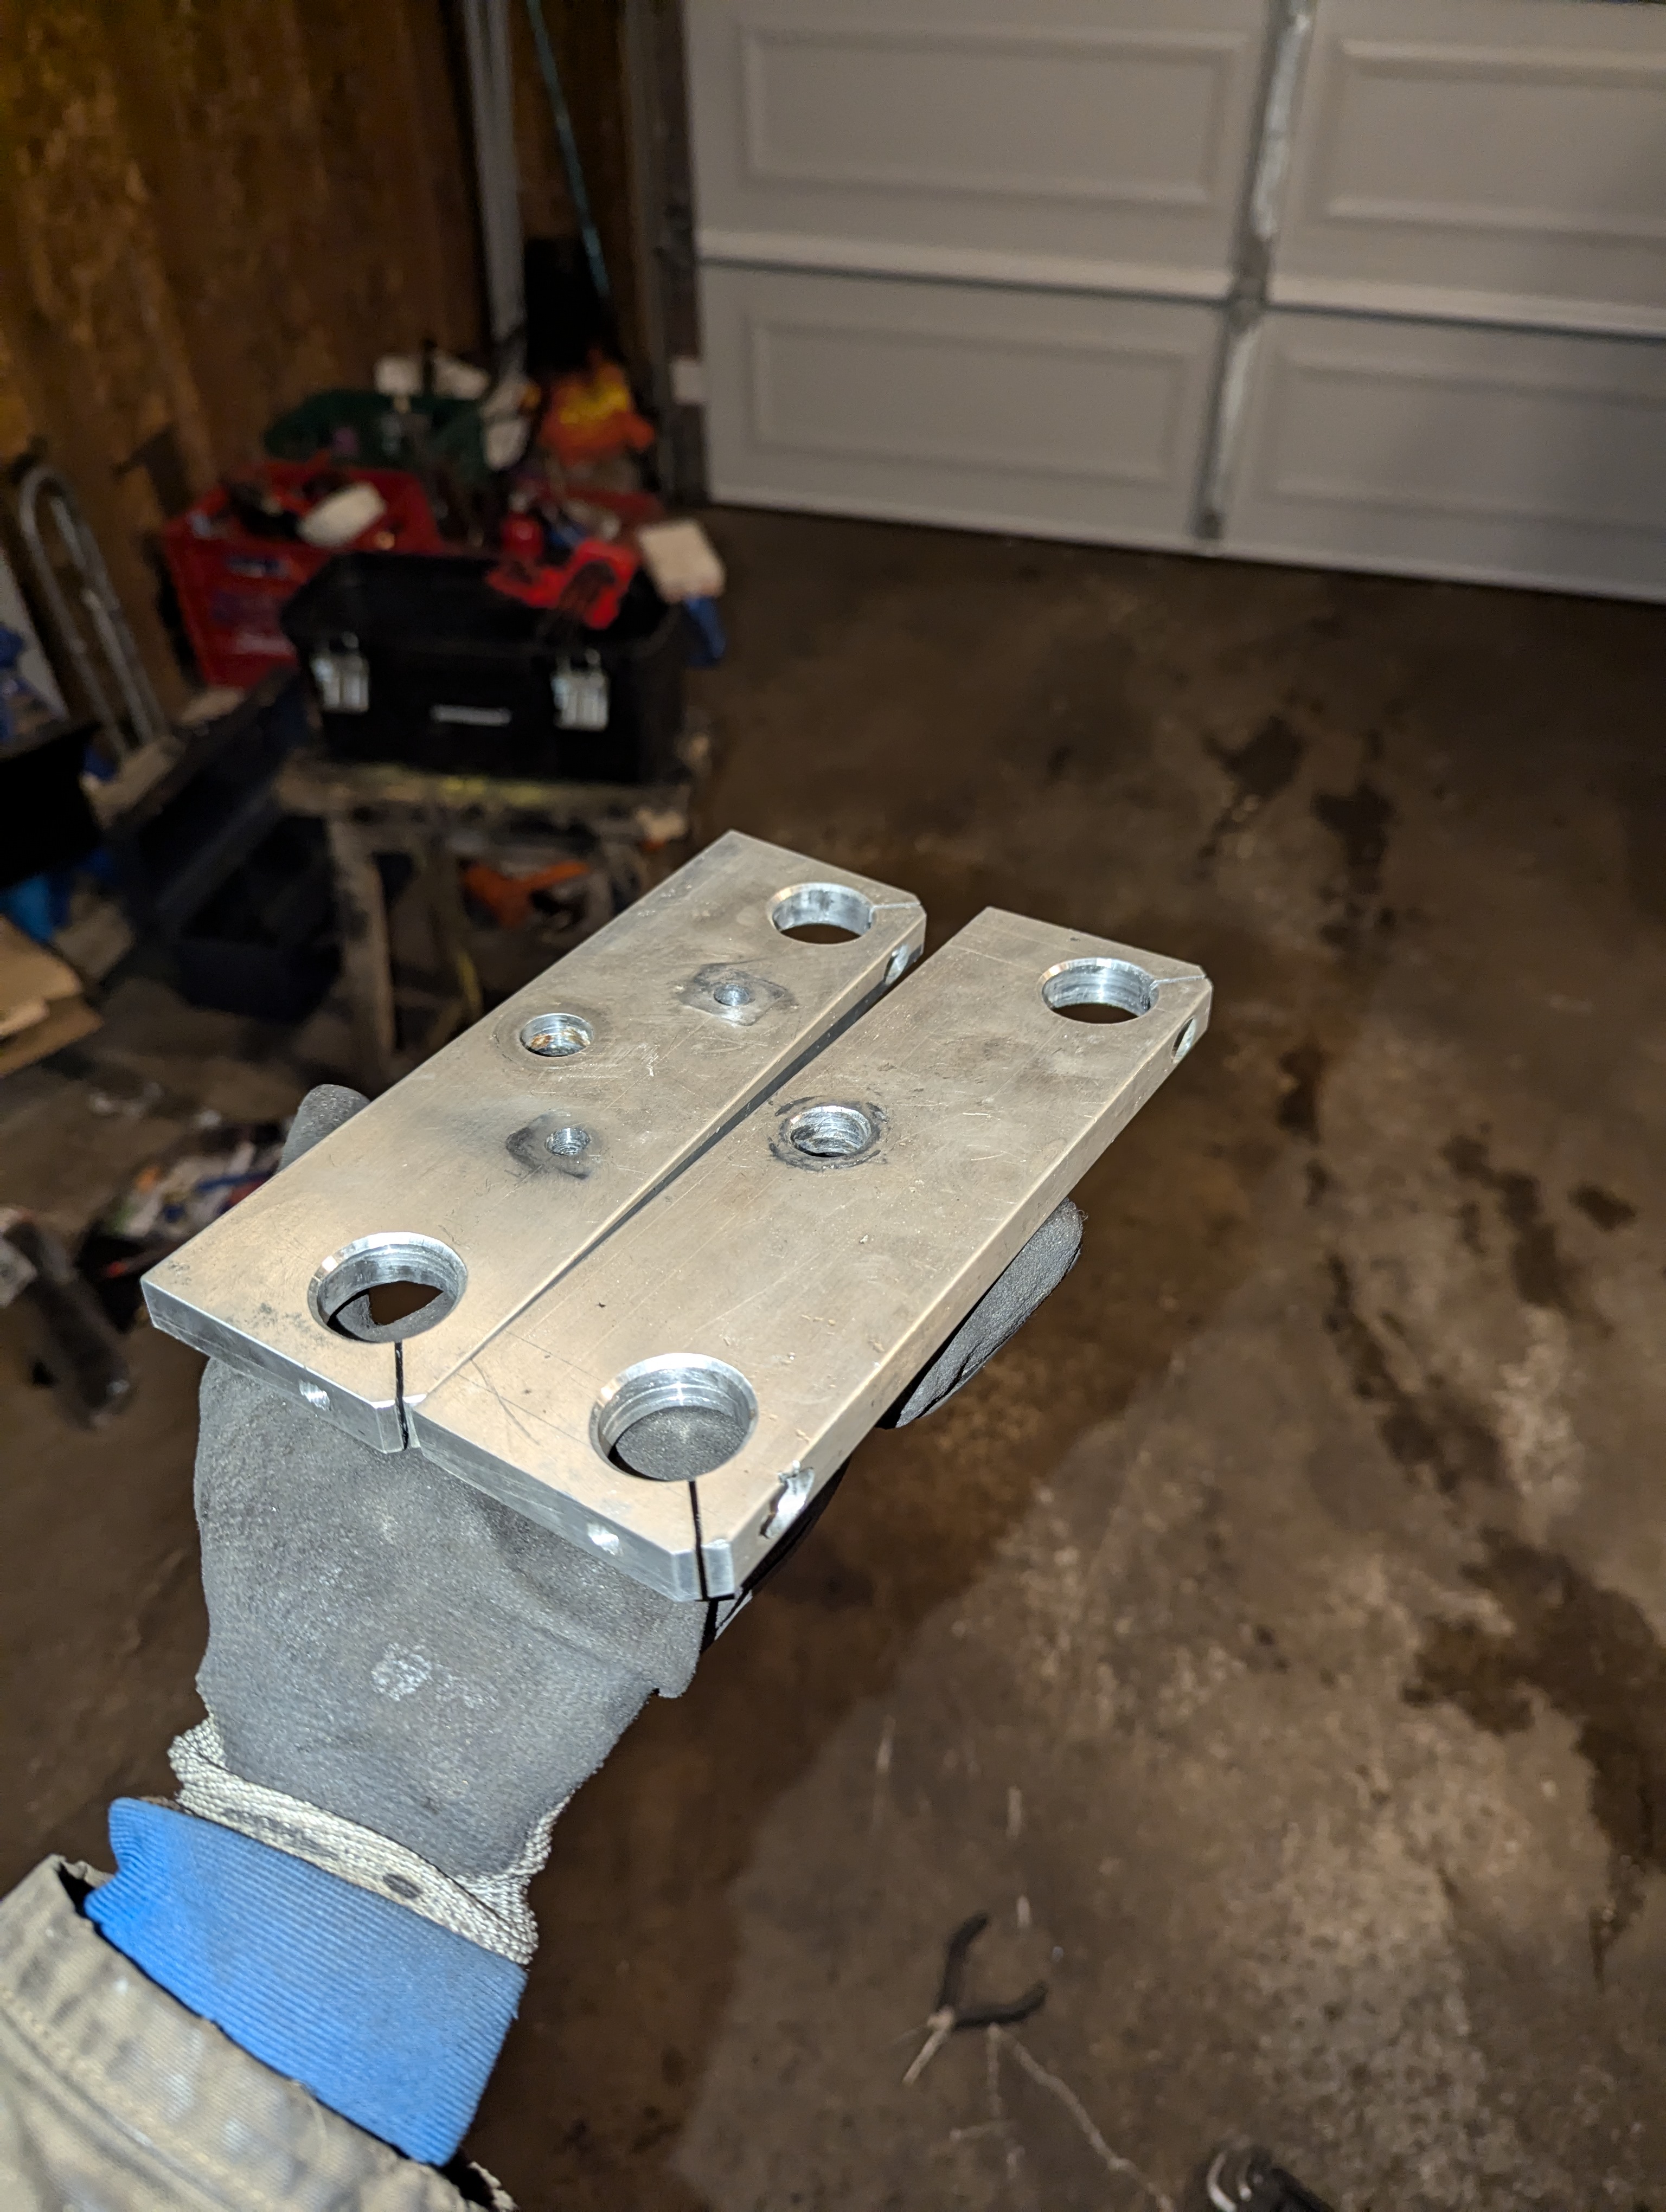
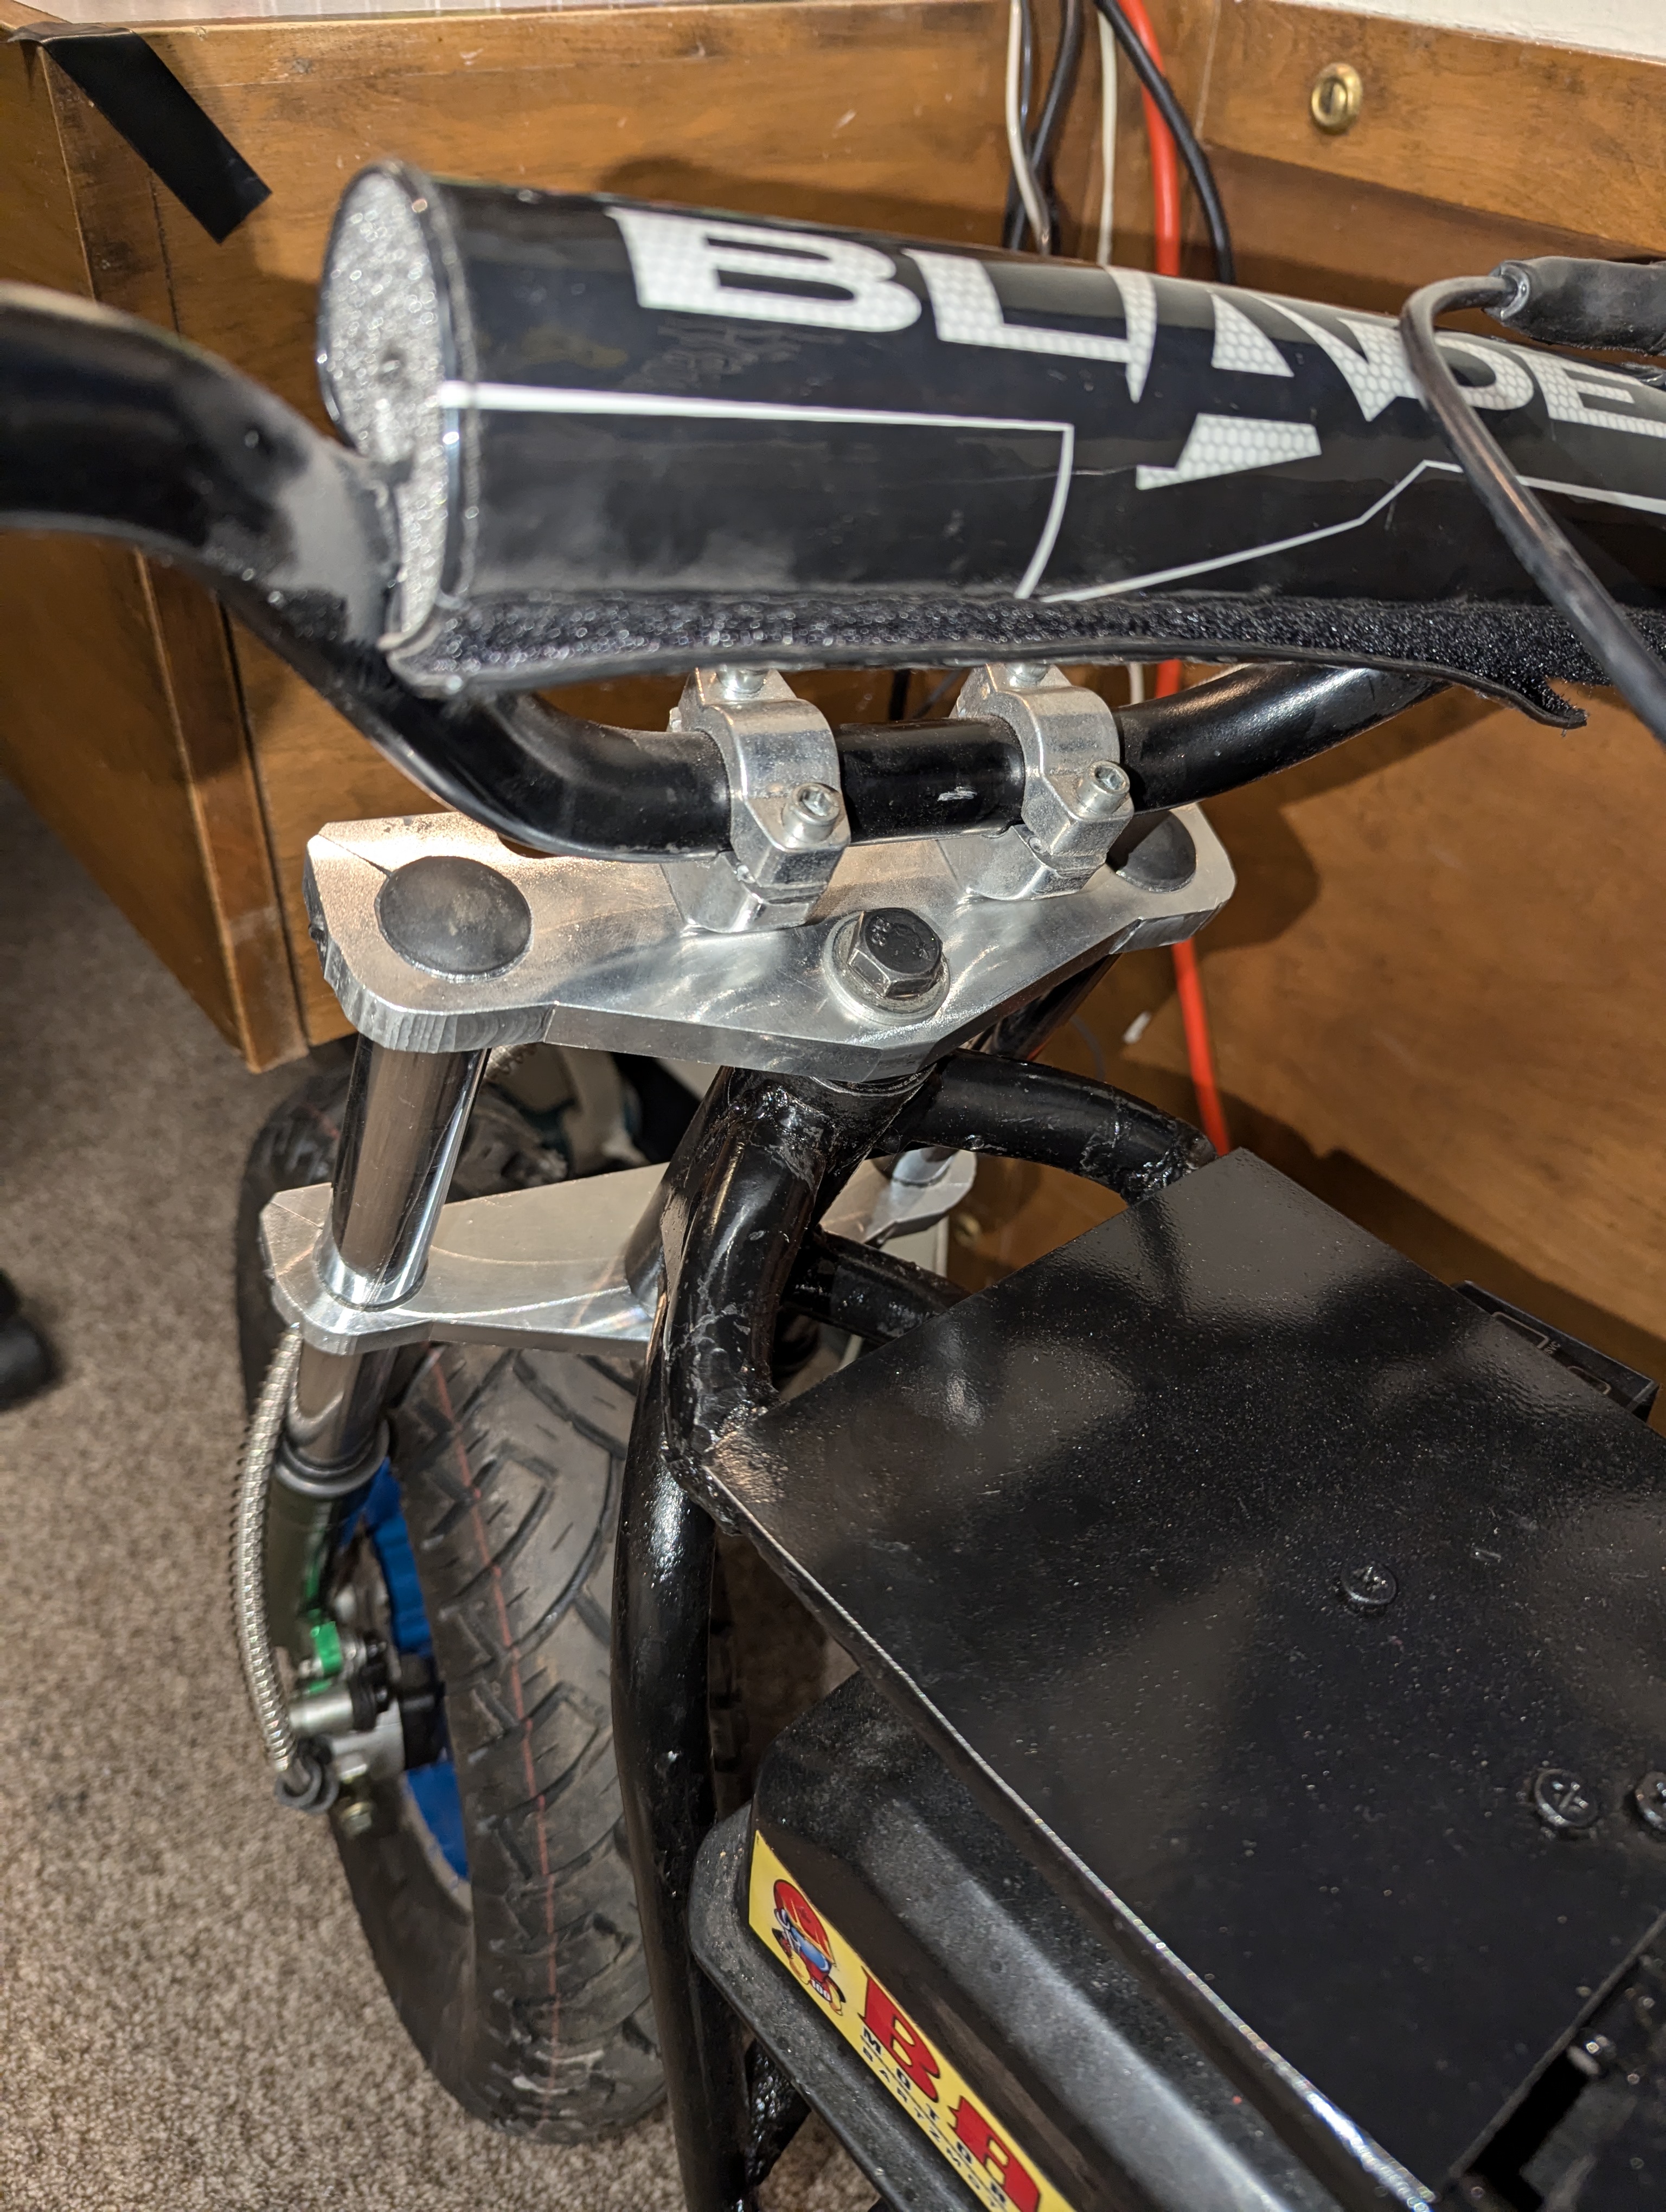
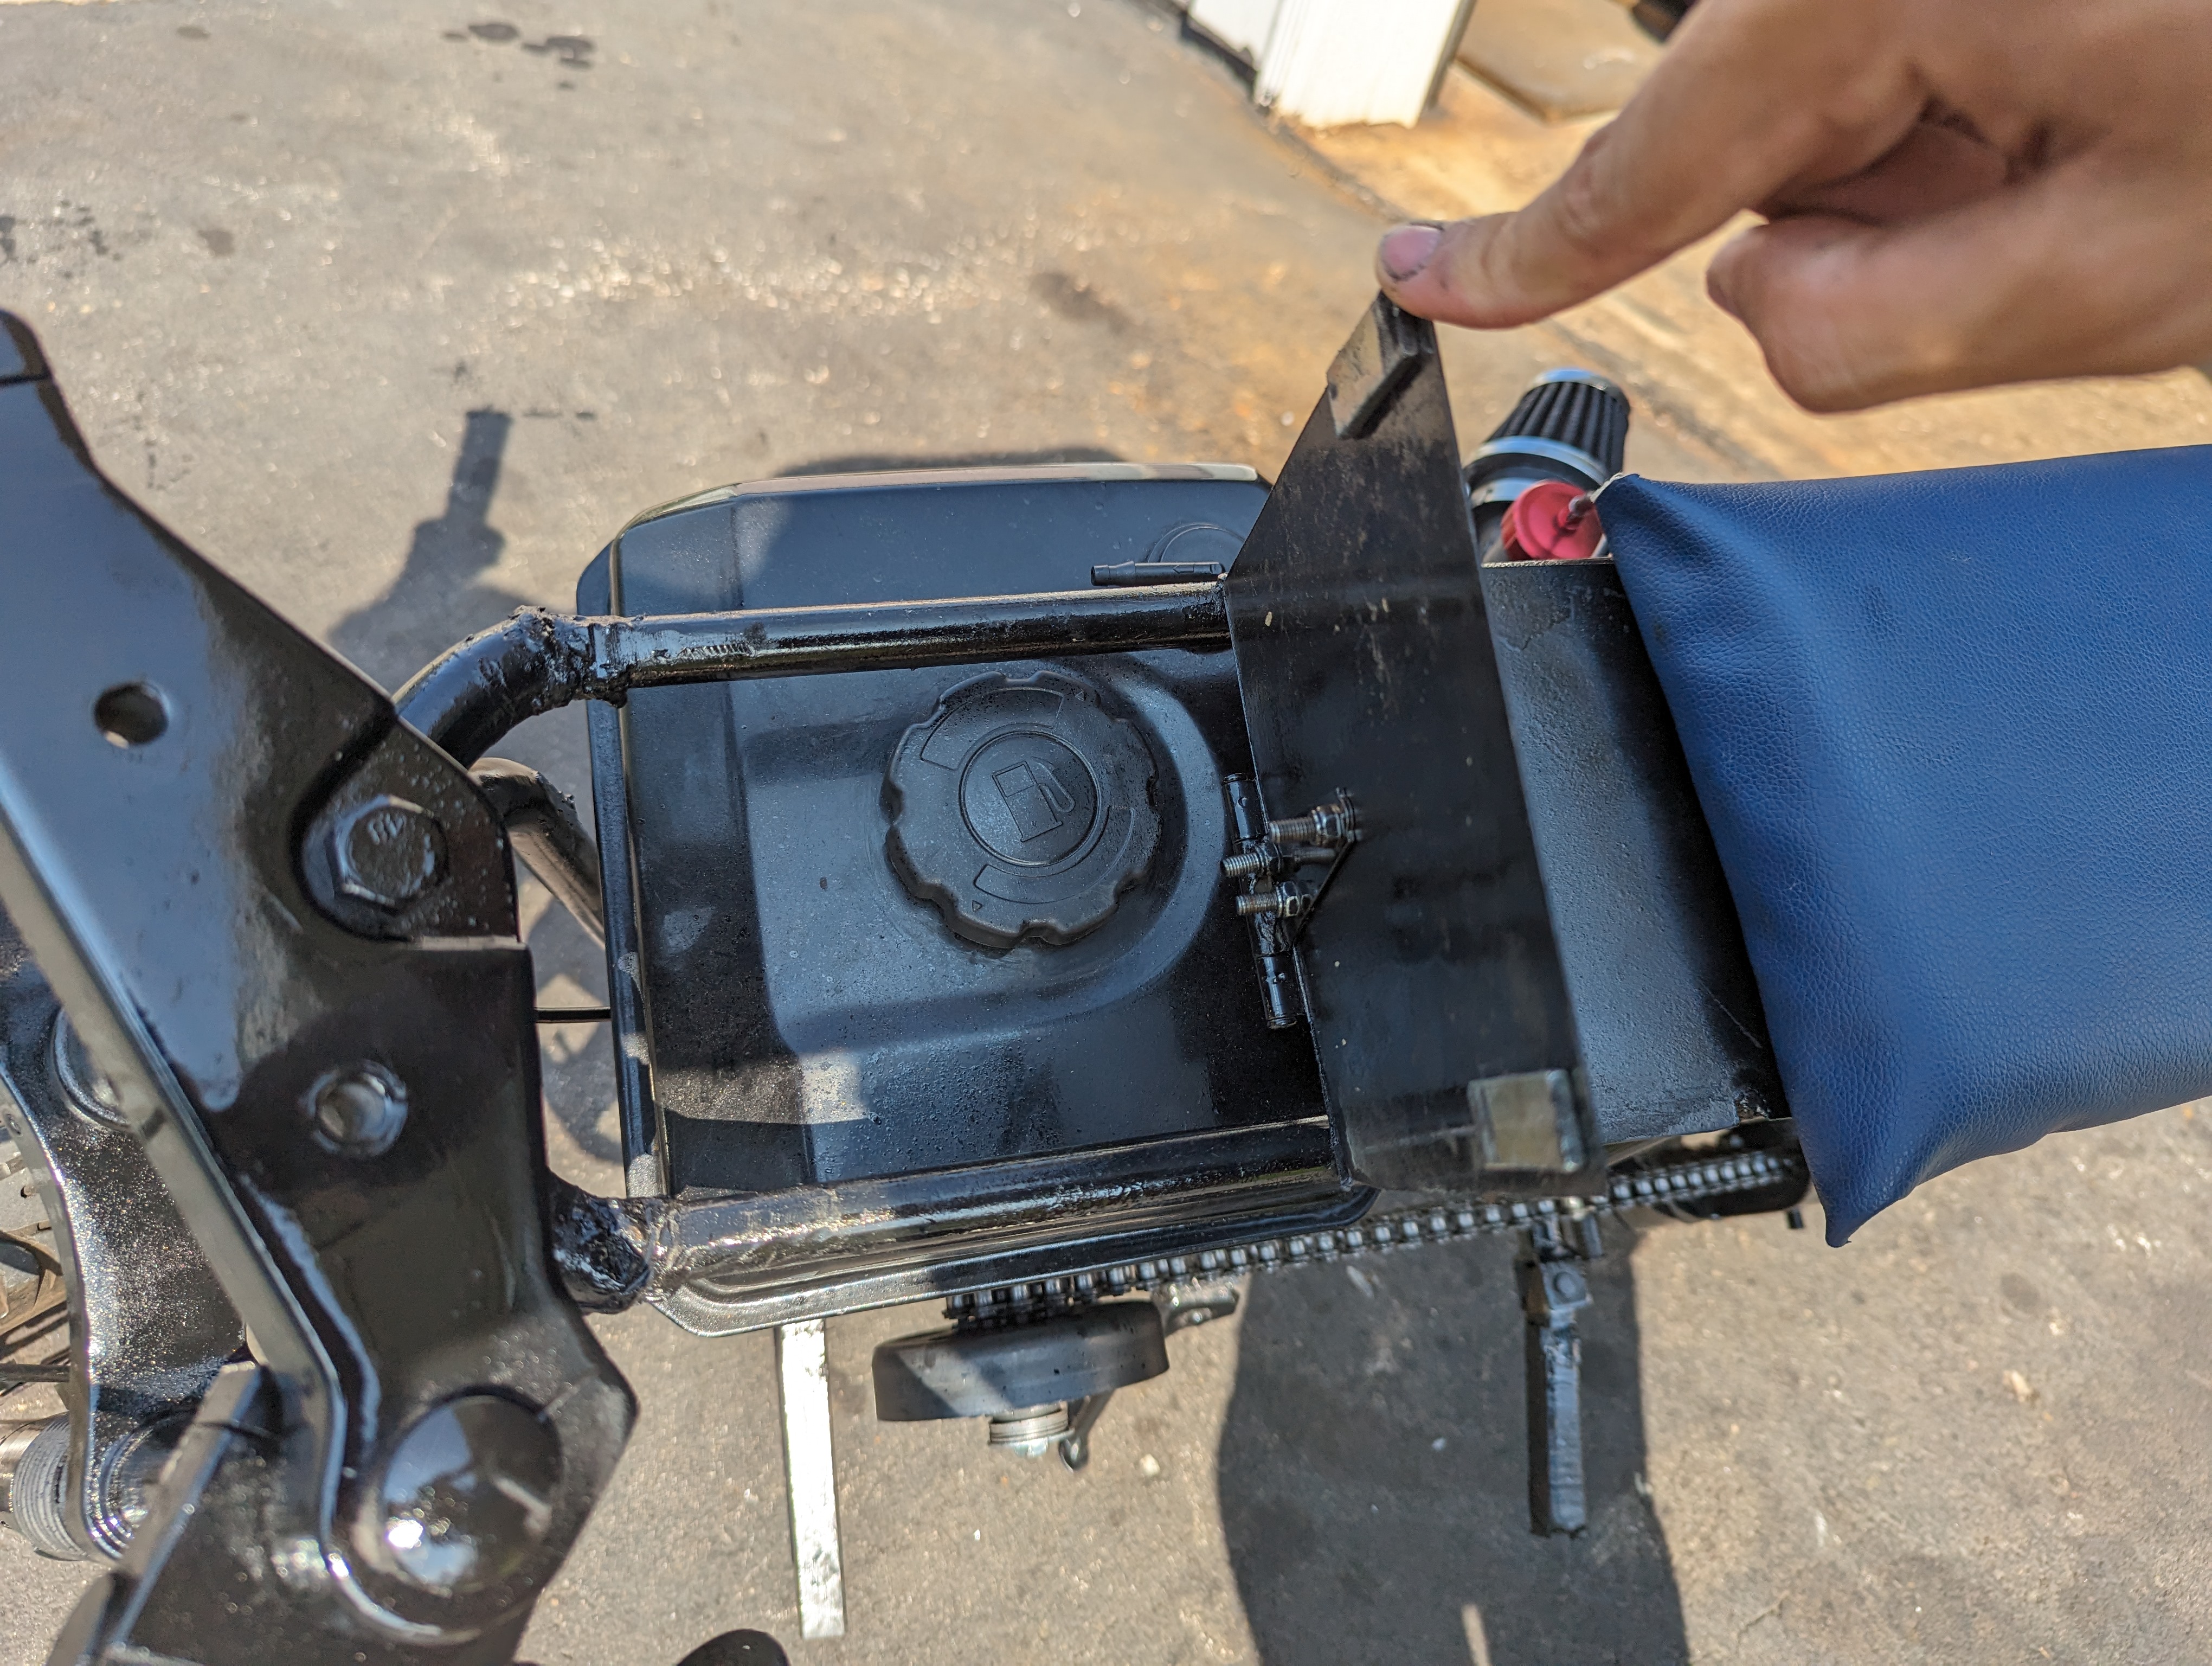
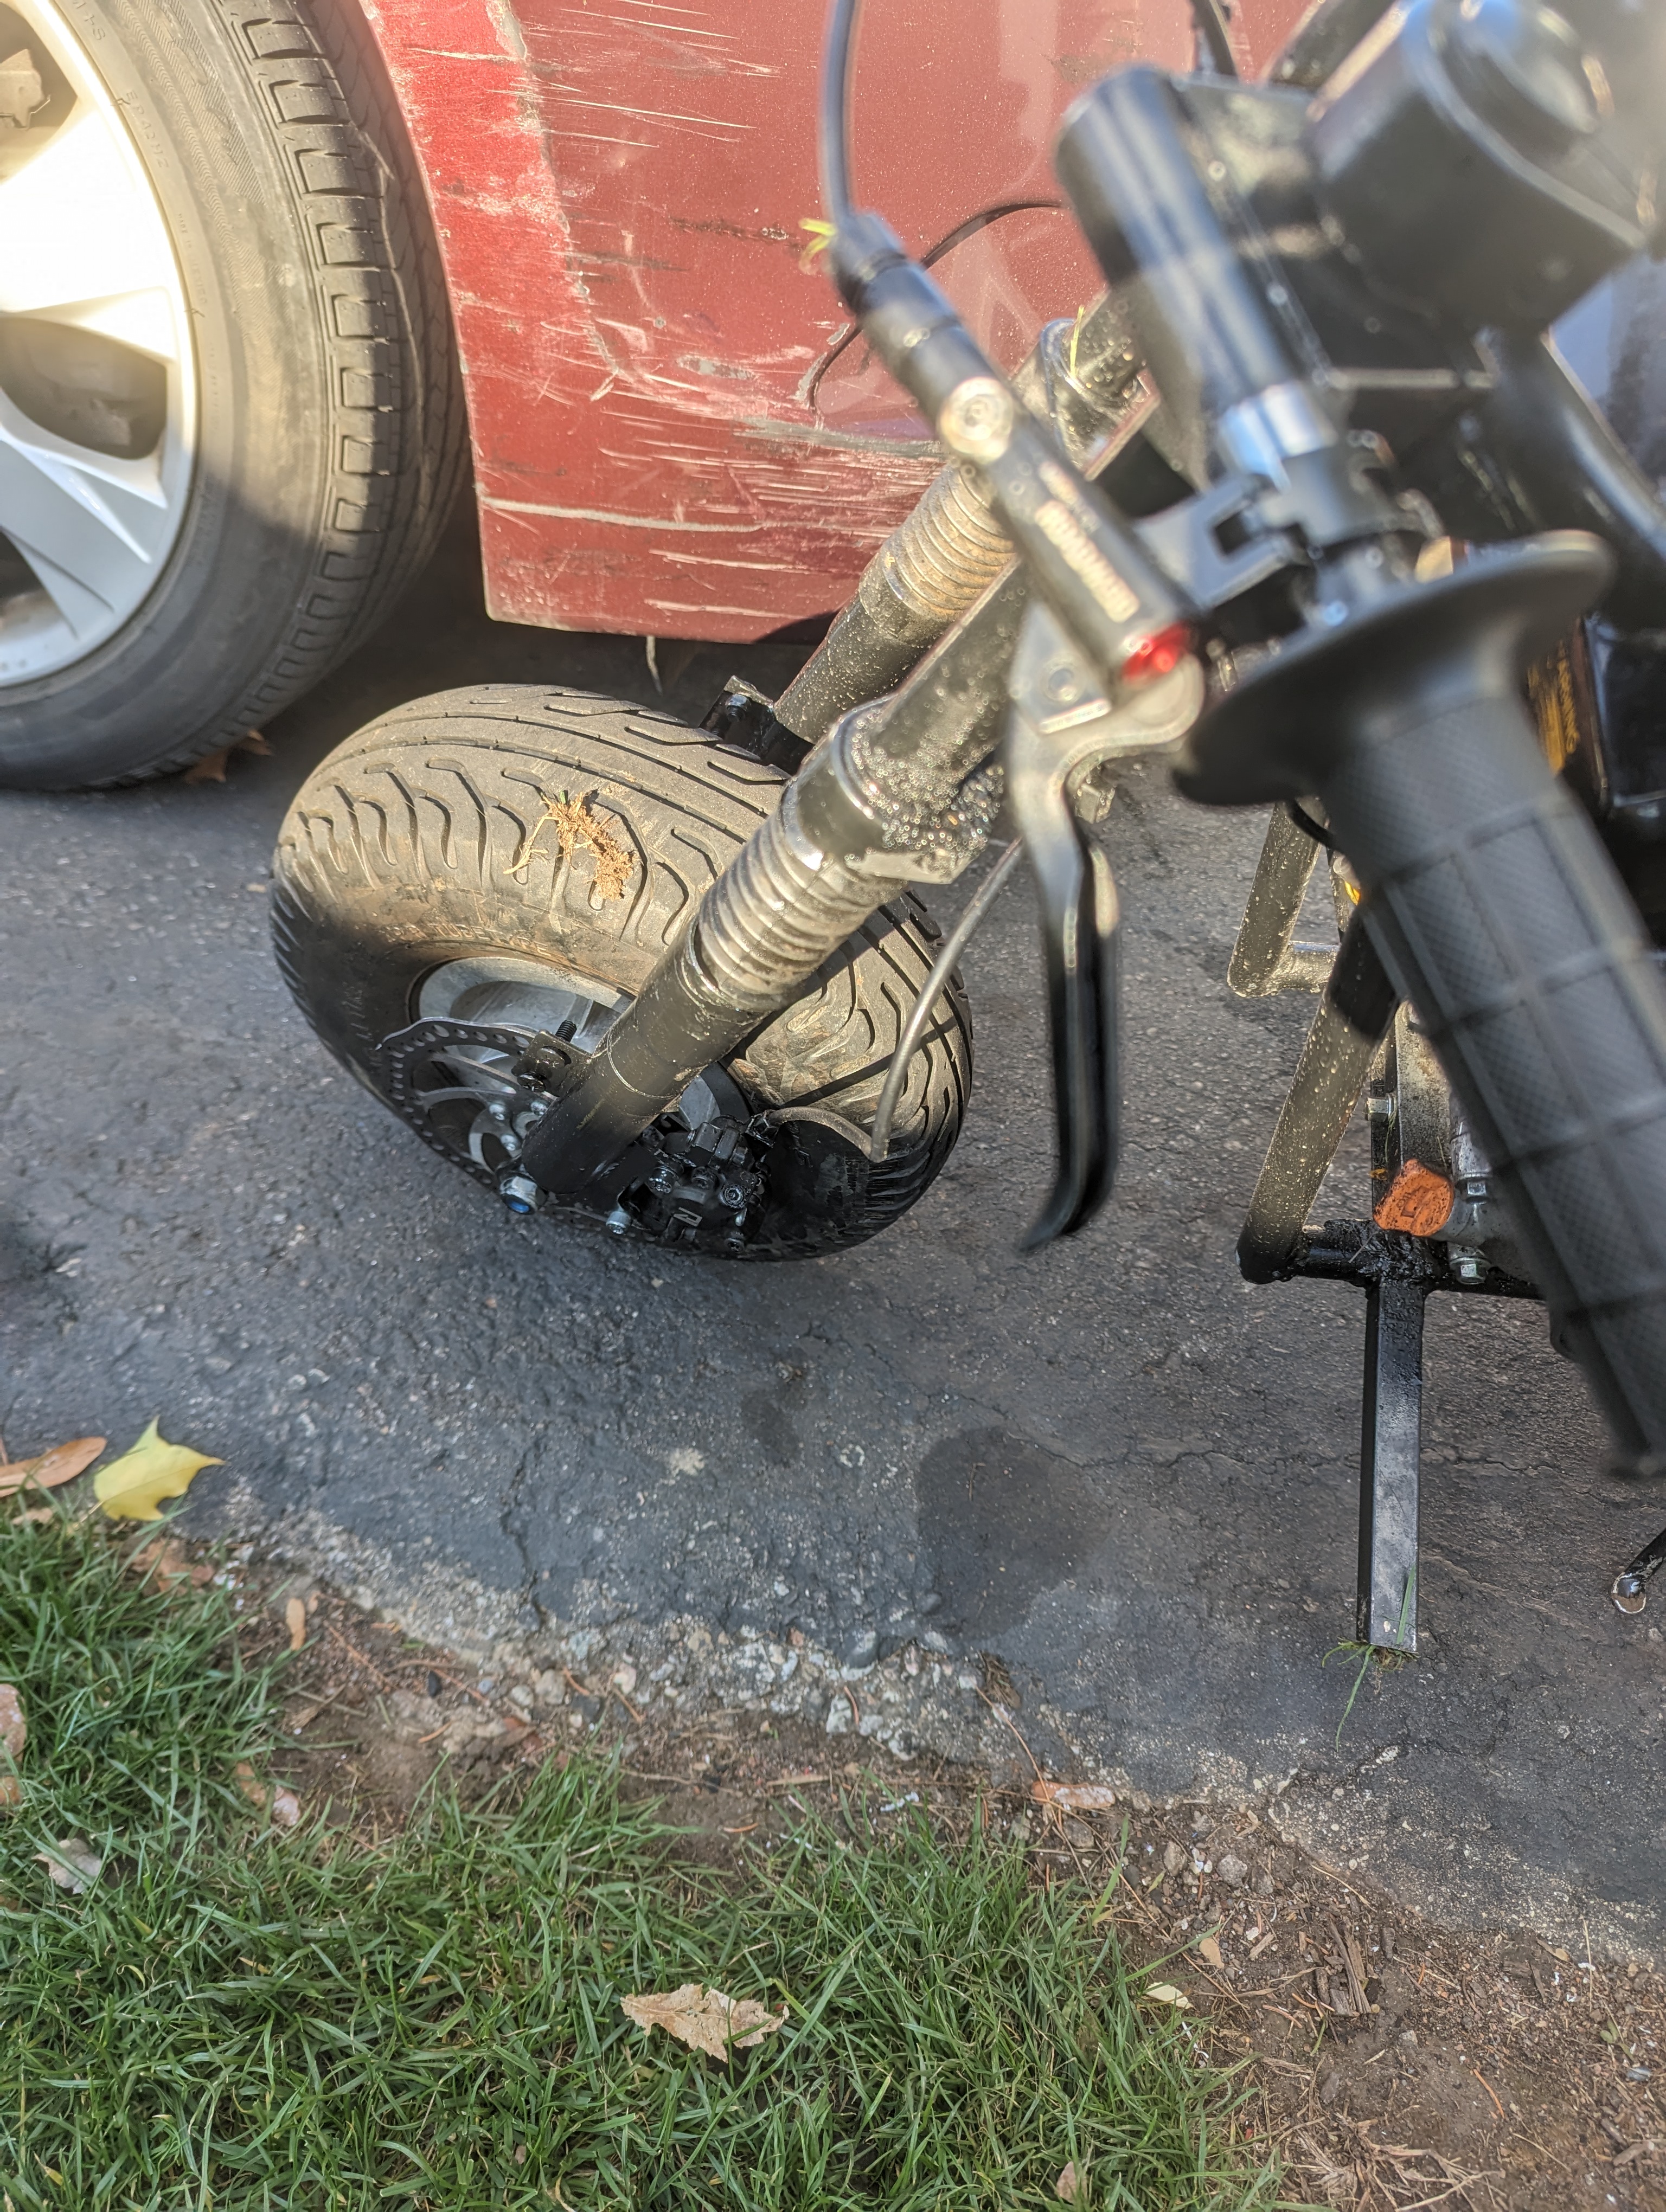
    This is where my minibike started to take its current shape, with modifications that fixed deeper issues and greatly improved the bike. Because of the large distance between the engine sprocket and the rear sprocket, the distance between them changed significantly during suspension travel. This caused the chain to rub through the sliders I had installed to protect the frame. To address this, I built and installed an idler sprocket at the pivot point. I installed a handlebar mount and handlebars to create a more upright seating position, greatly improving ergonomics. After breaking the original forks, I completely rebuilt the front end. I installed new forks on custom triple clamps made from aluminum bar stock. The clamps were attached to a shaft I machined on a lathe and held in the steering head with bearings seated on locating features I welded in. The updated steering and suspension setup also used a larger front wheel, which caused the engine to sit horizontally. This was necessary because the gas tank, mounted to the engine, was tilted away from the spout, leaving about 0.5 L of fuel unusable. The bike now handles and steers much more smoothly.

  4. Minibike: Final improvements and its current state
    Minibike: Final improvements and its current state
    Minibike: Final improvements and its current state
    Minibike: Final improvements and its current state
    Minibike: Final improvements and its current state
    Minibike: Final improvements and its current state

    Final improvements and its current state

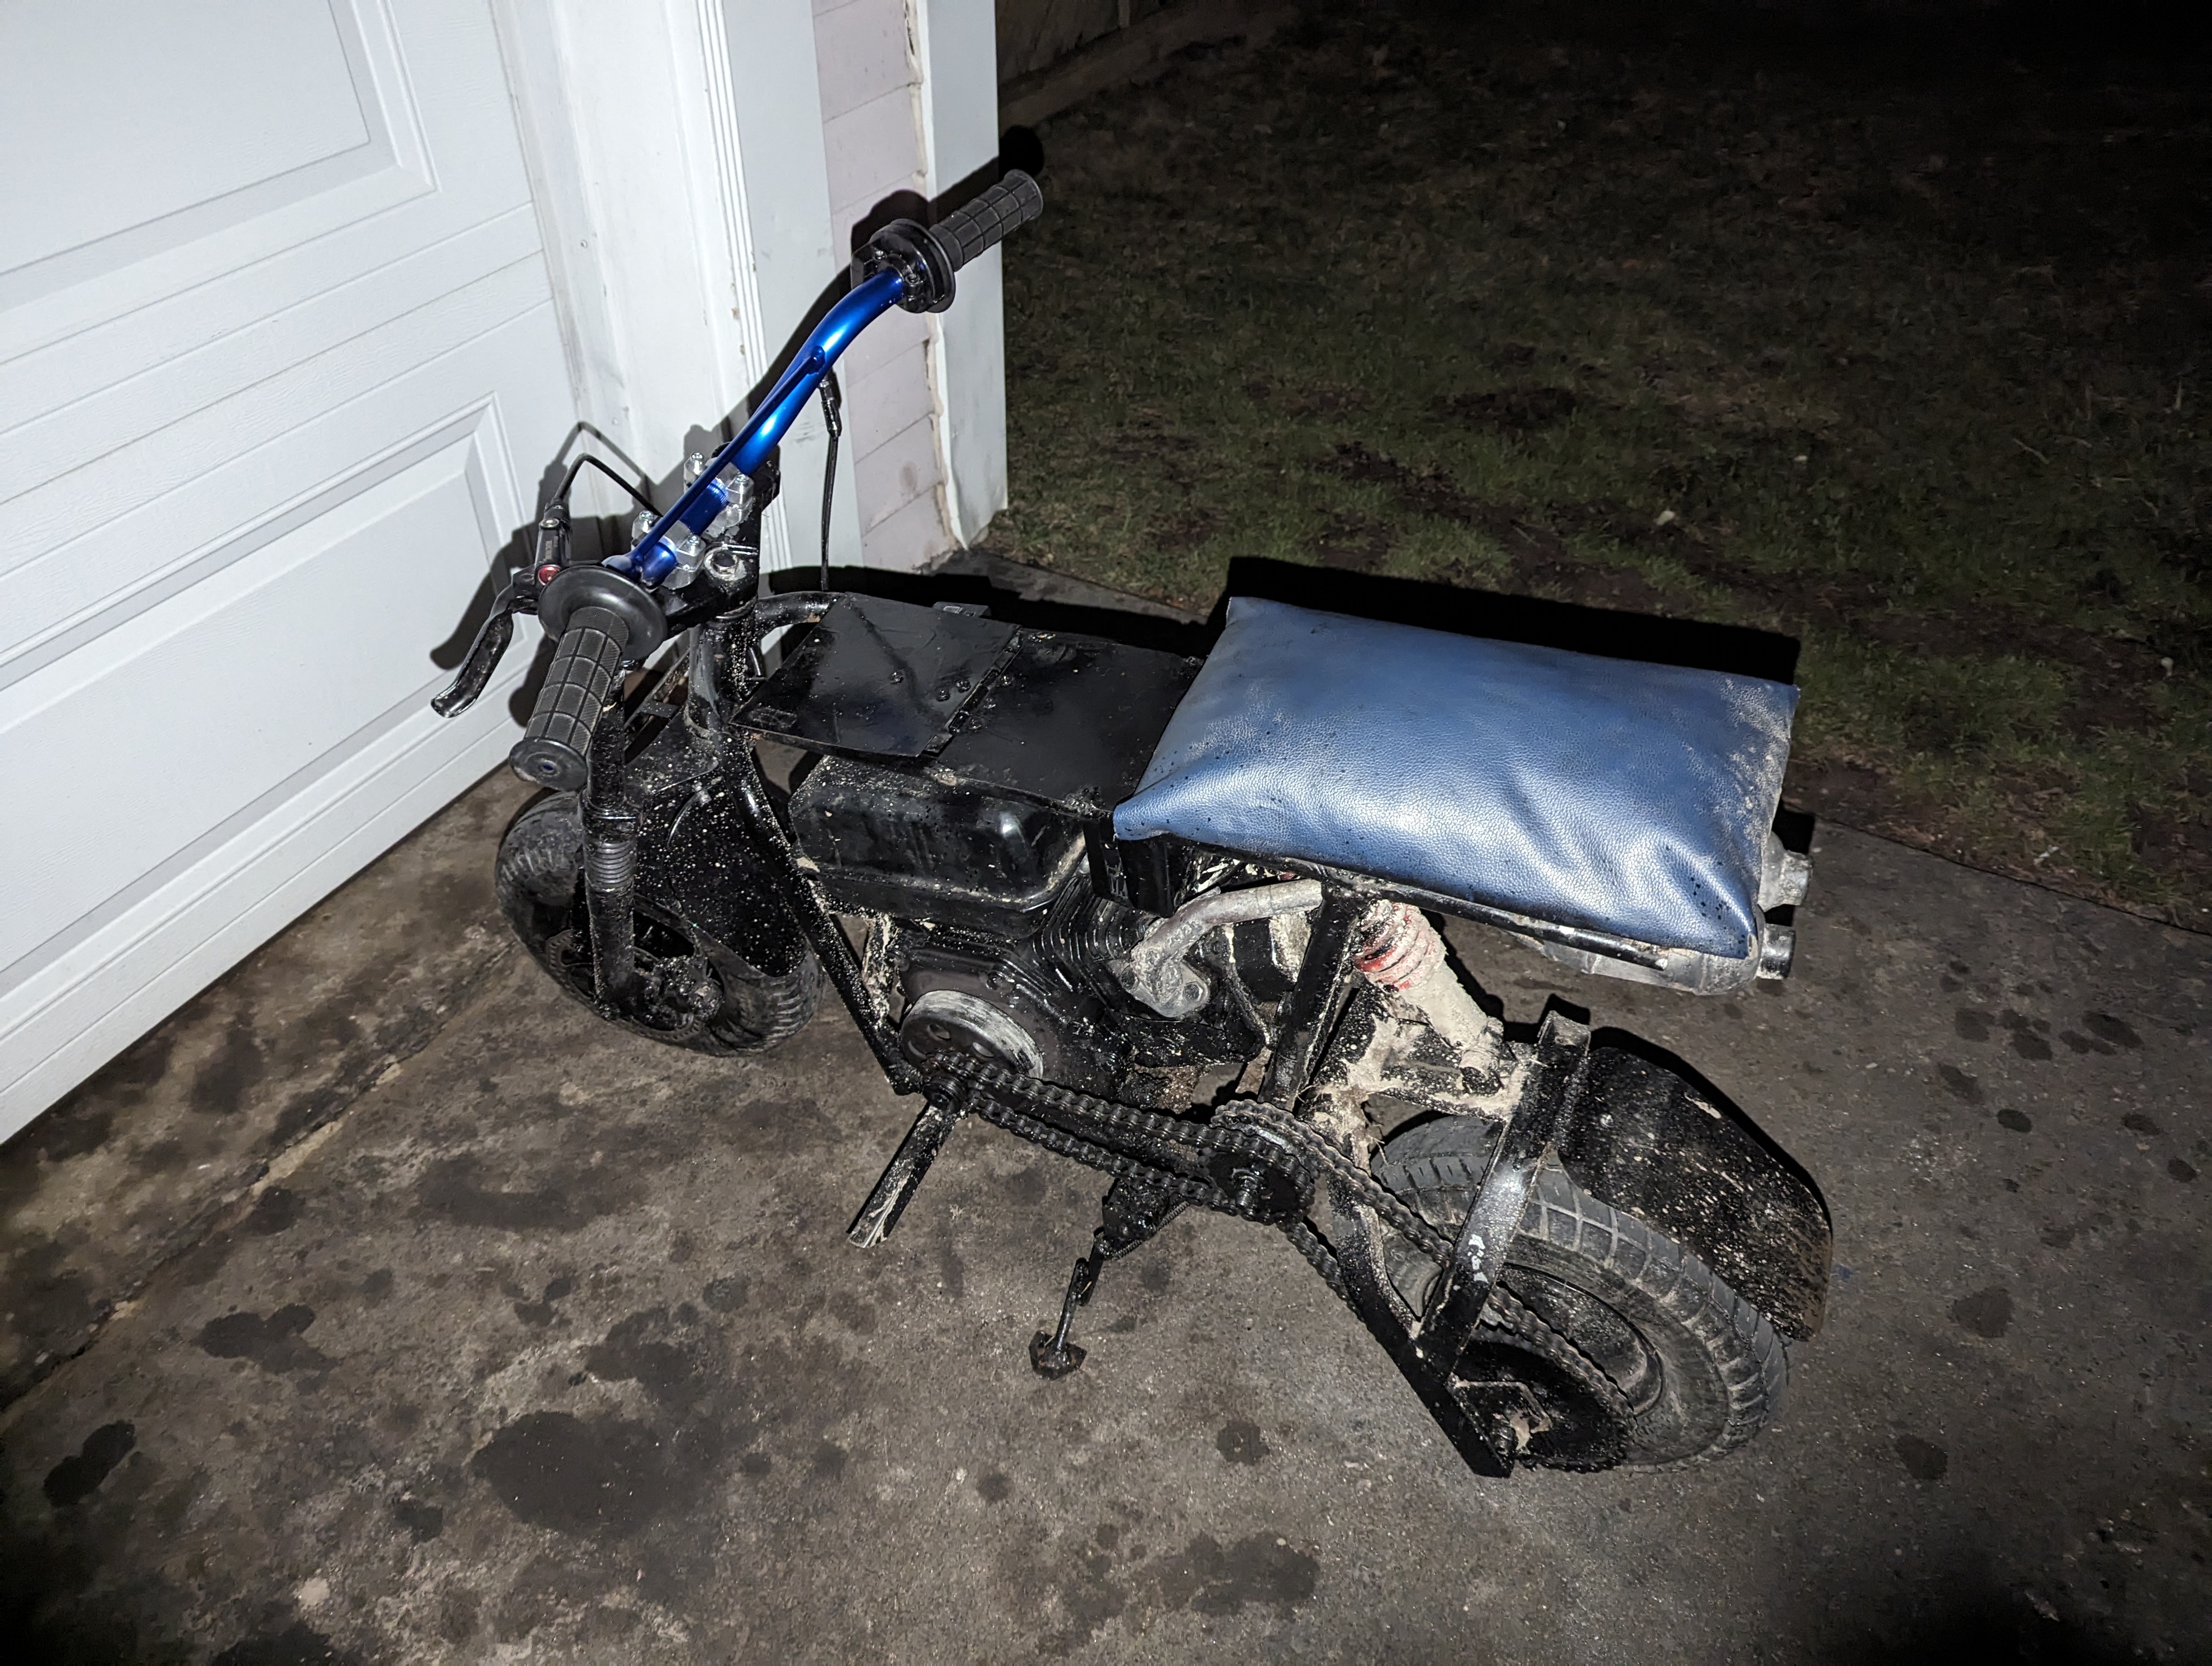
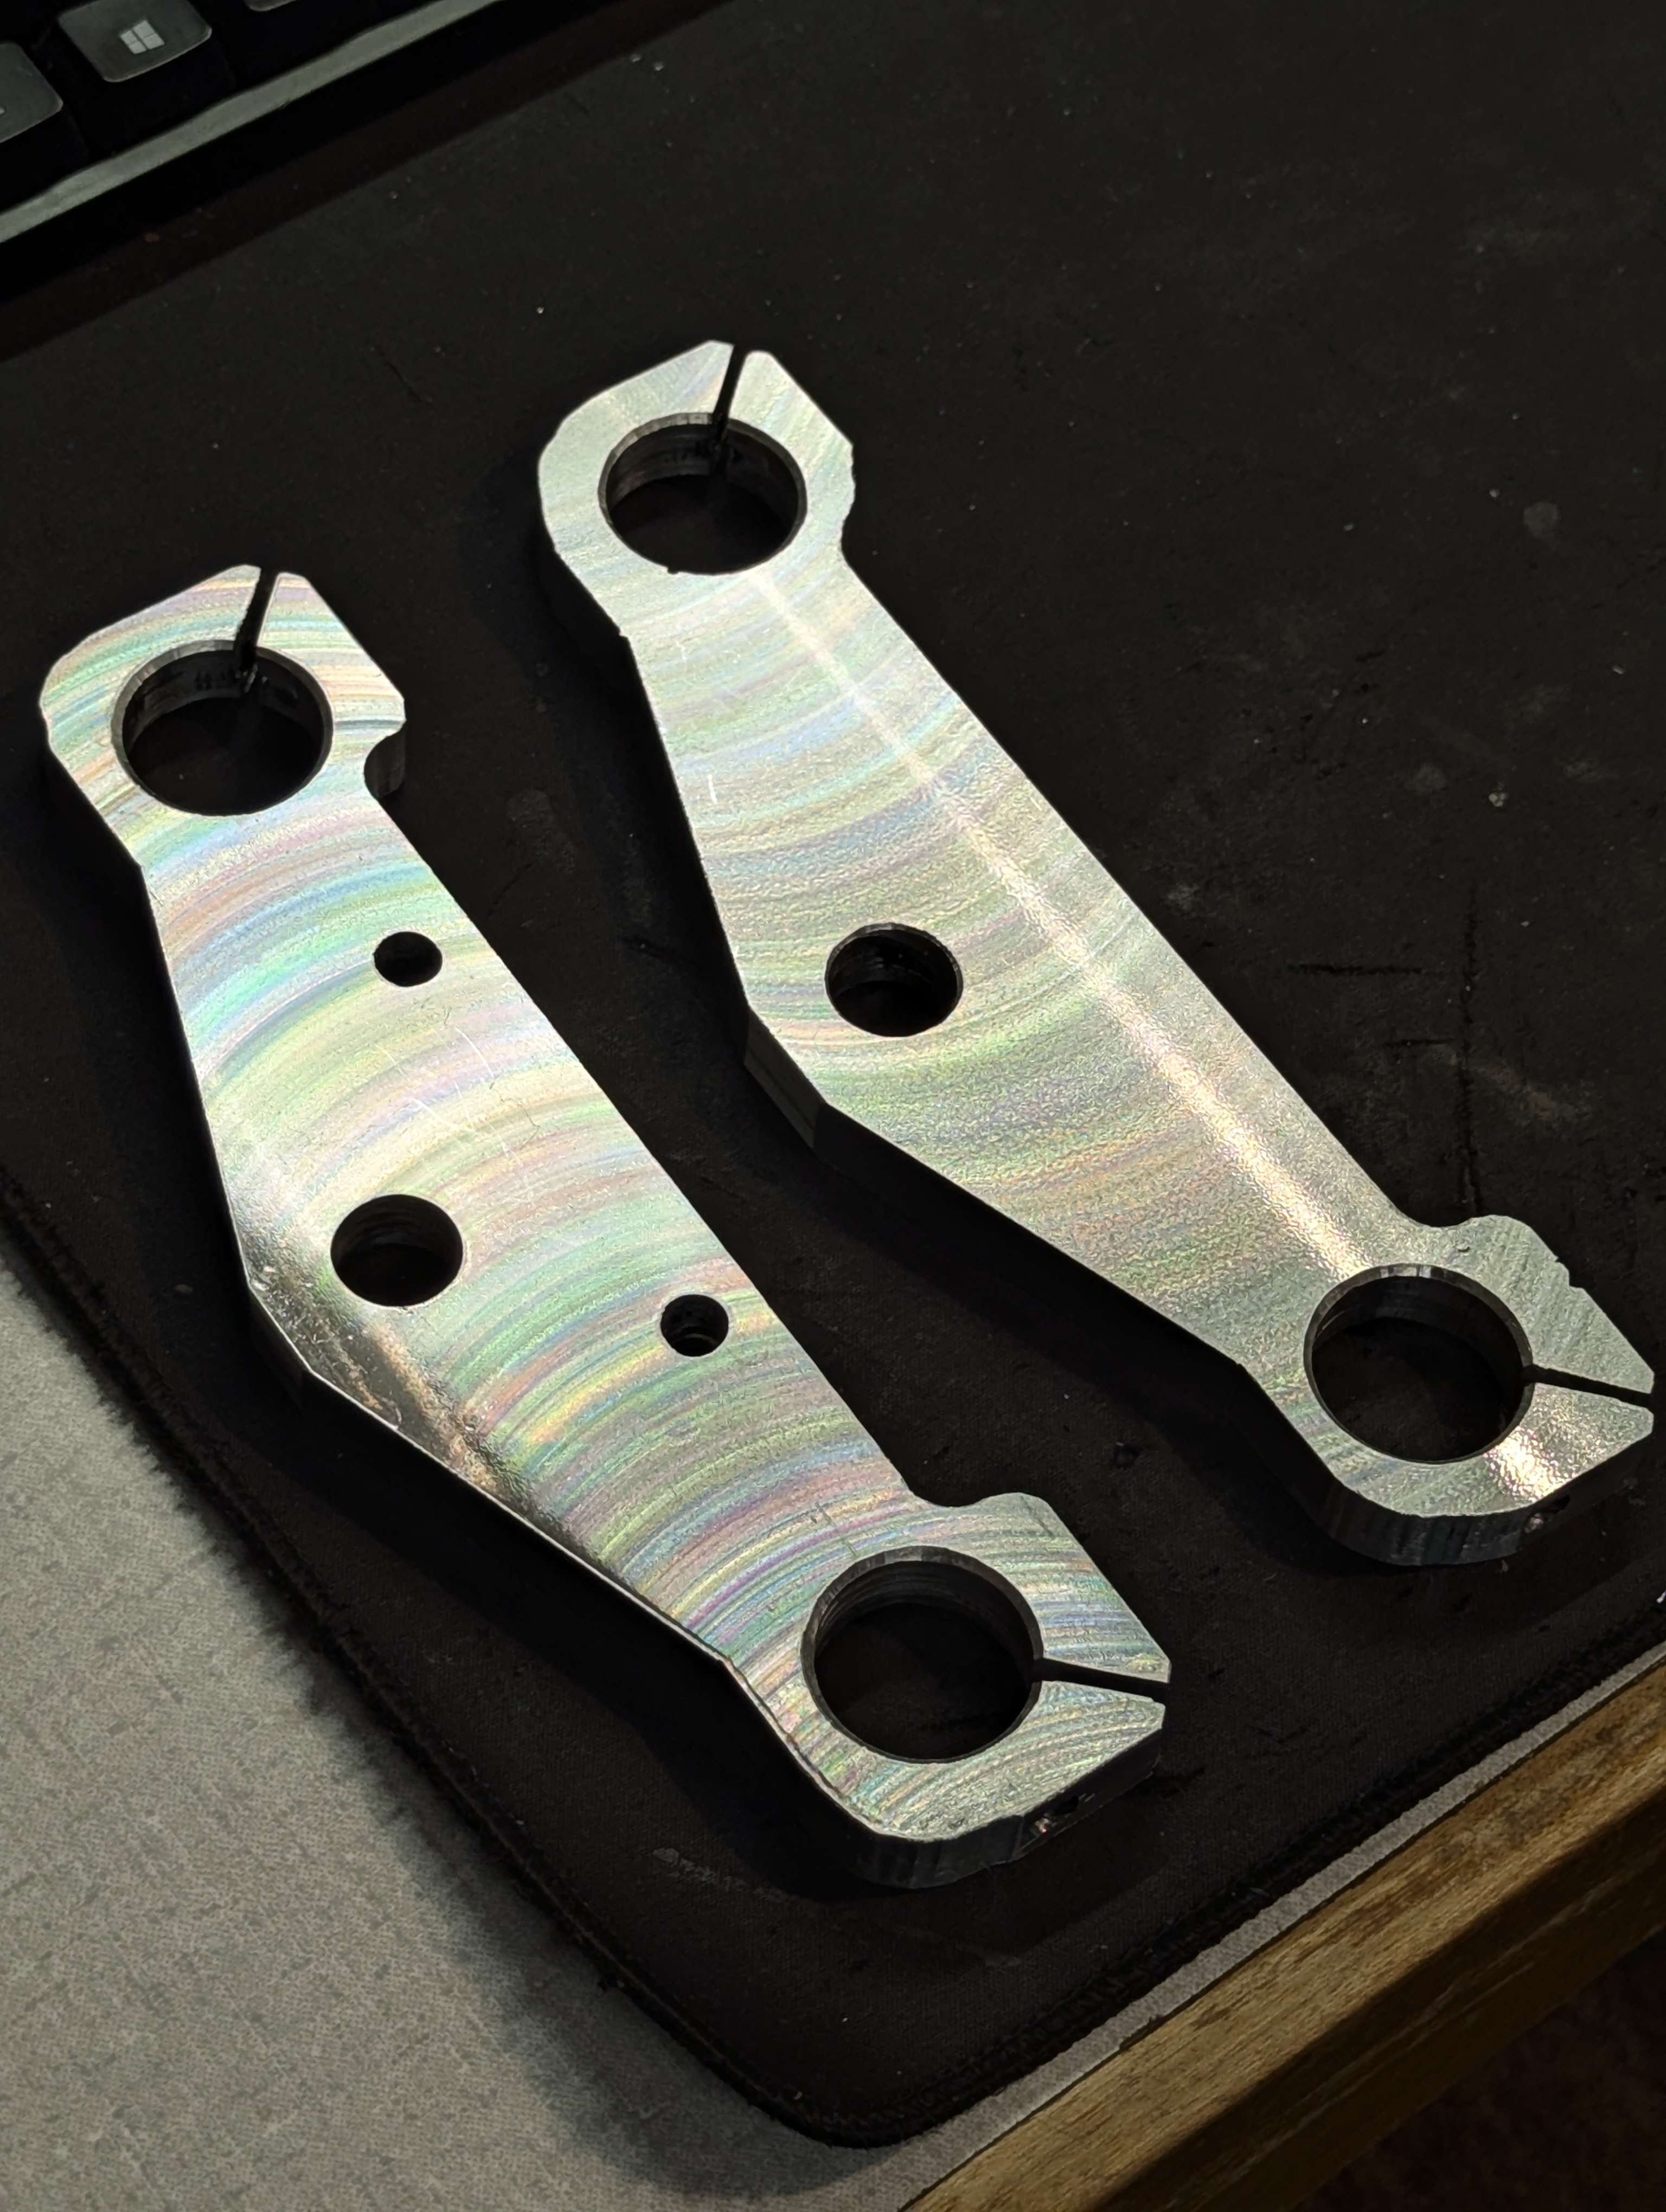
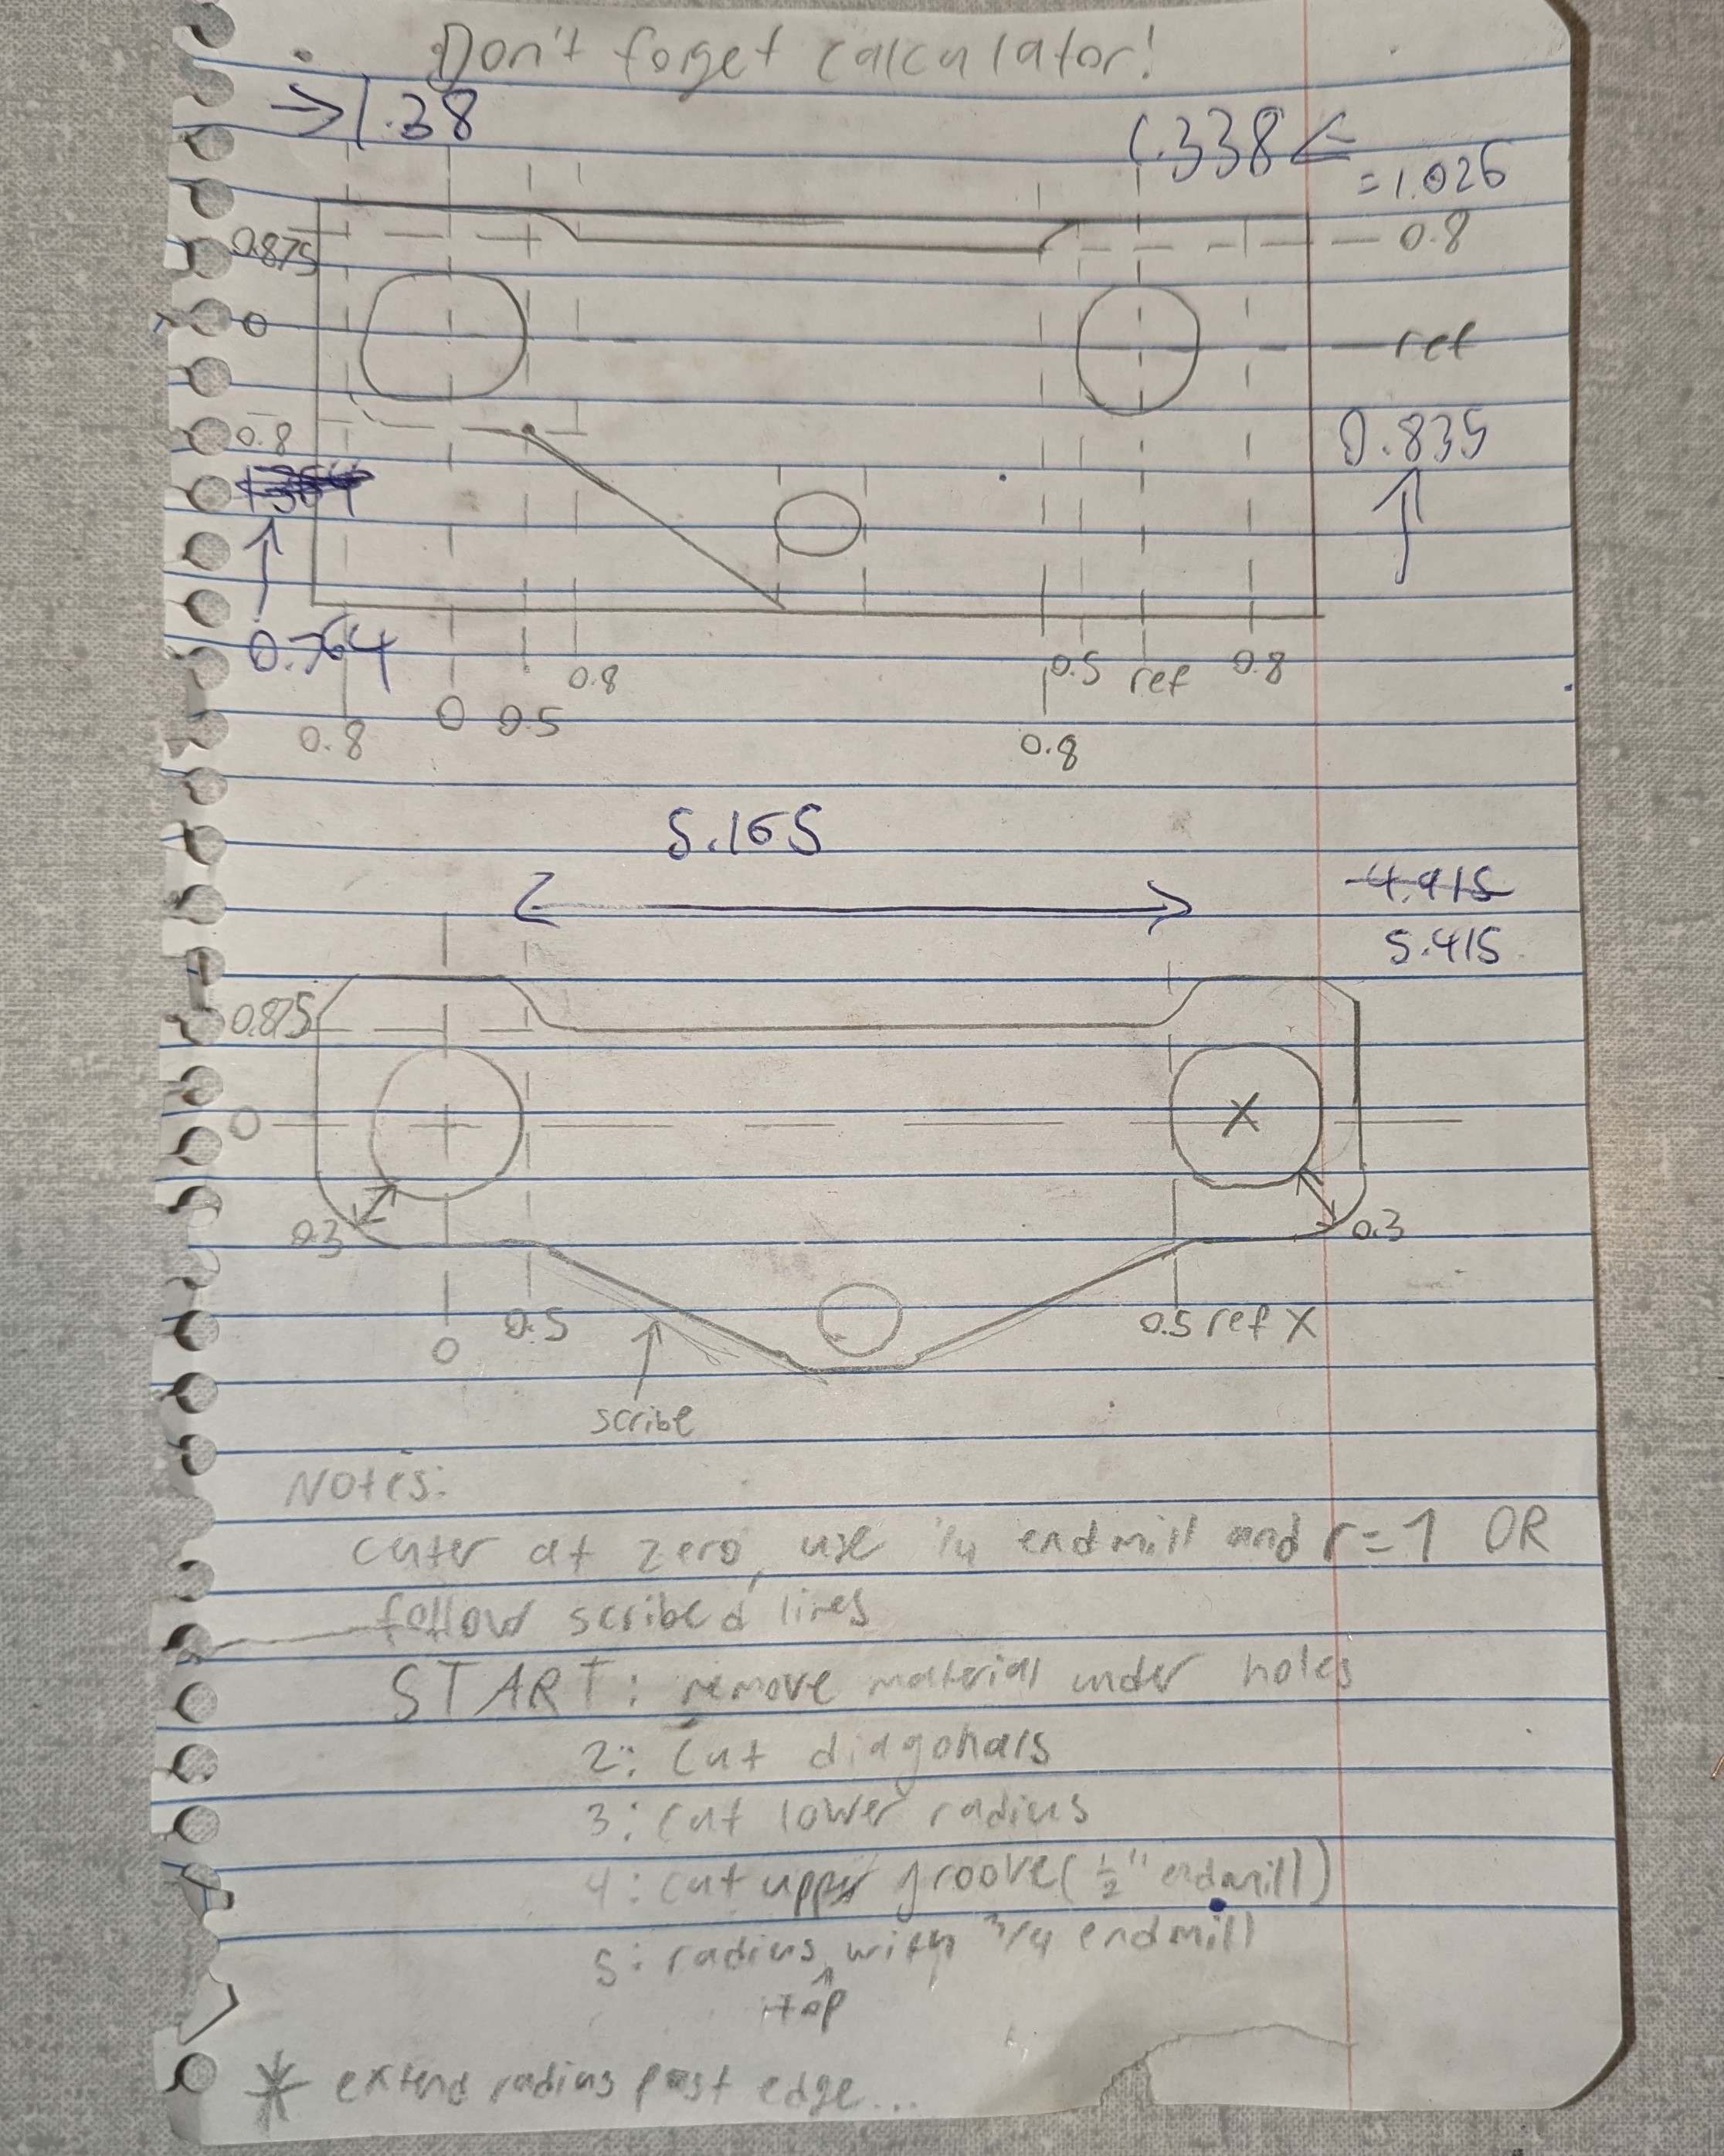
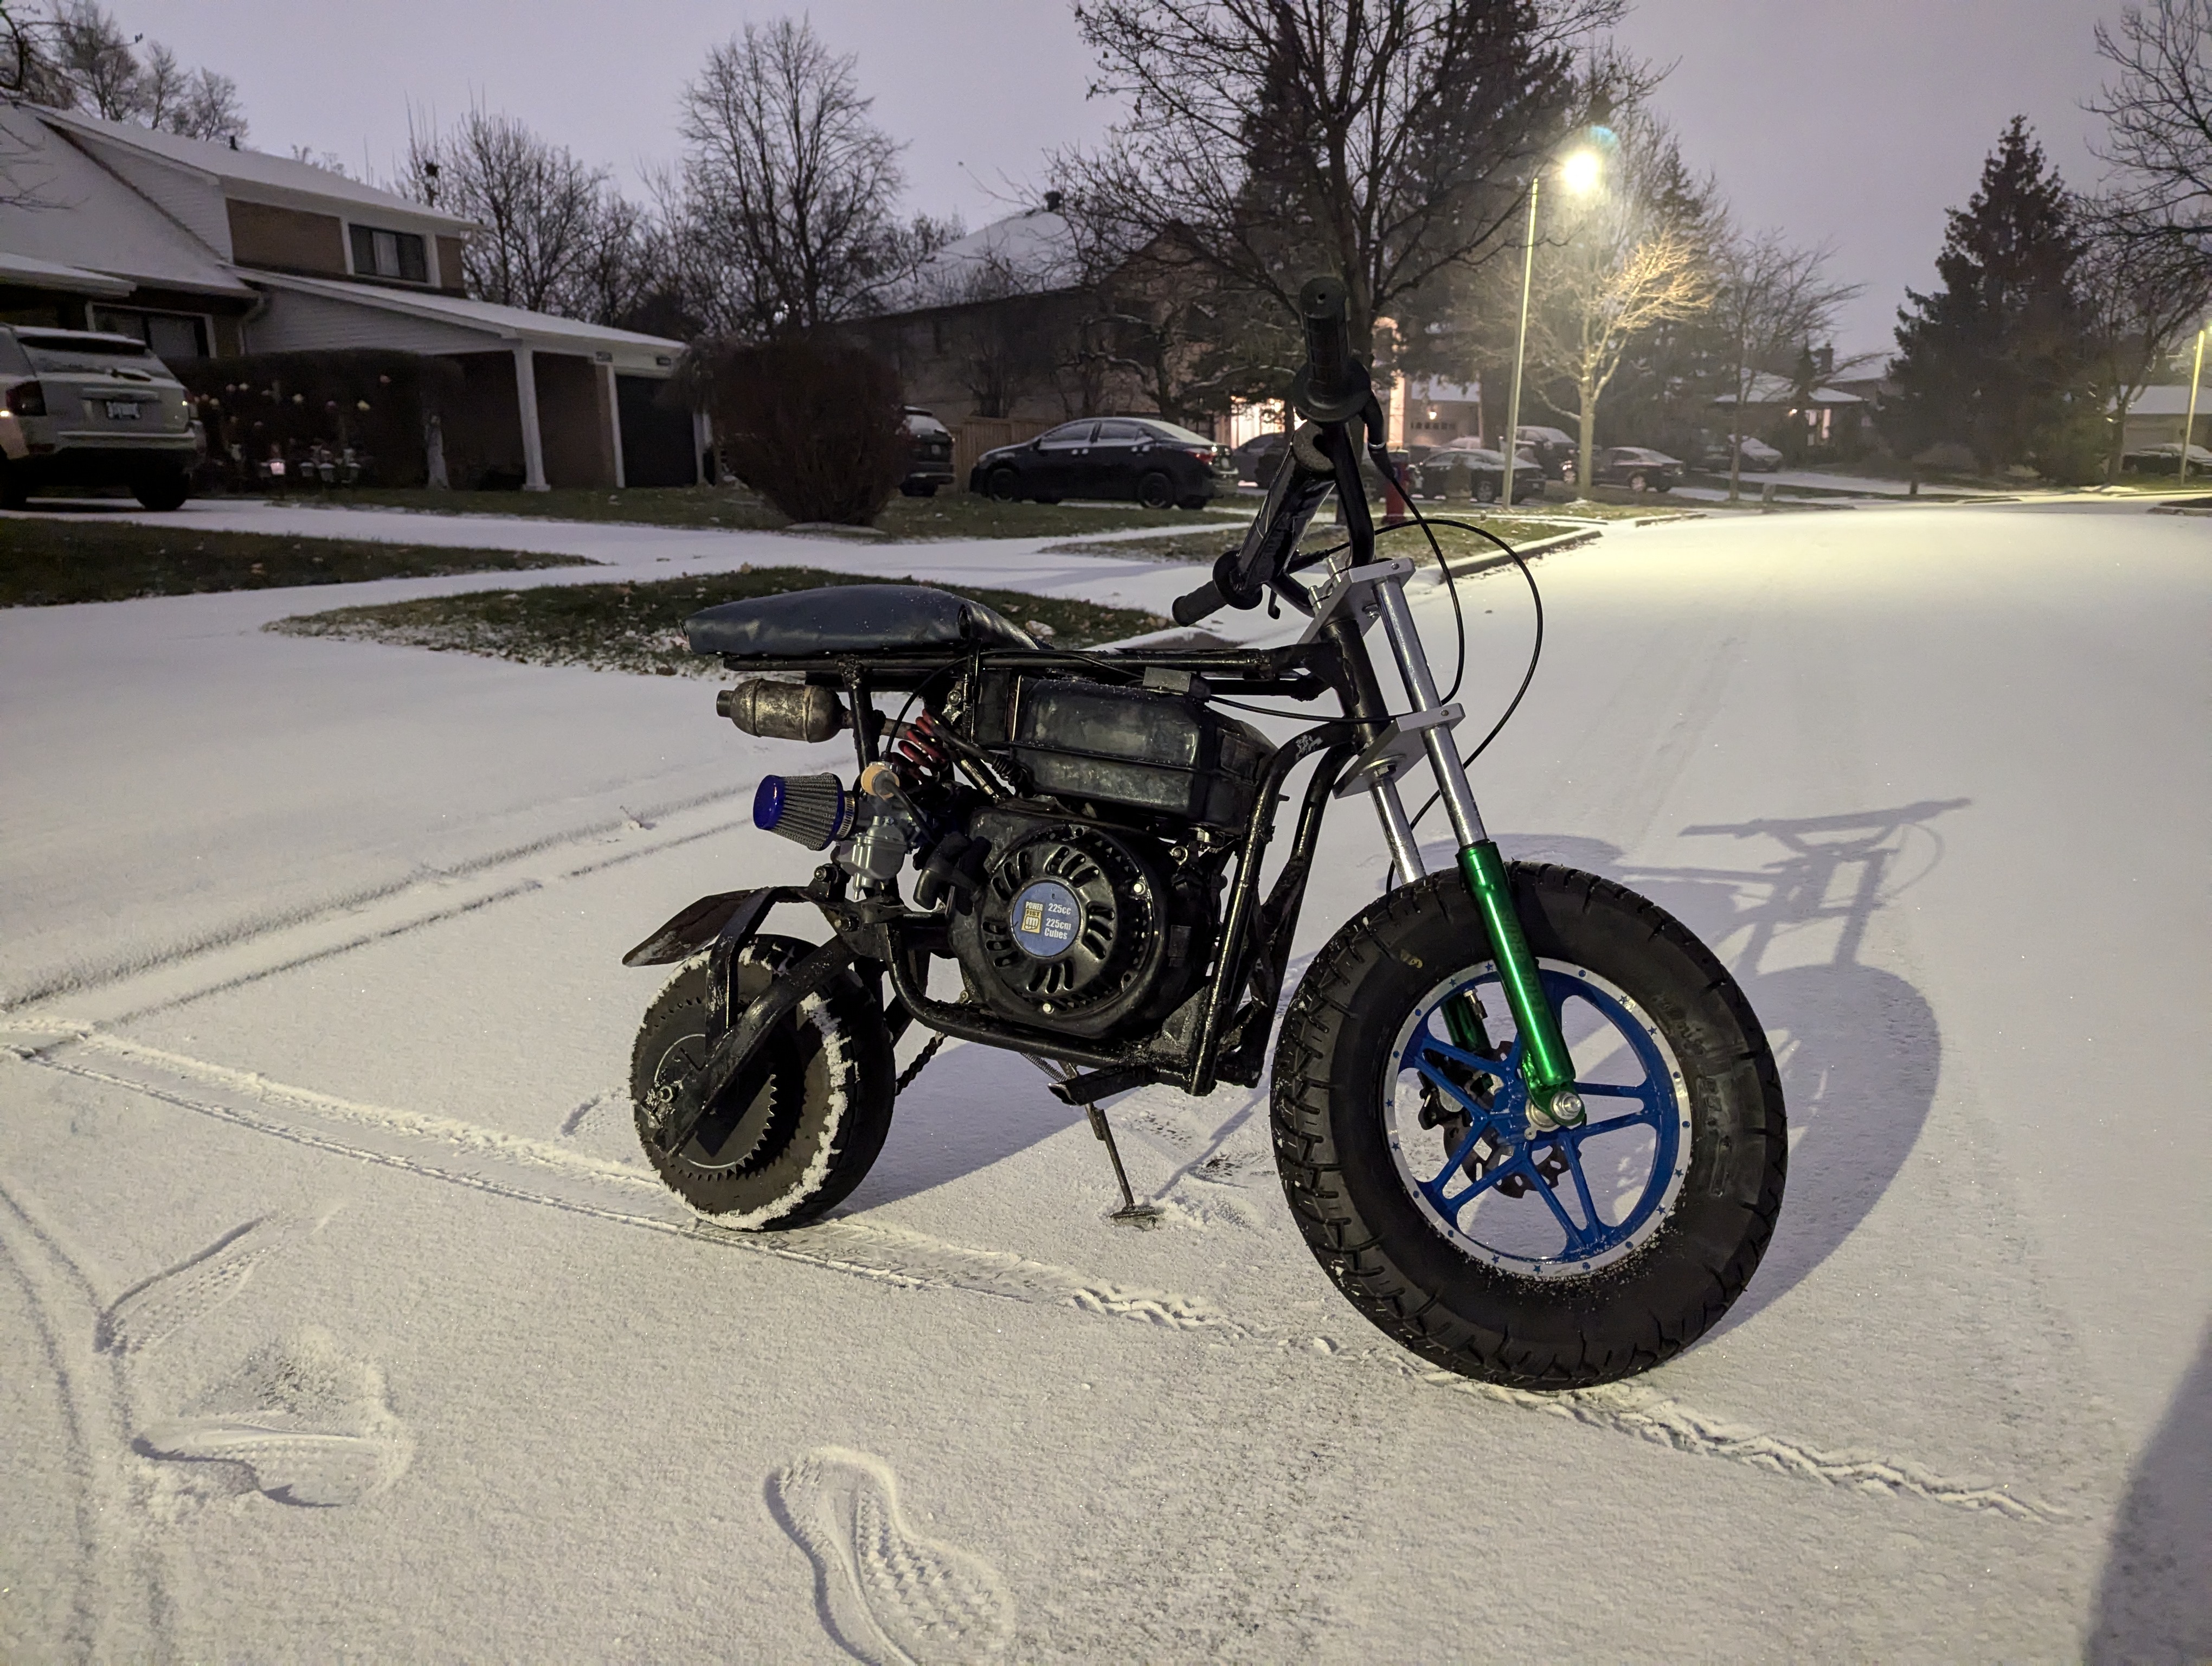
    These improvements brought my minibike to its current state. With access to a machine shop, I was able to machine my triple clamps, reducing the material around the clamping area. This increased the clamping force on the forks and prevented them from slipping down. I replaced the 28 mm carburetor with a tuned 24 mm carburetor. This greatly improved low-end throttle response and allowed the engine to start on the first pull, even in cold weather. I remade the sprocket idler with machined spacers and TIG-welded sprockets, reducing chain stress and noise compared with the old idler. My minibike has operated flawlessly for about two years since these modifications.