← Back to projects

Project story

Electric Scooters

Big and small, fast and slow, my electric scooters were some of my most intricate projects before I started university.

Build timeline

  1. Electric Scooters: Super-mini e-scooter
    Electric Scooters: Super-mini e-scooter
    Electric Scooters: Super-mini e-scooter
    Electric Scooters: Super-mini e-scooter

    Super-mini e-scooter

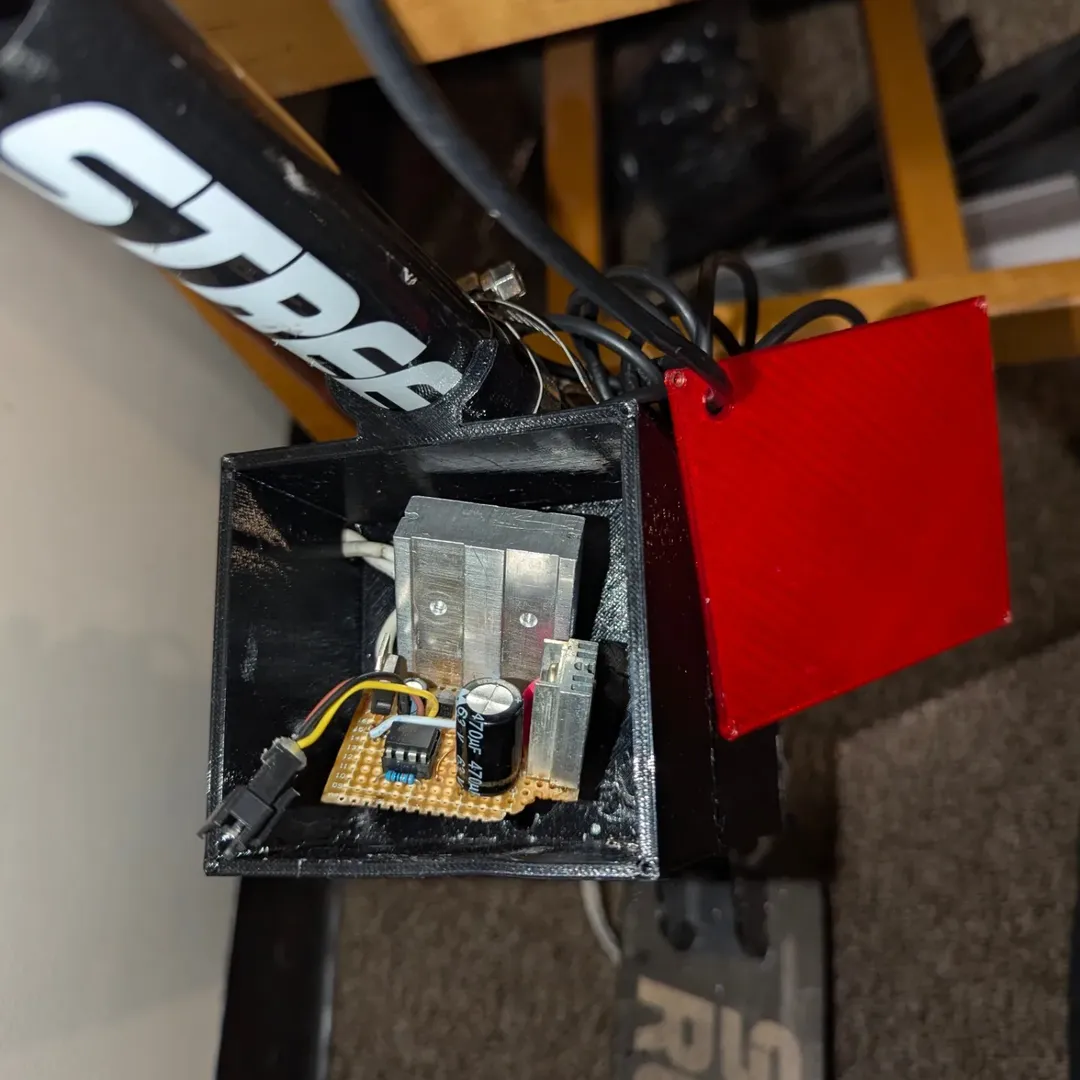
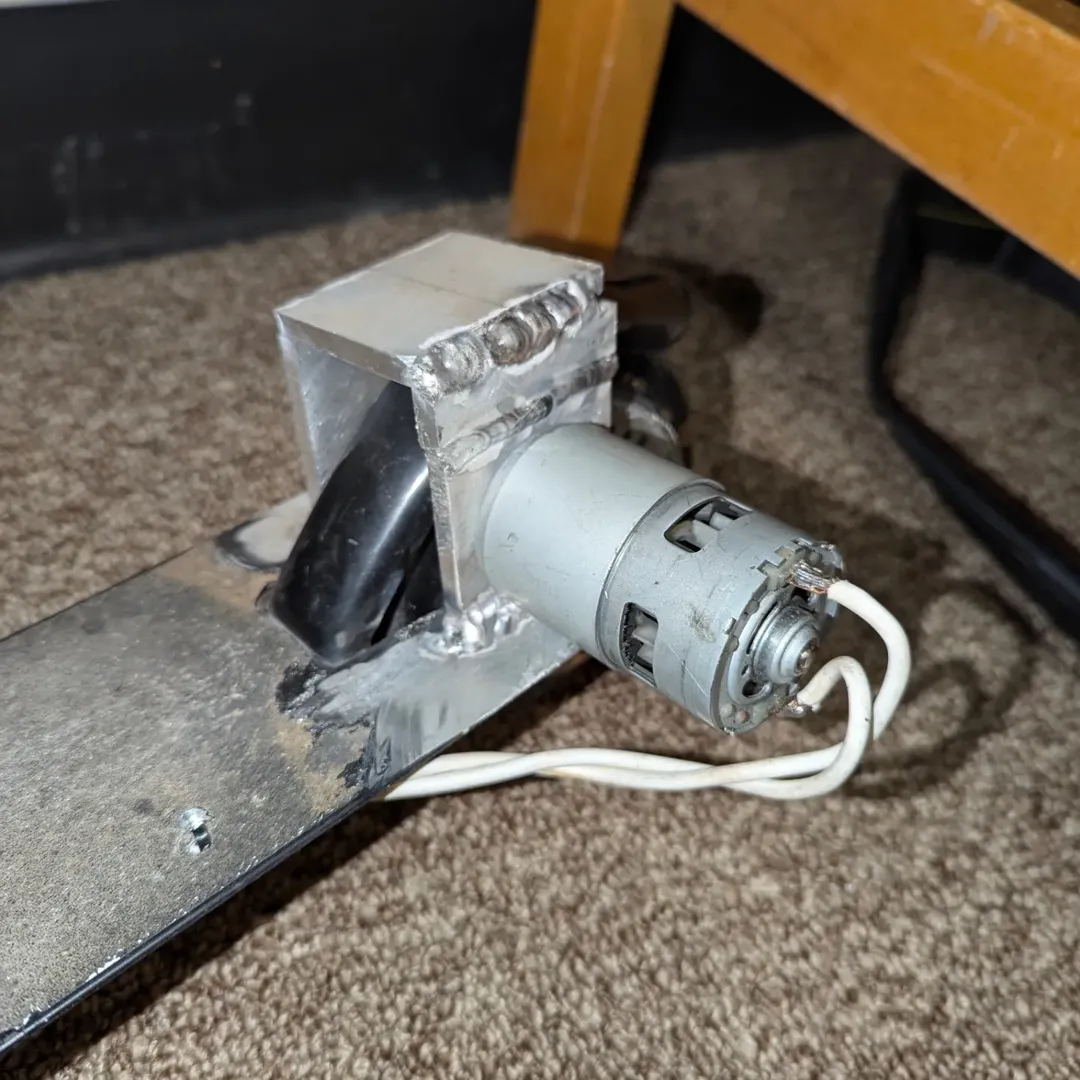
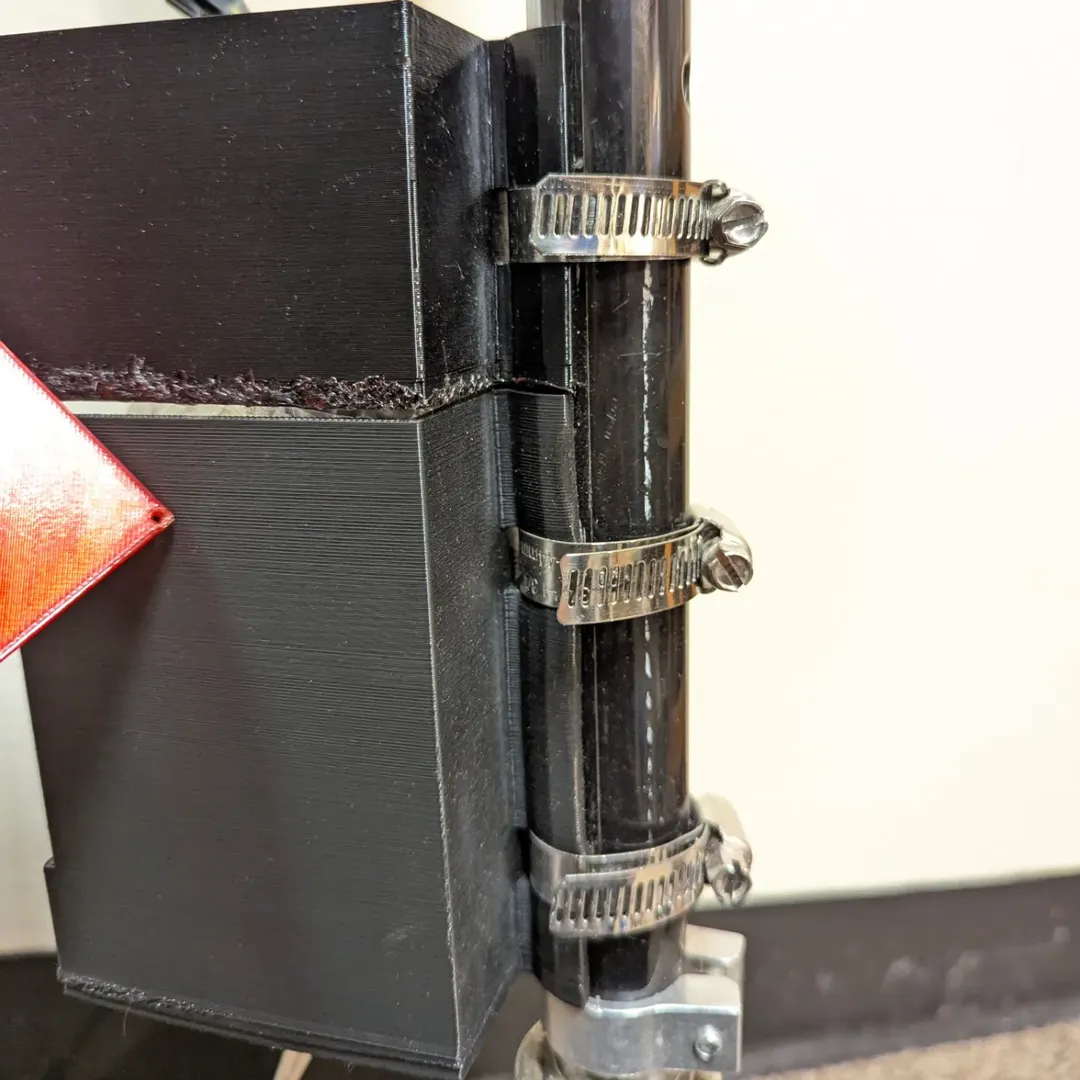
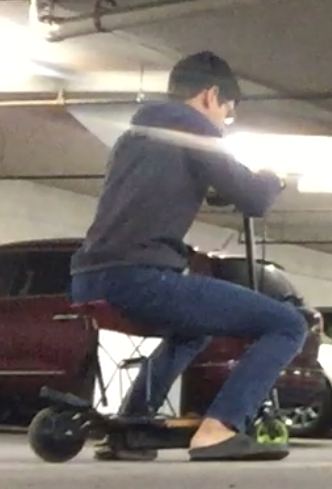
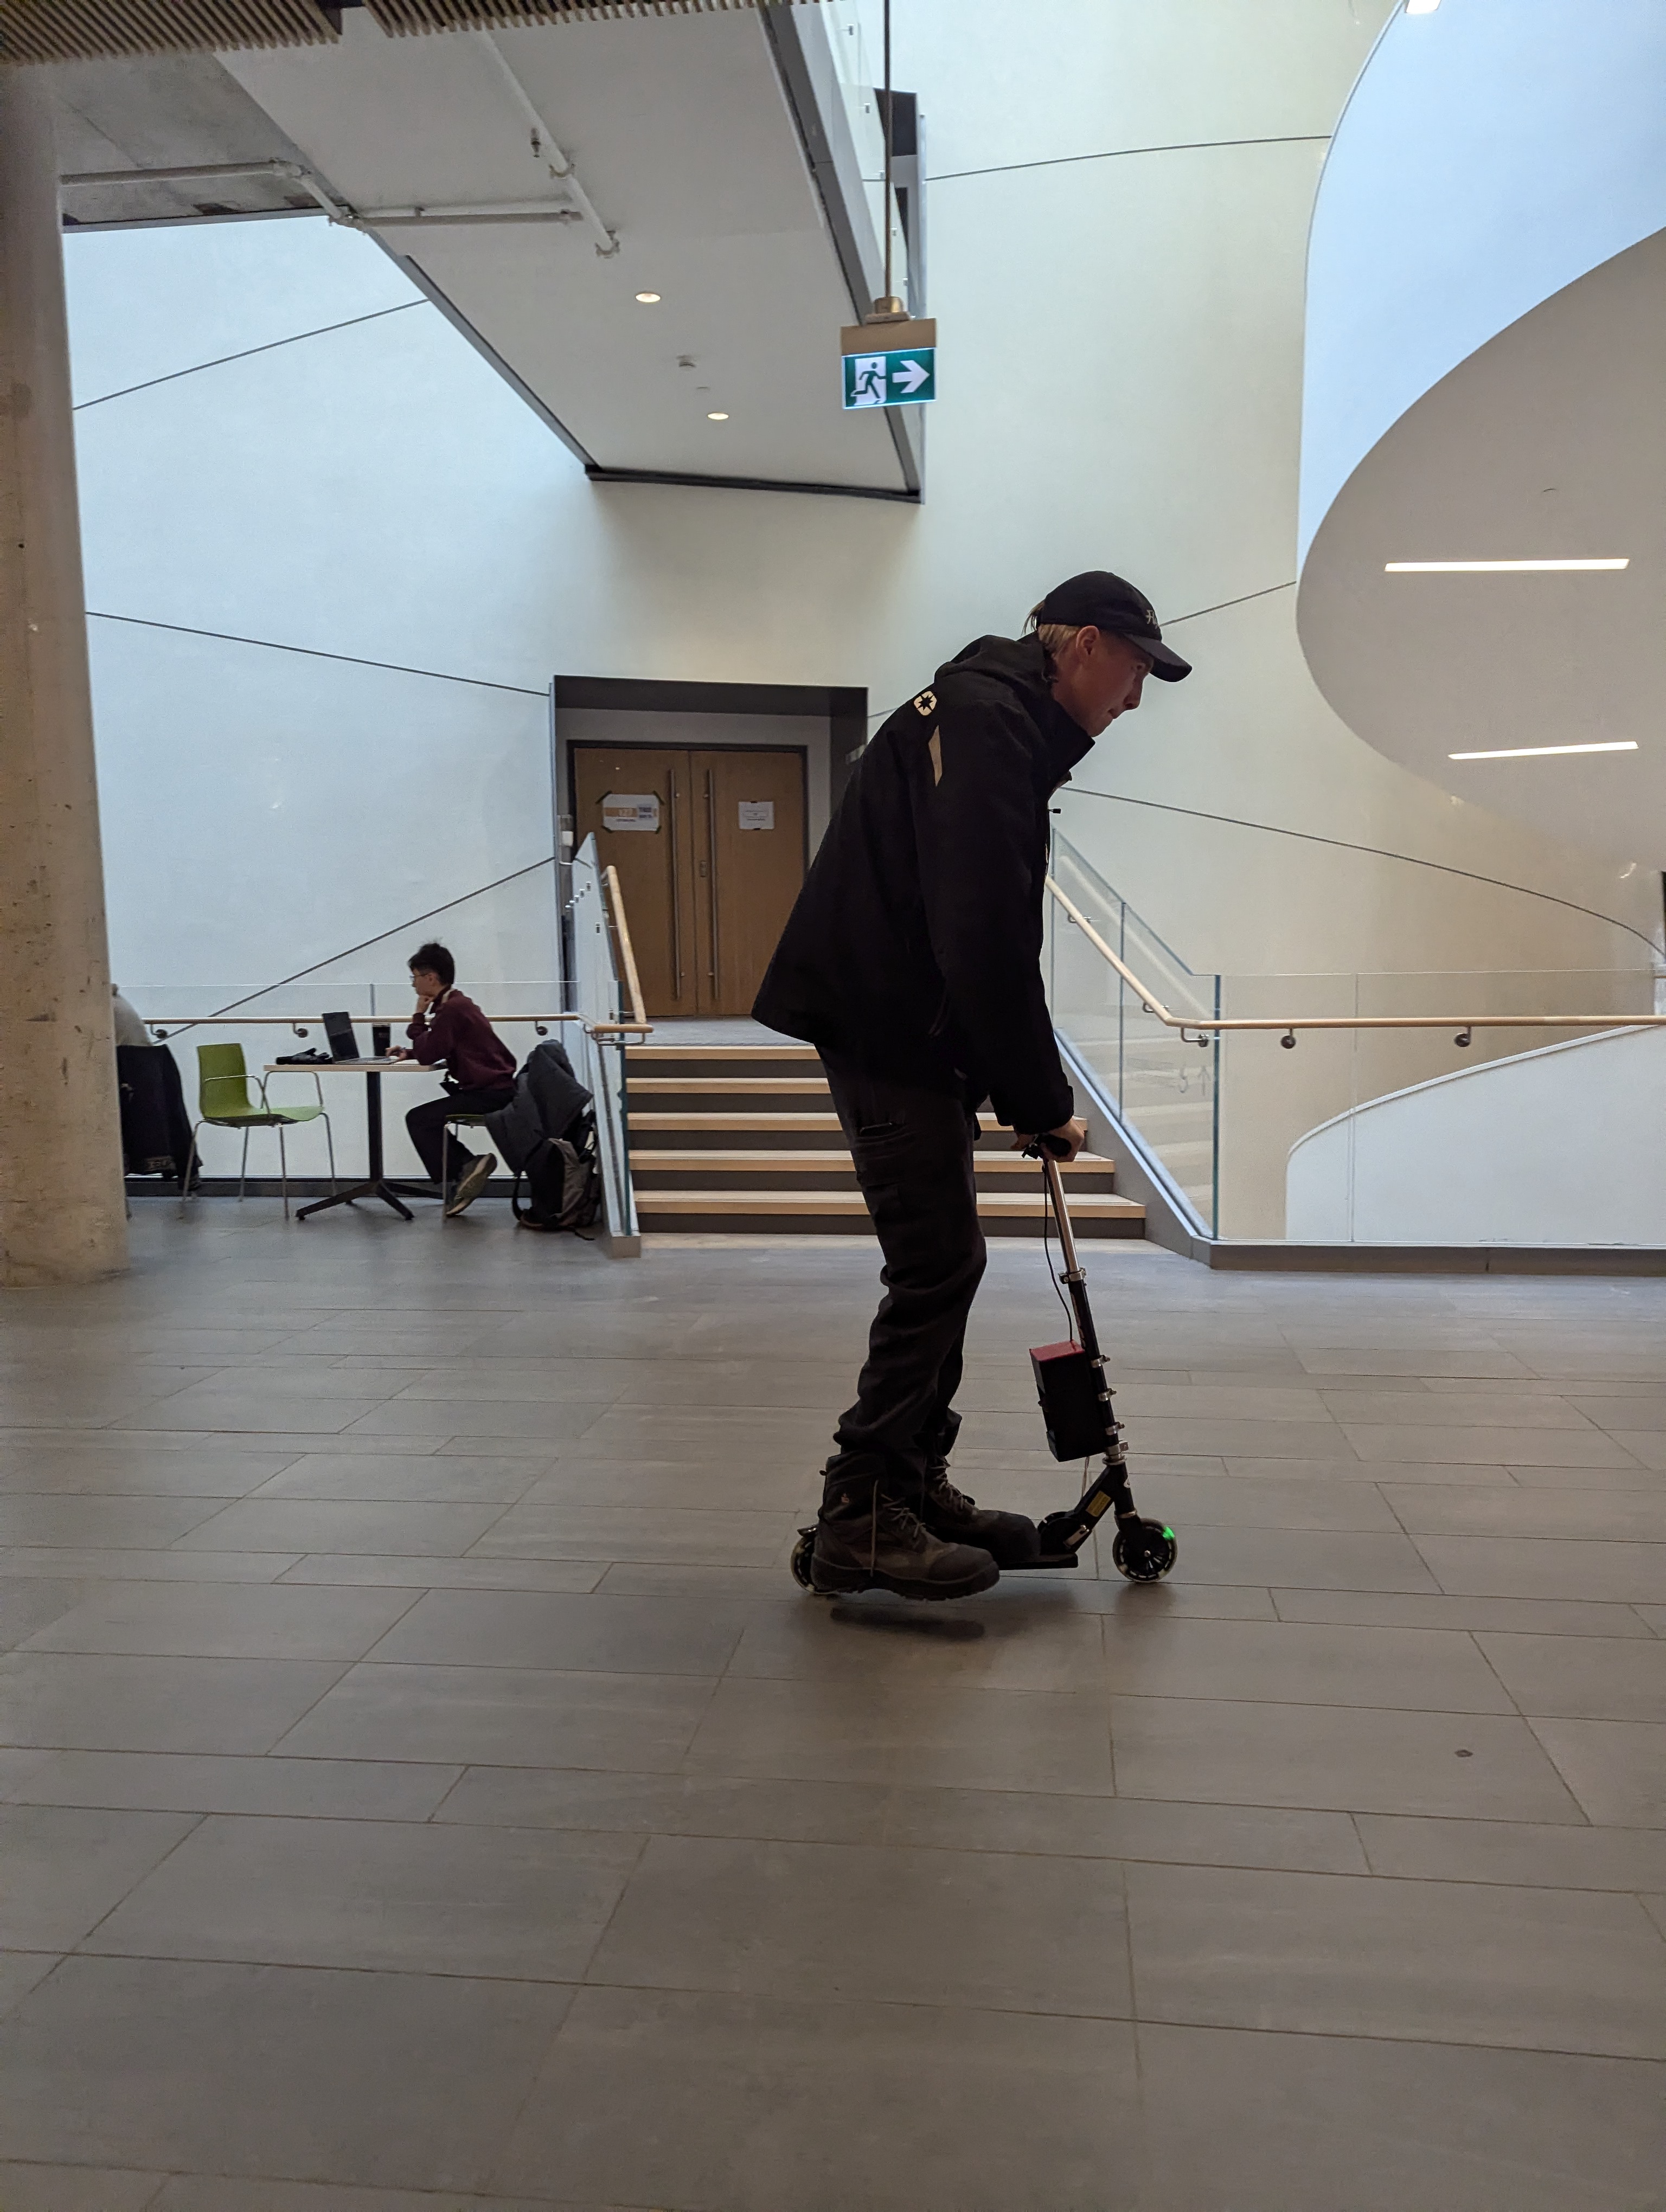
    Just for fun, I decided to make the smallest electric scooter I could. I used a kid's folding kick scooter and attached a gear to the rear wheel, which connected to a high-torque brushed motor. A friend welded the aluminum motor mount. The motor was powered by an old tool battery through a custom PWM controller I made. The controller was installed in a 3D-printed enclosure attached to the handlebars.

  2. Electric Scooters: Major upgrades to the new scooter
    Electric Scooters: Major upgrades to the new scooter
    Electric Scooters: Major upgrades to the new scooter
    Electric Scooters: Major upgrades to the new scooter
    Electric Scooters: Major upgrades to the new scooter
    Electric Scooters: Major upgrades to the new scooter
    Electric Scooters: Major upgrades to the new scooter
    Electric Scooters: Major upgrades to the new scooter

    Major upgrades to the new scooter

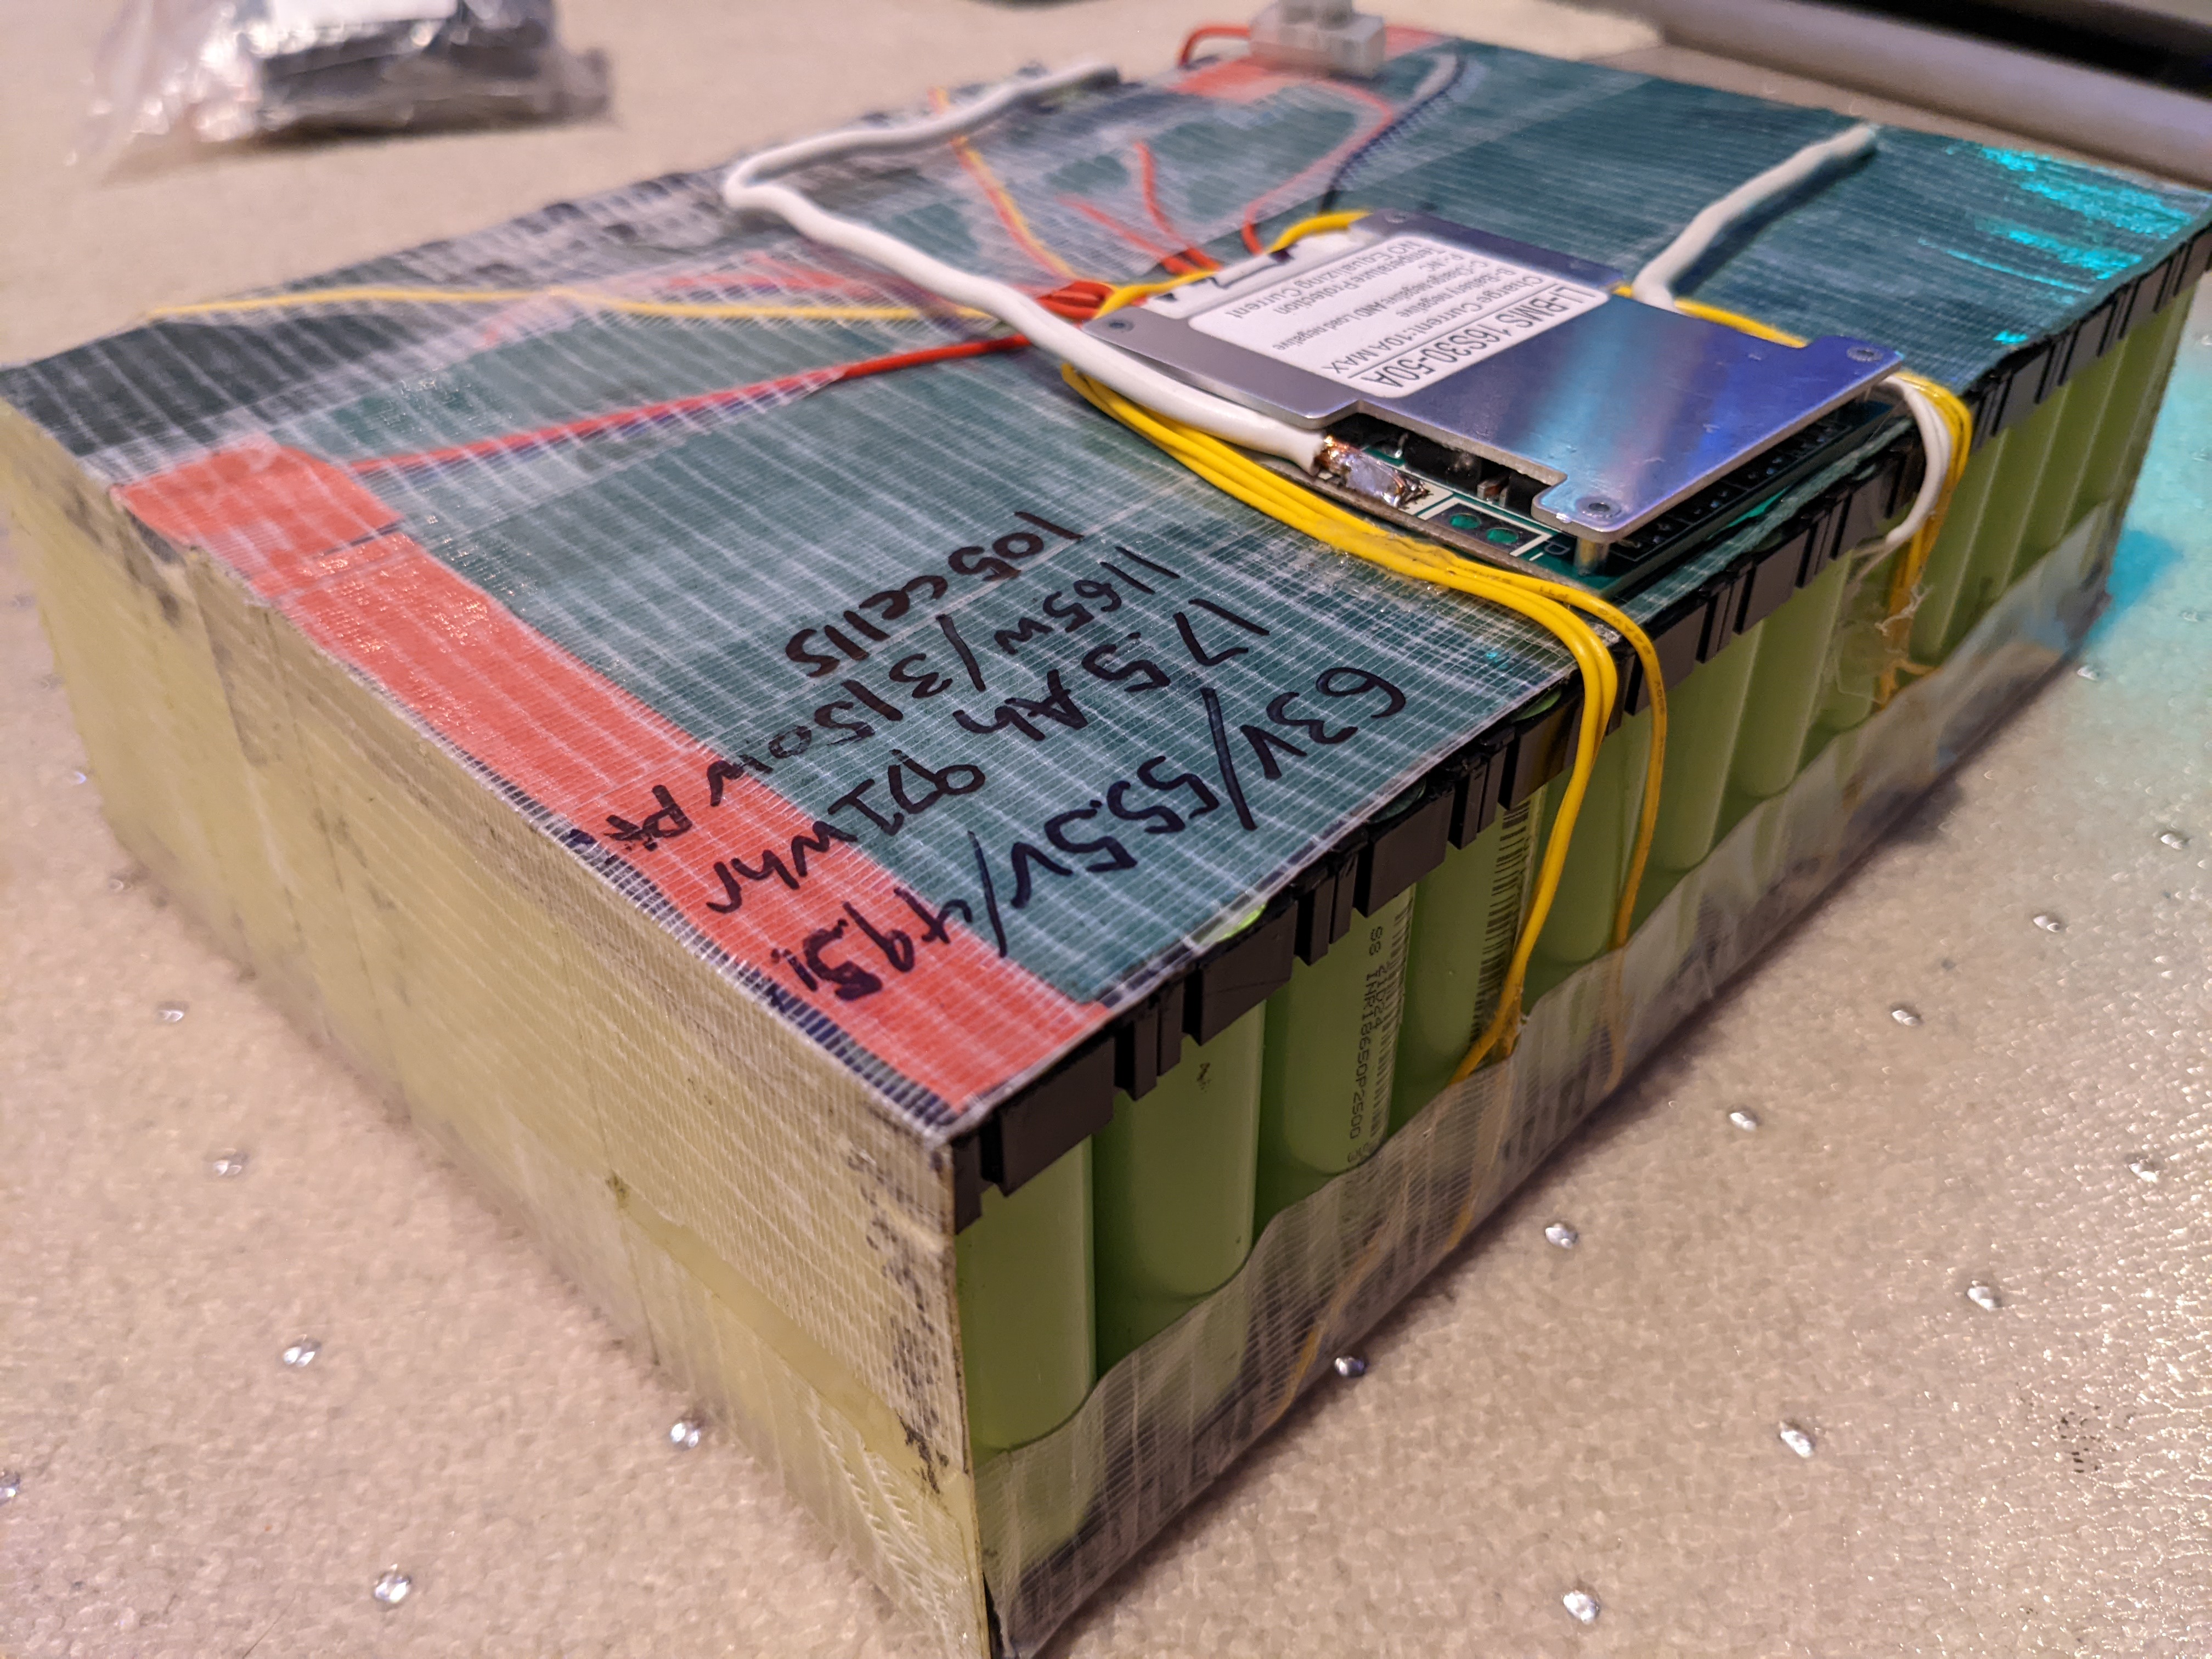
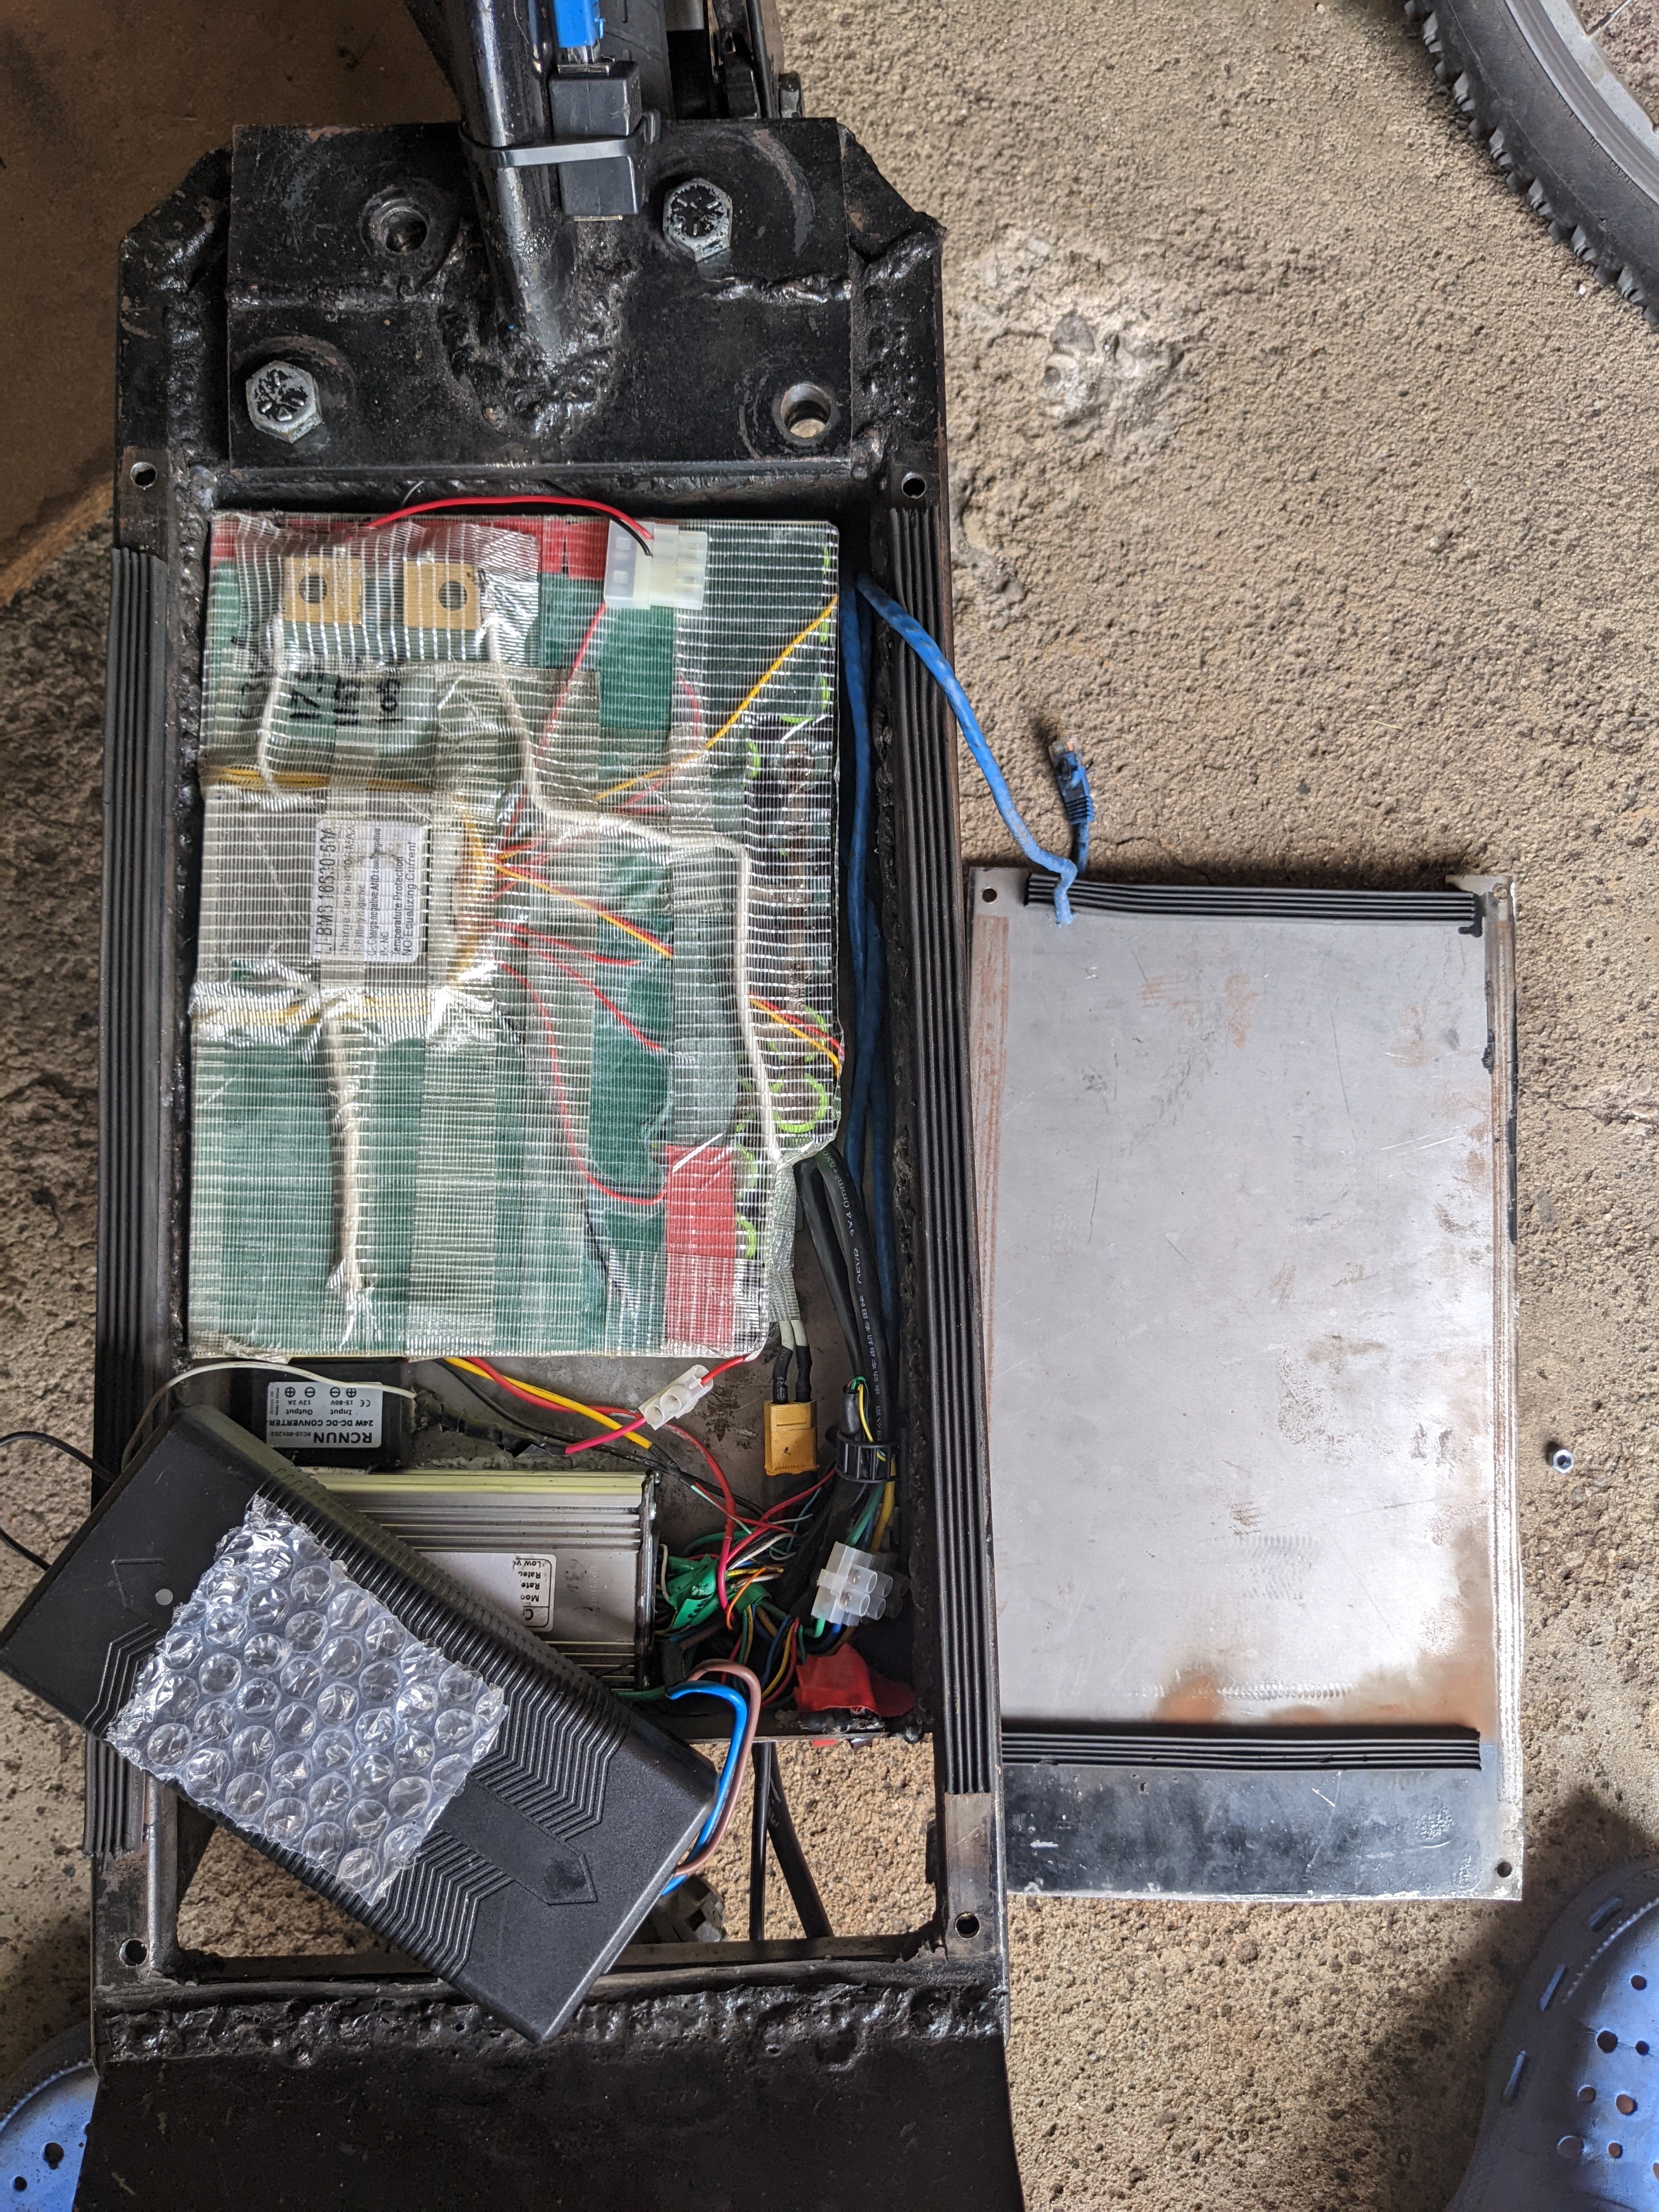
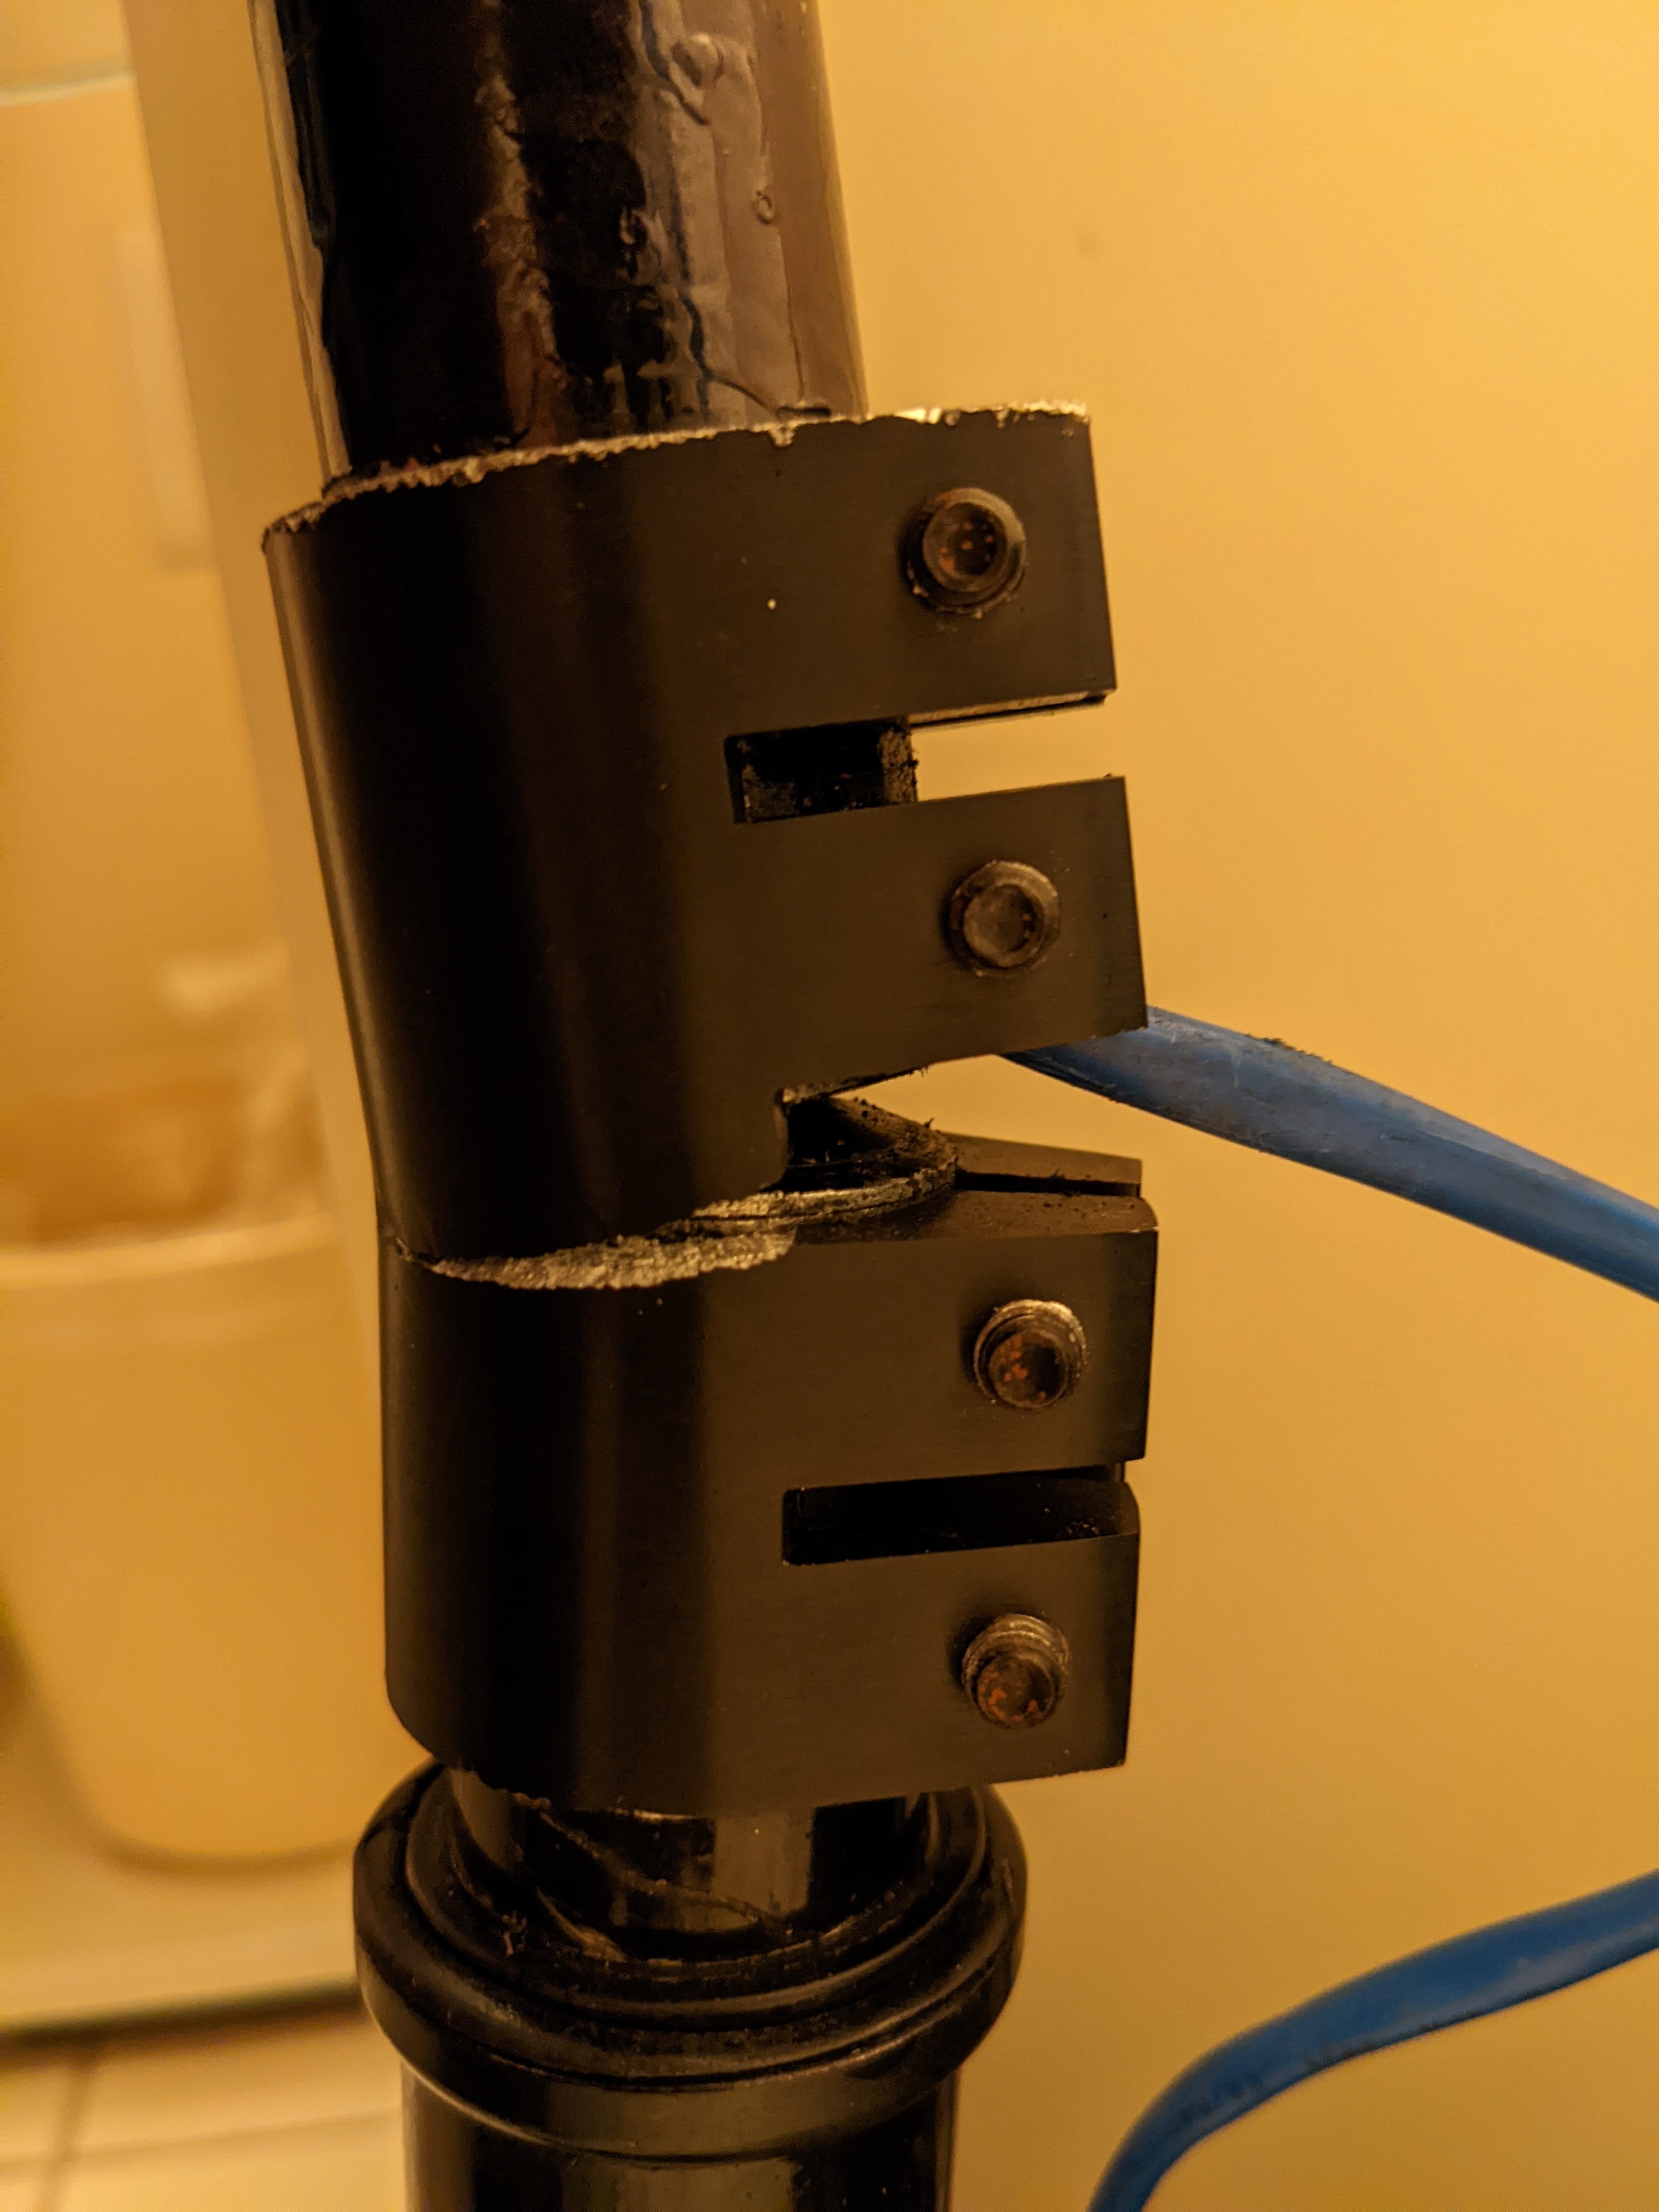
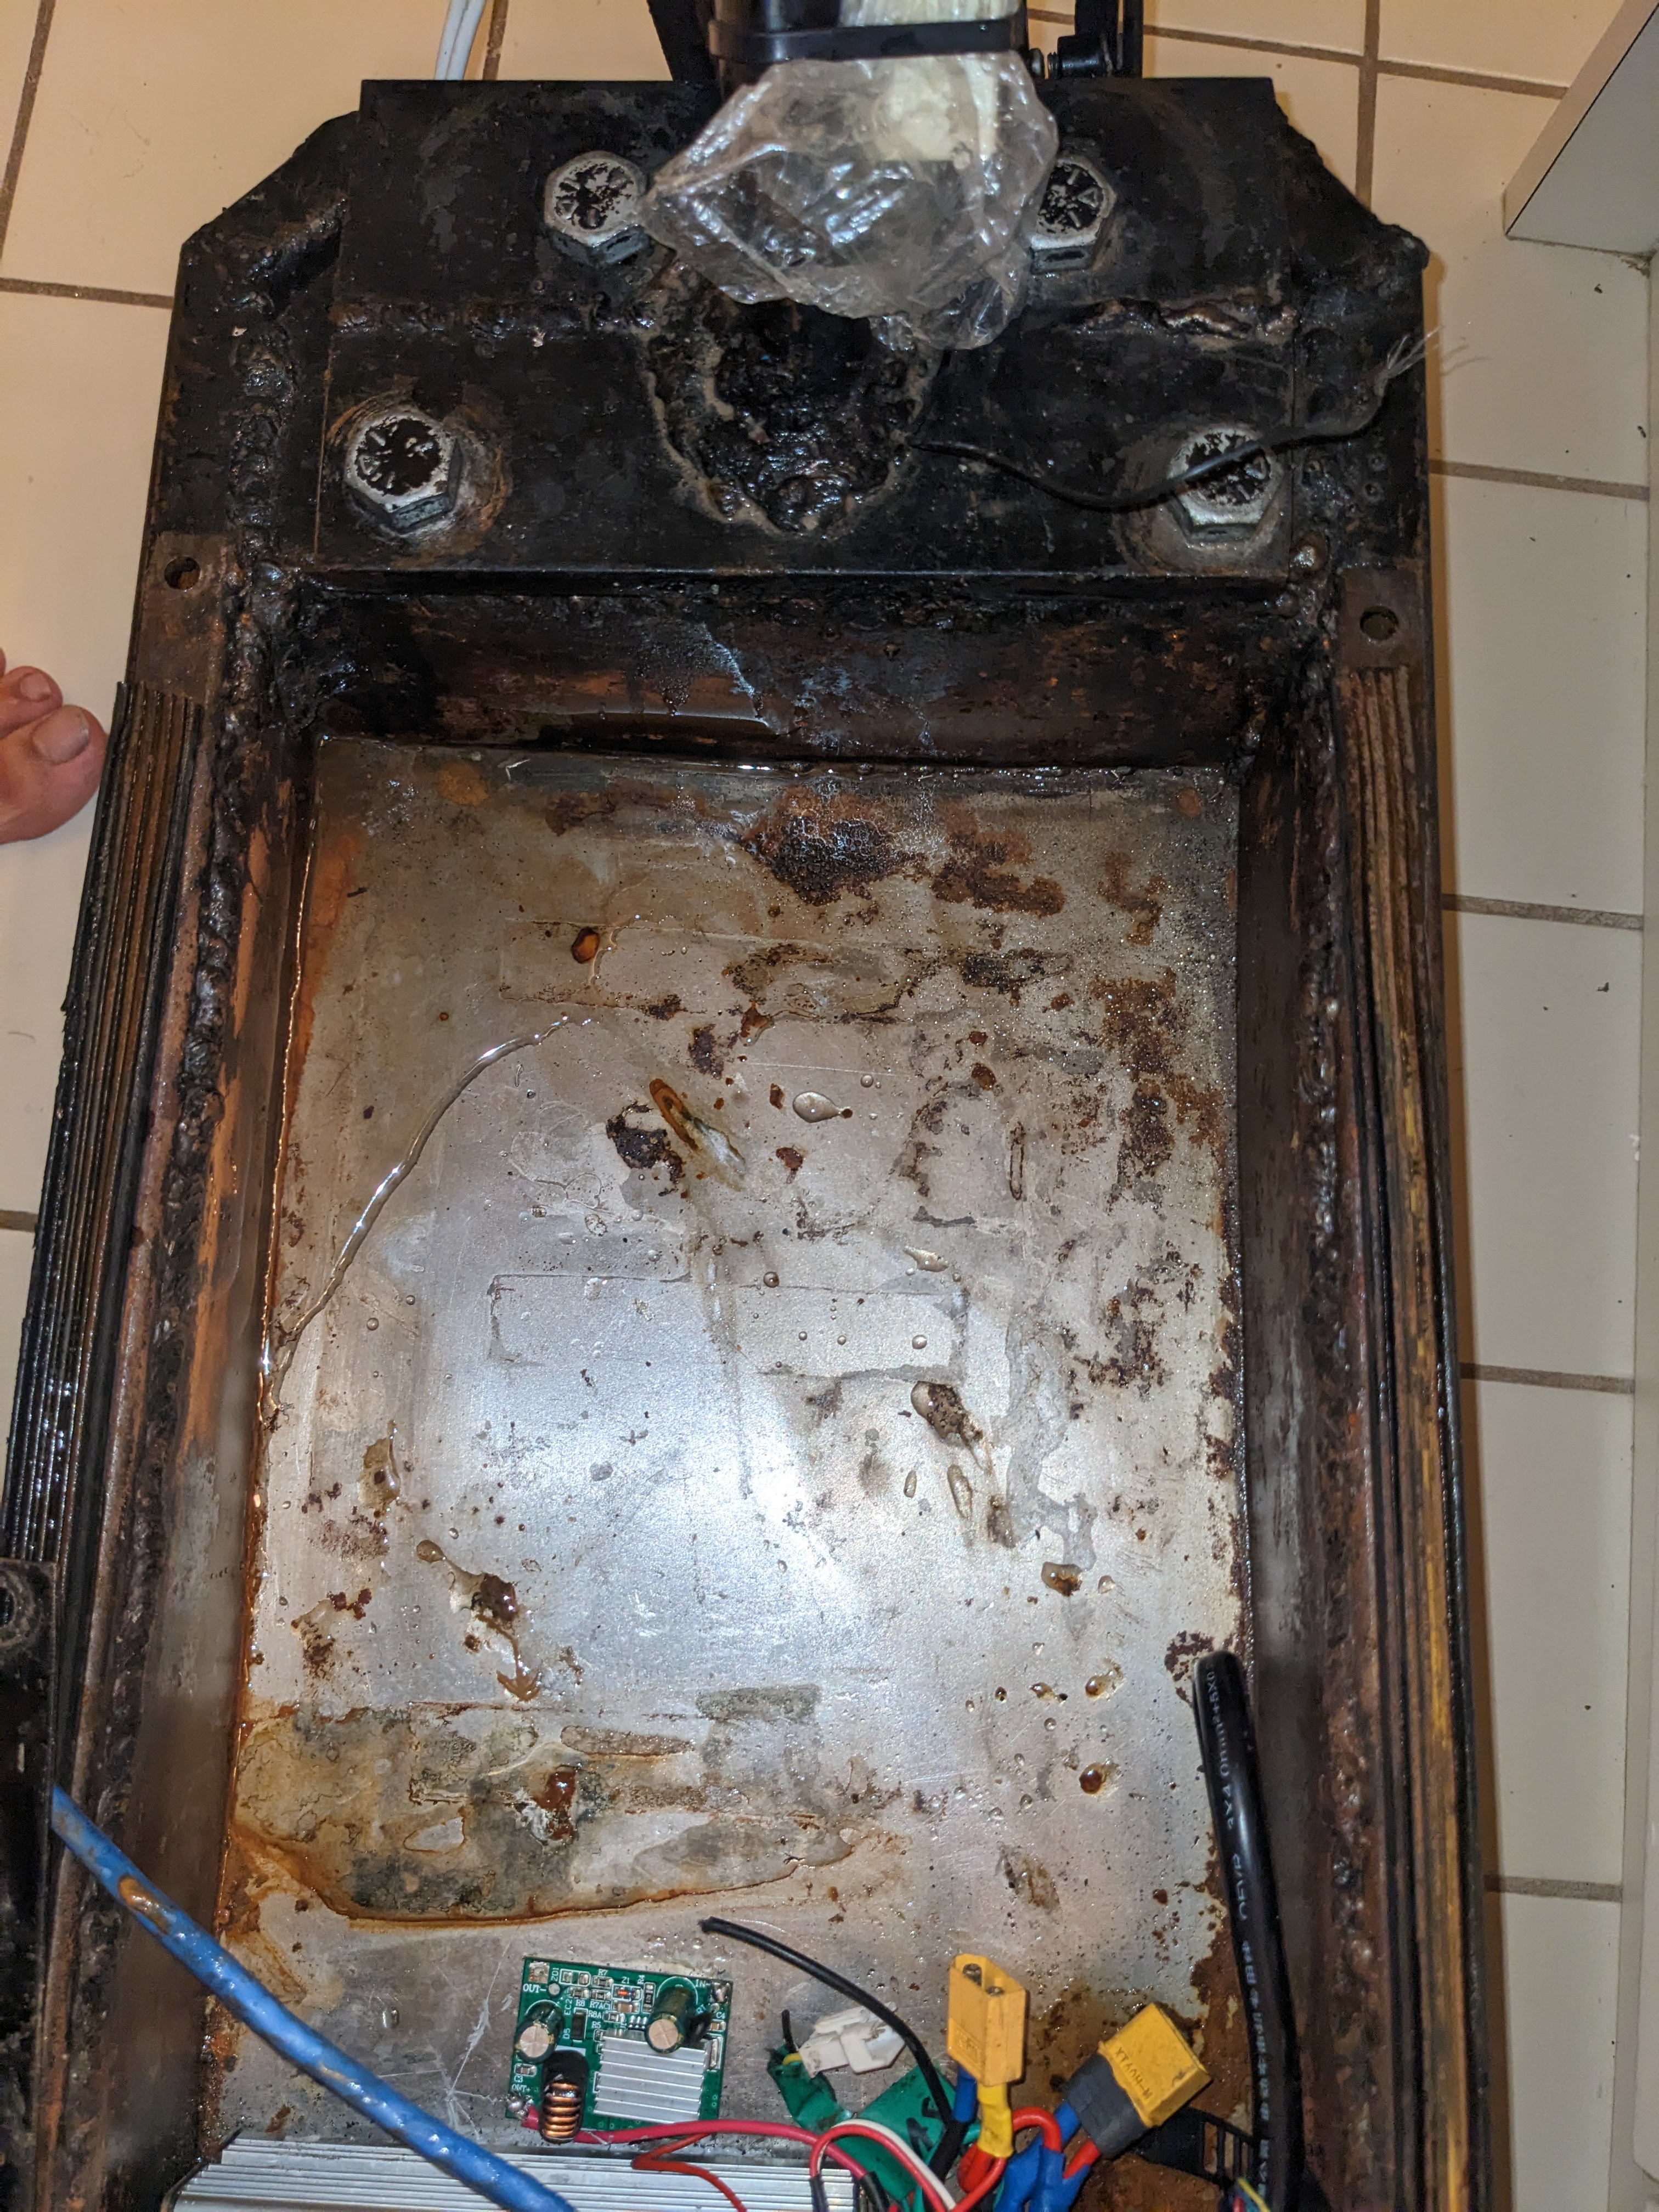
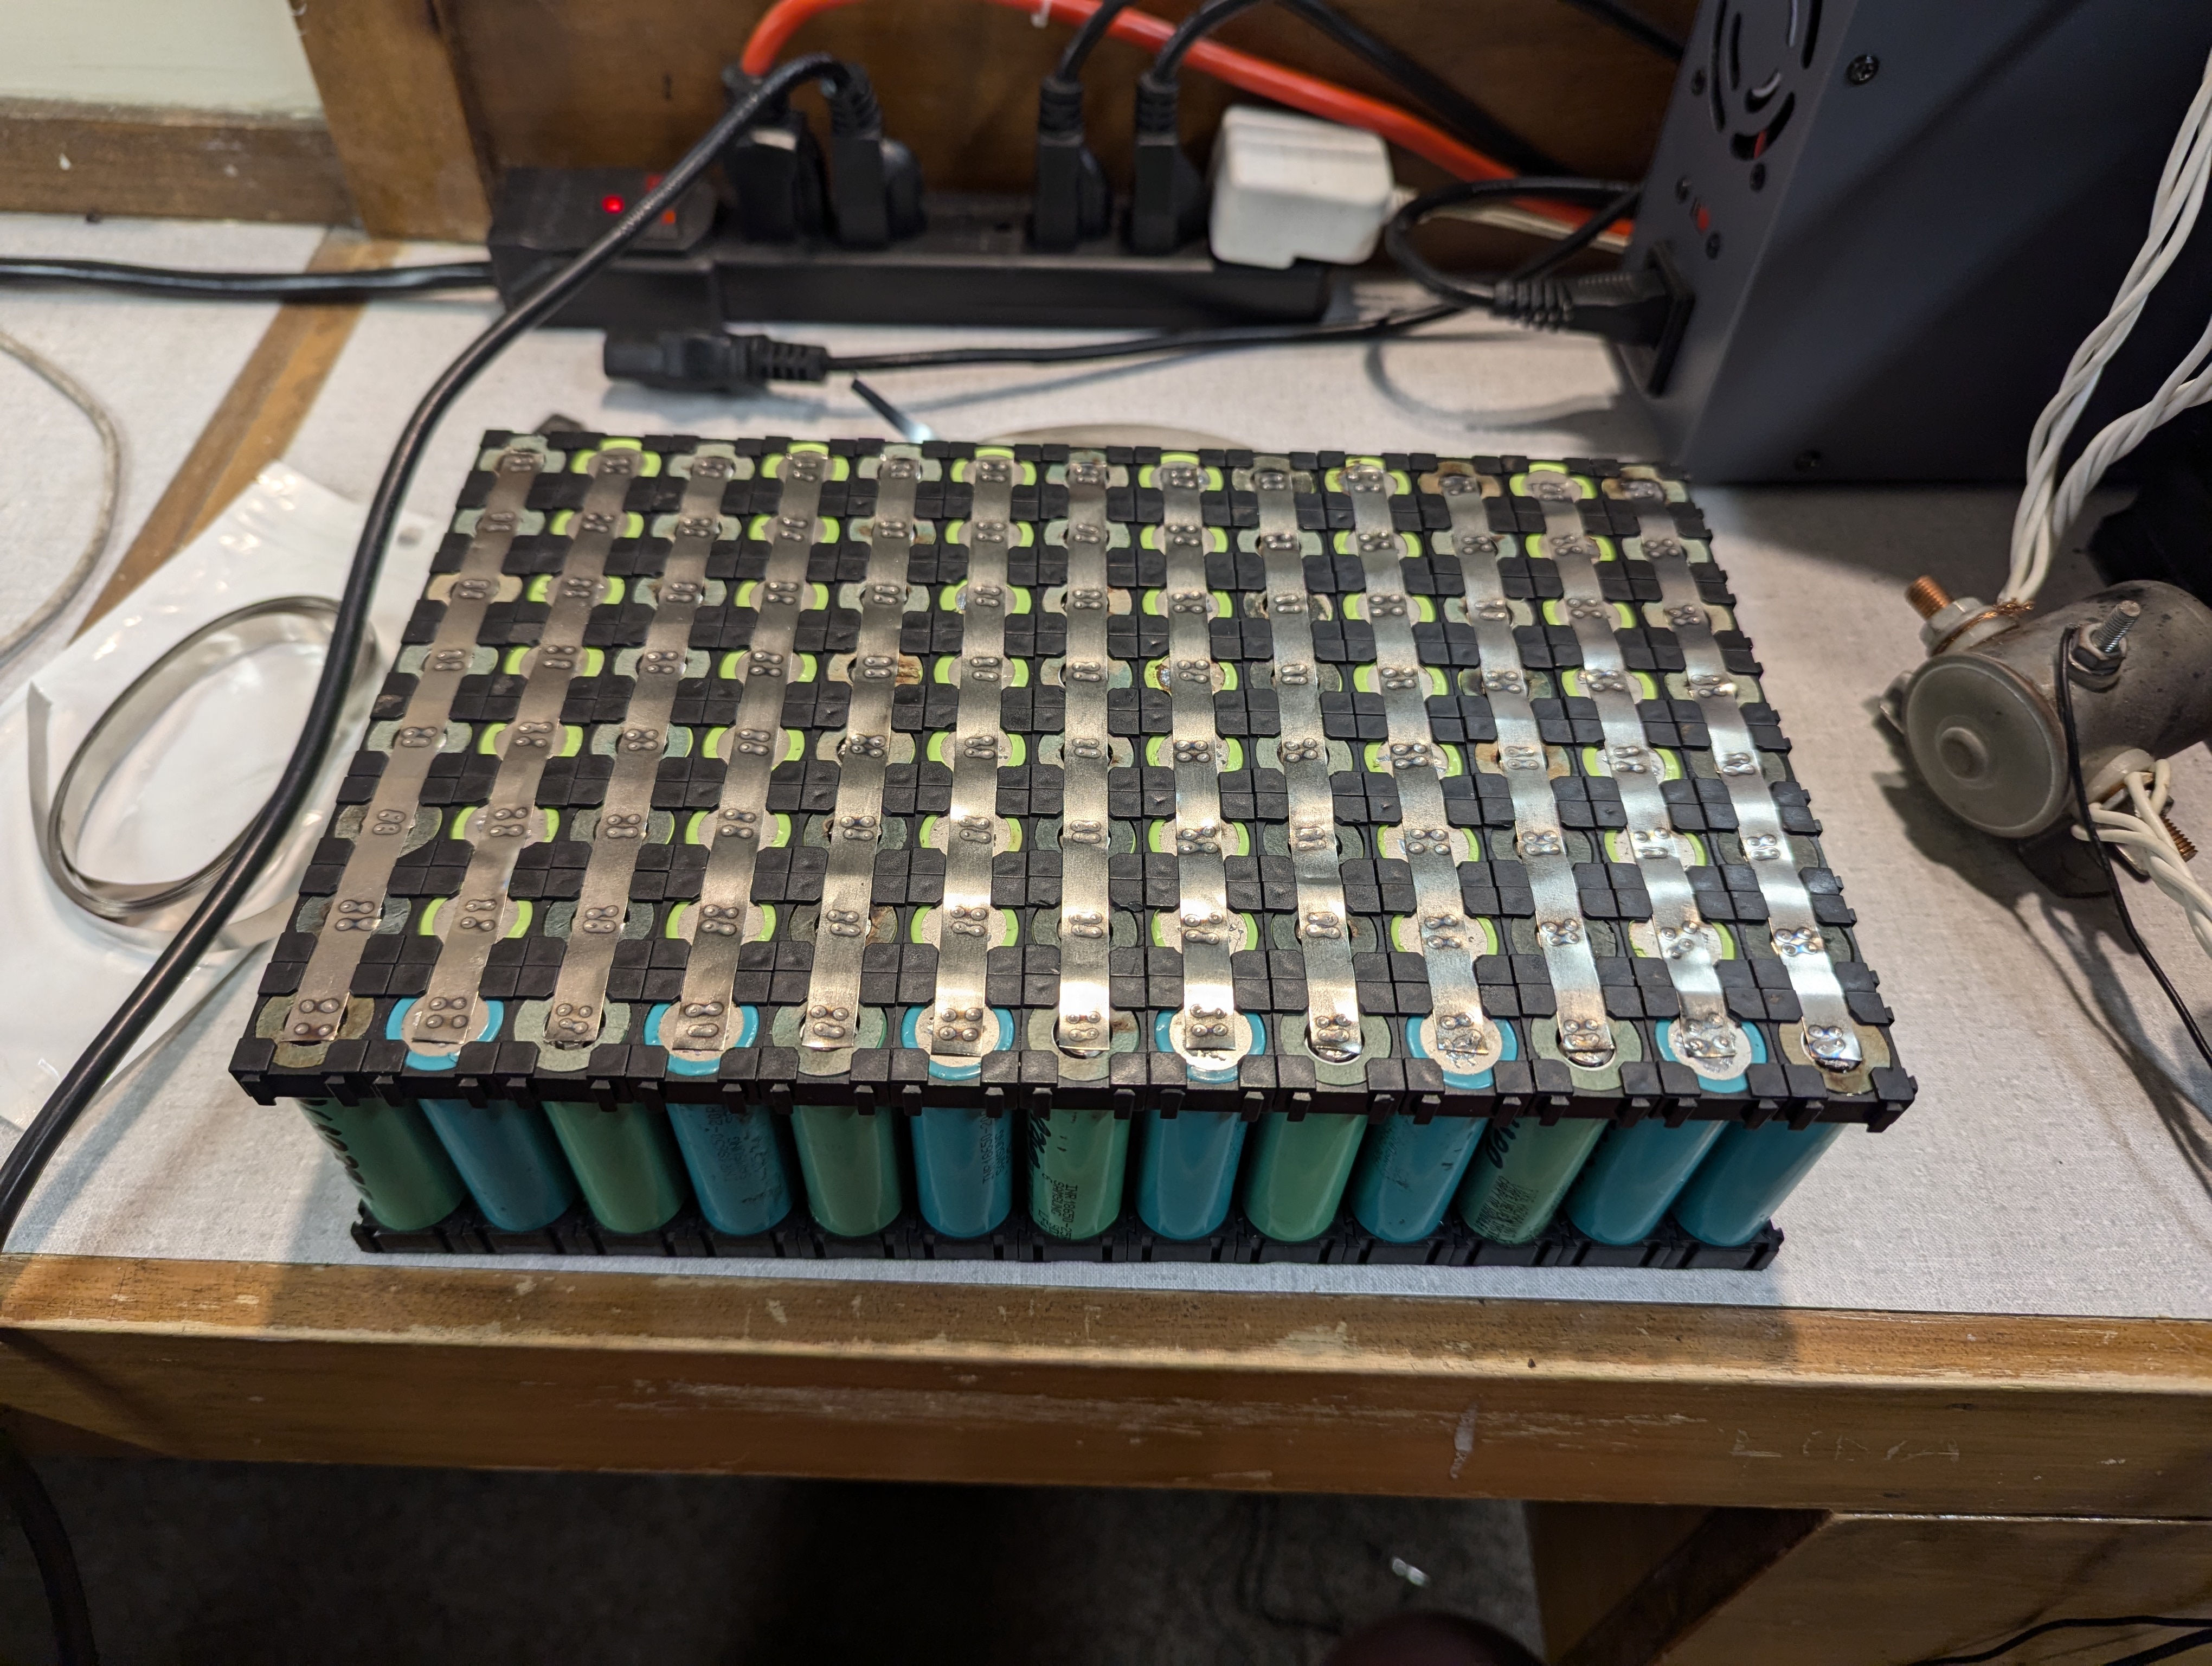
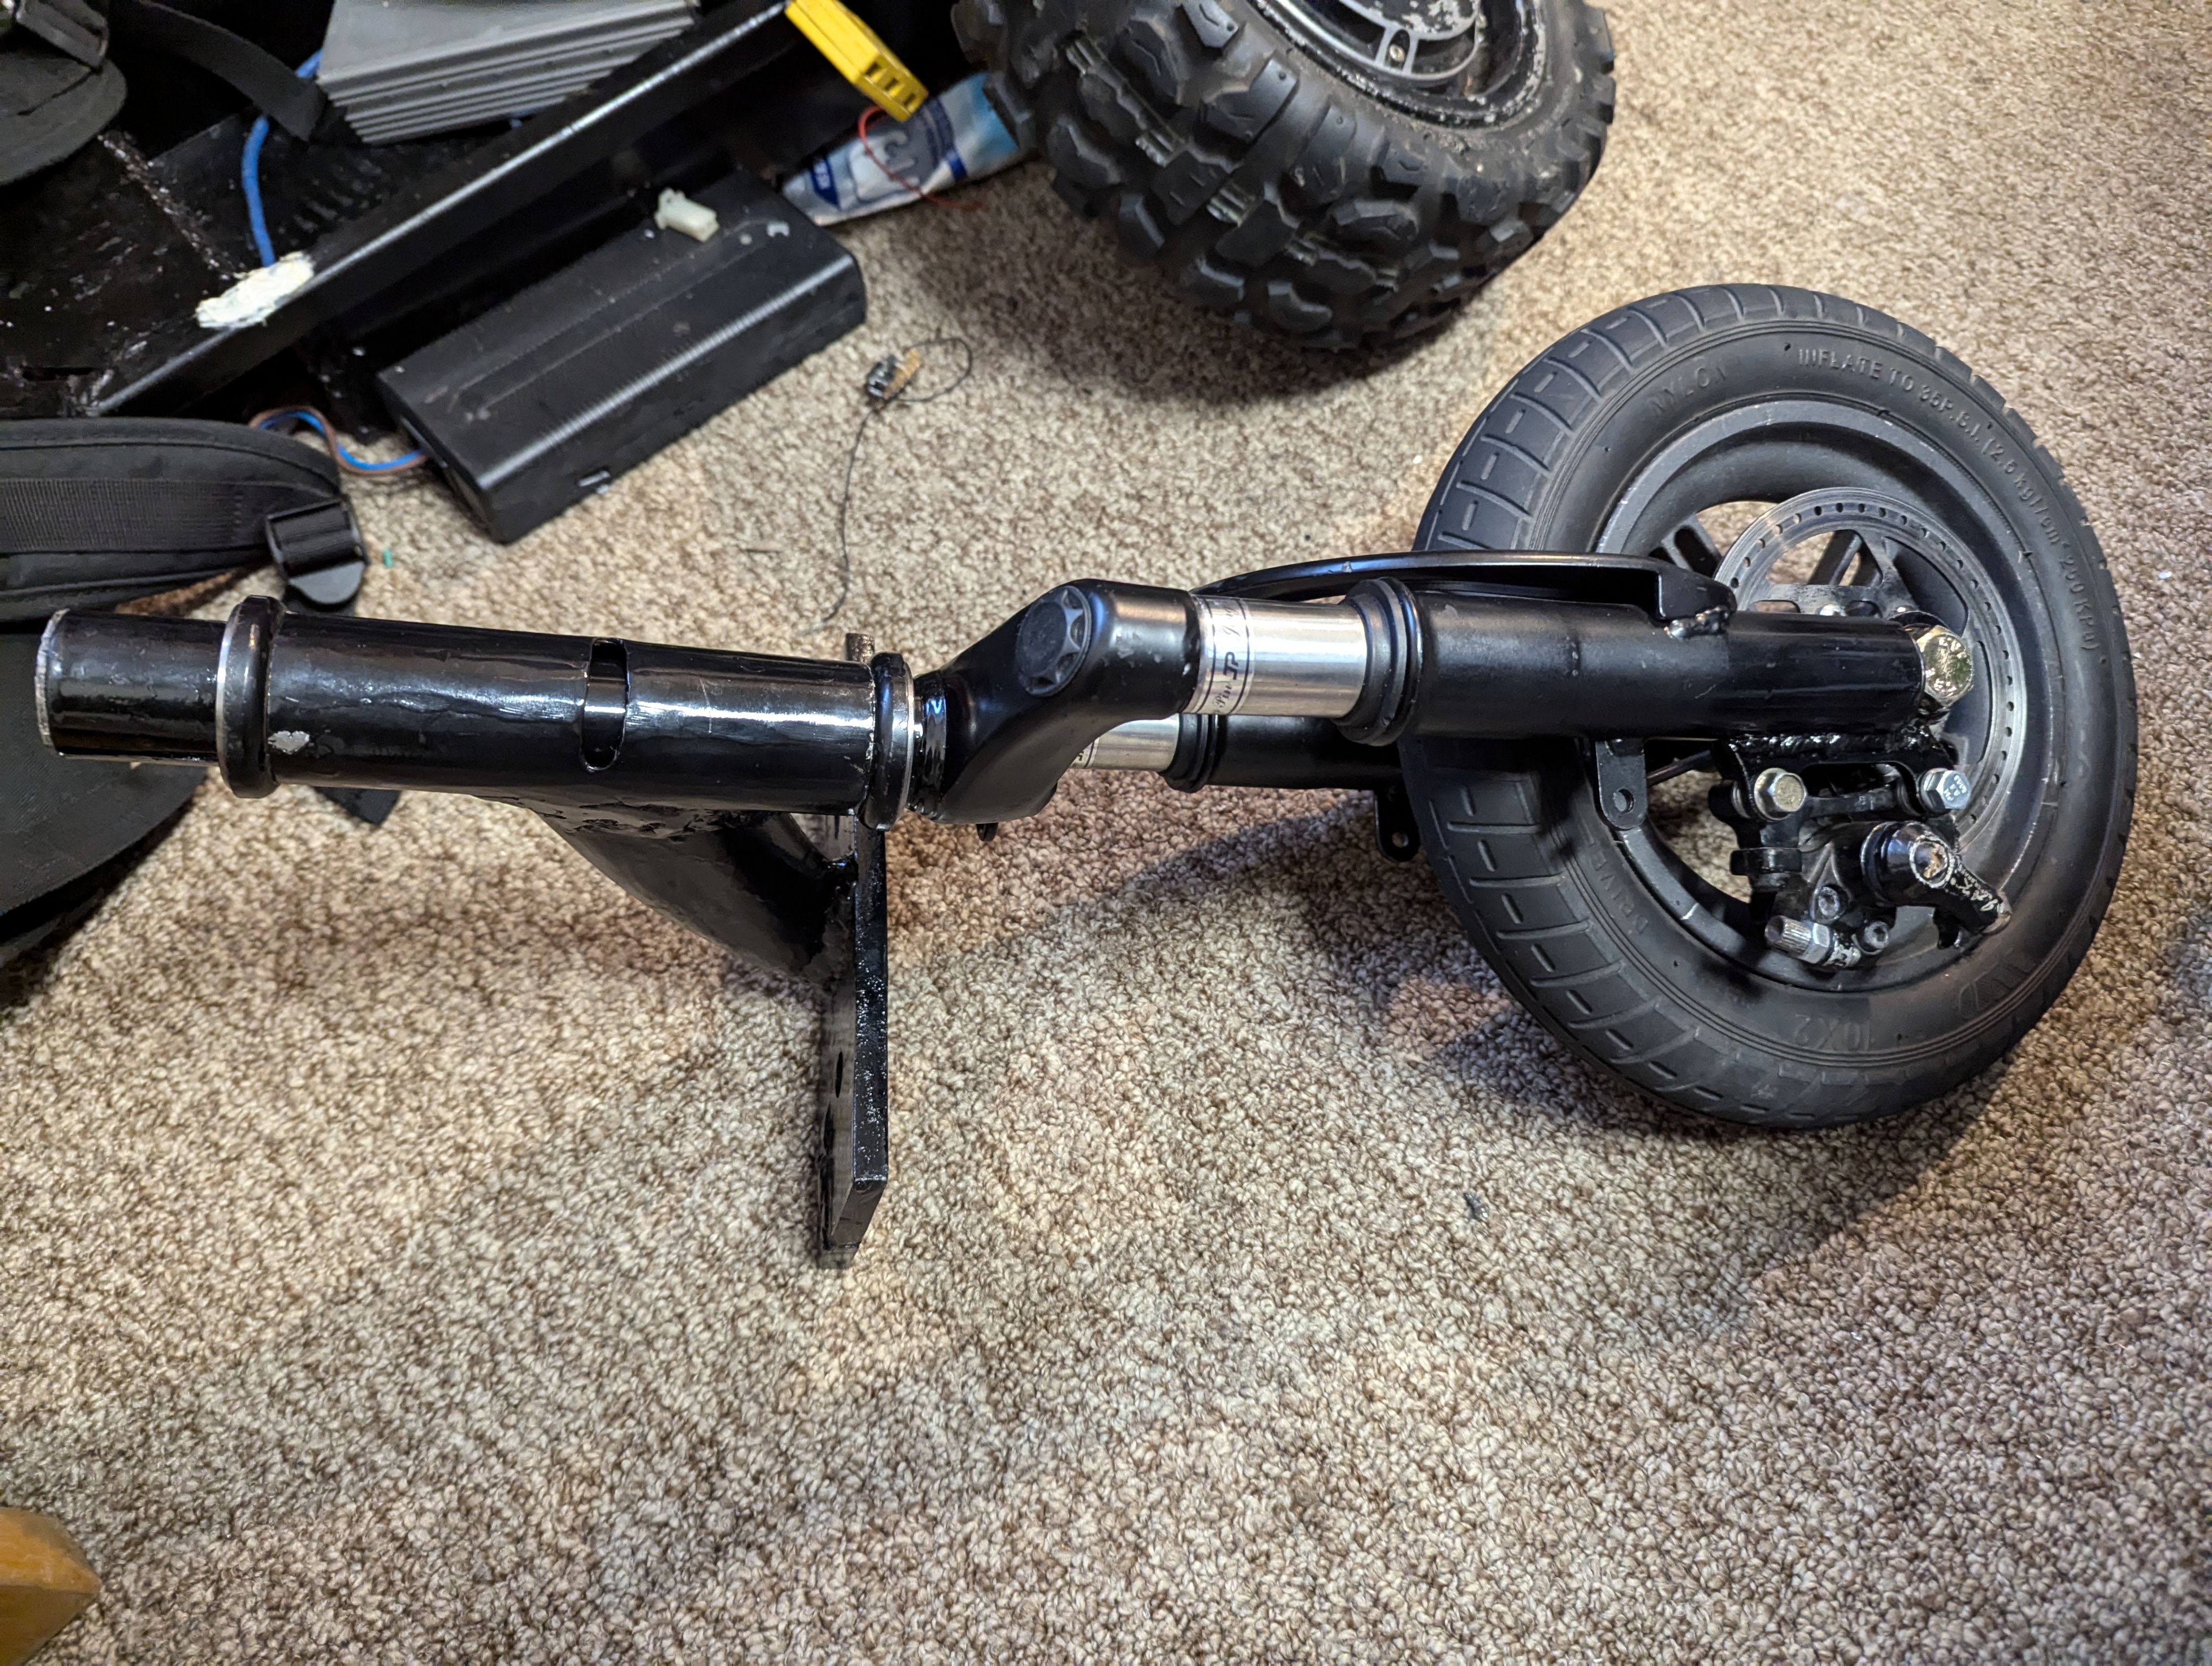
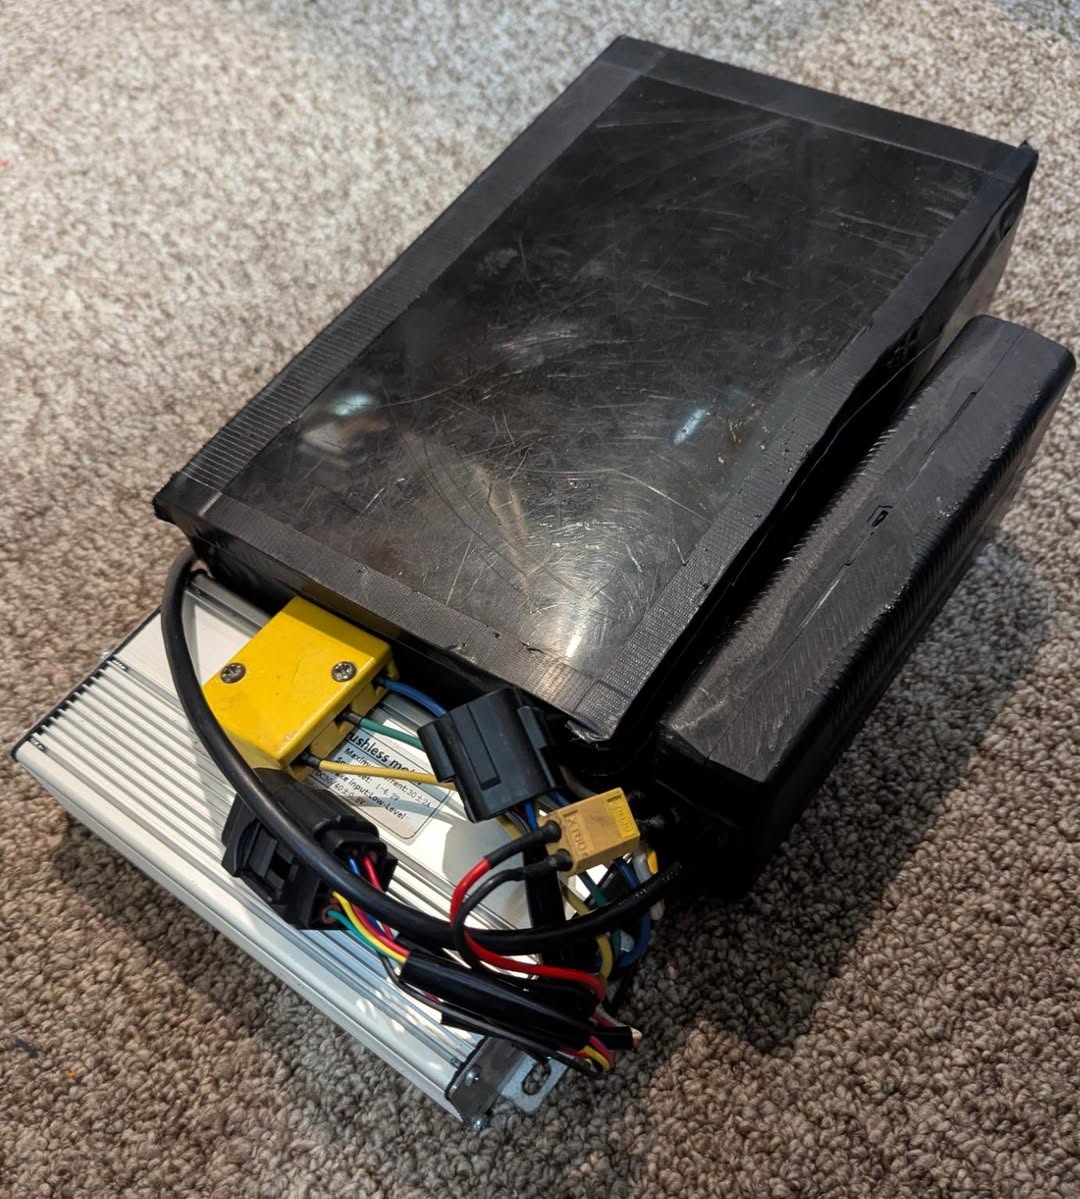
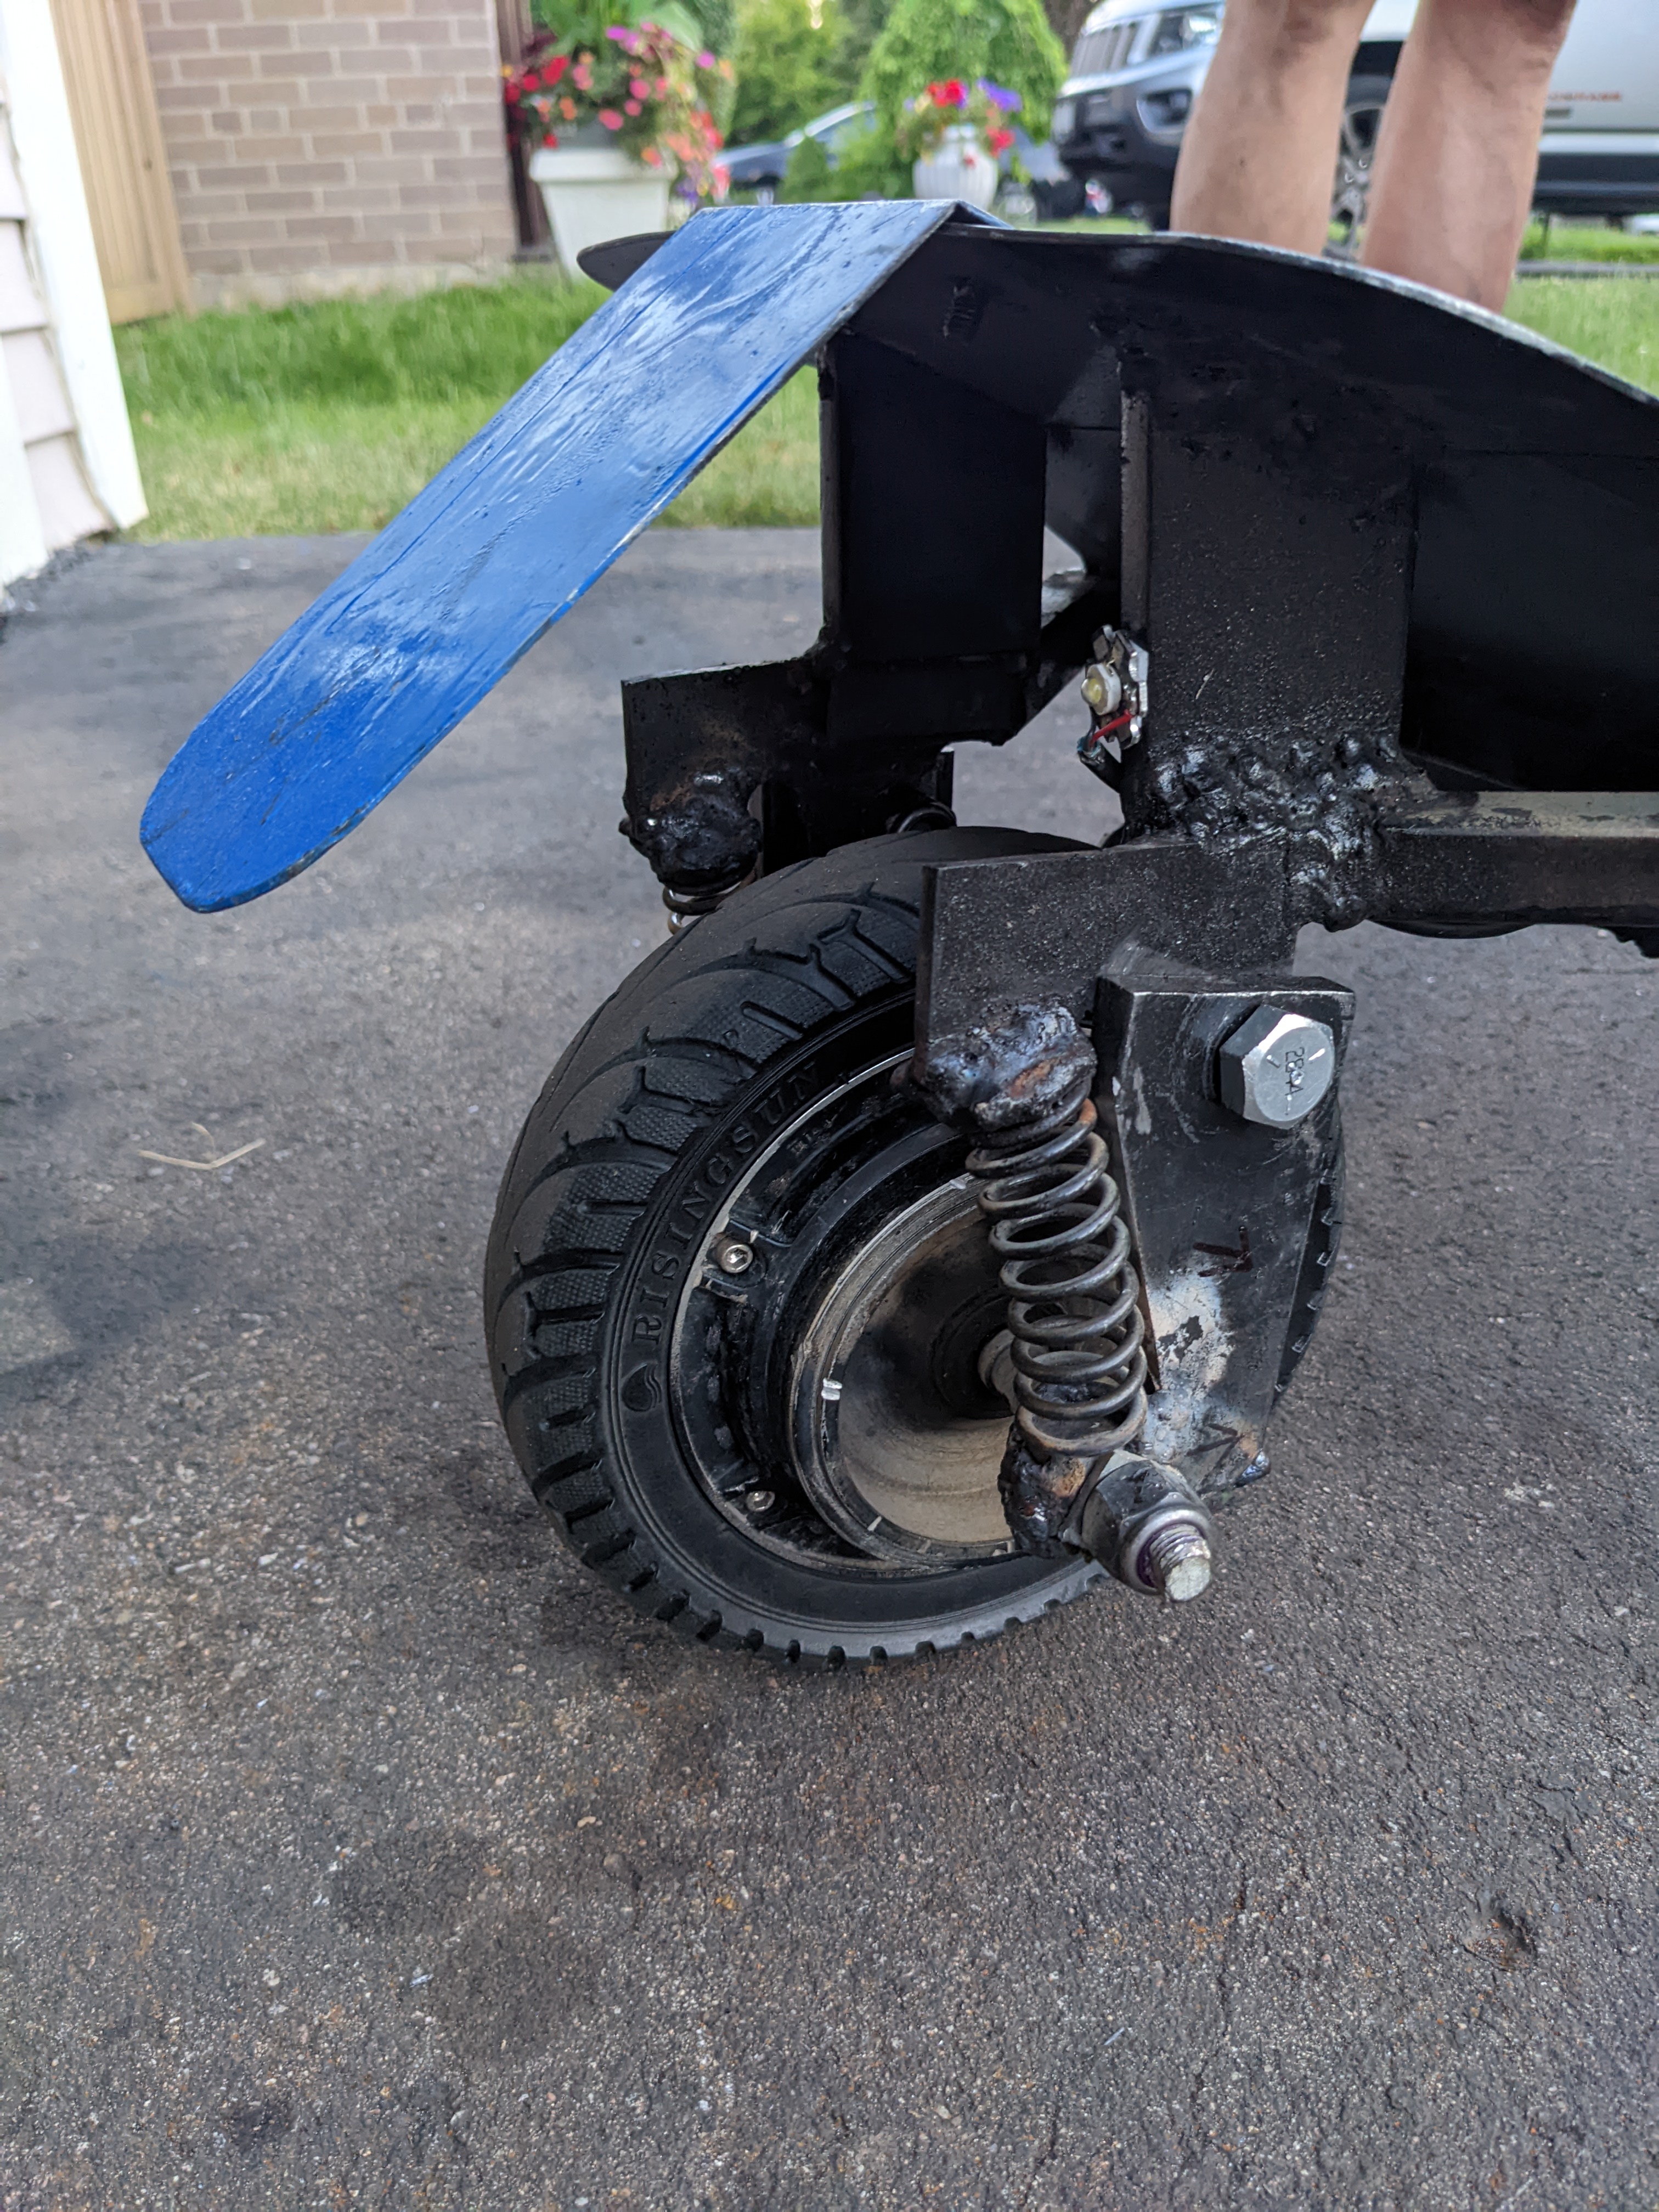
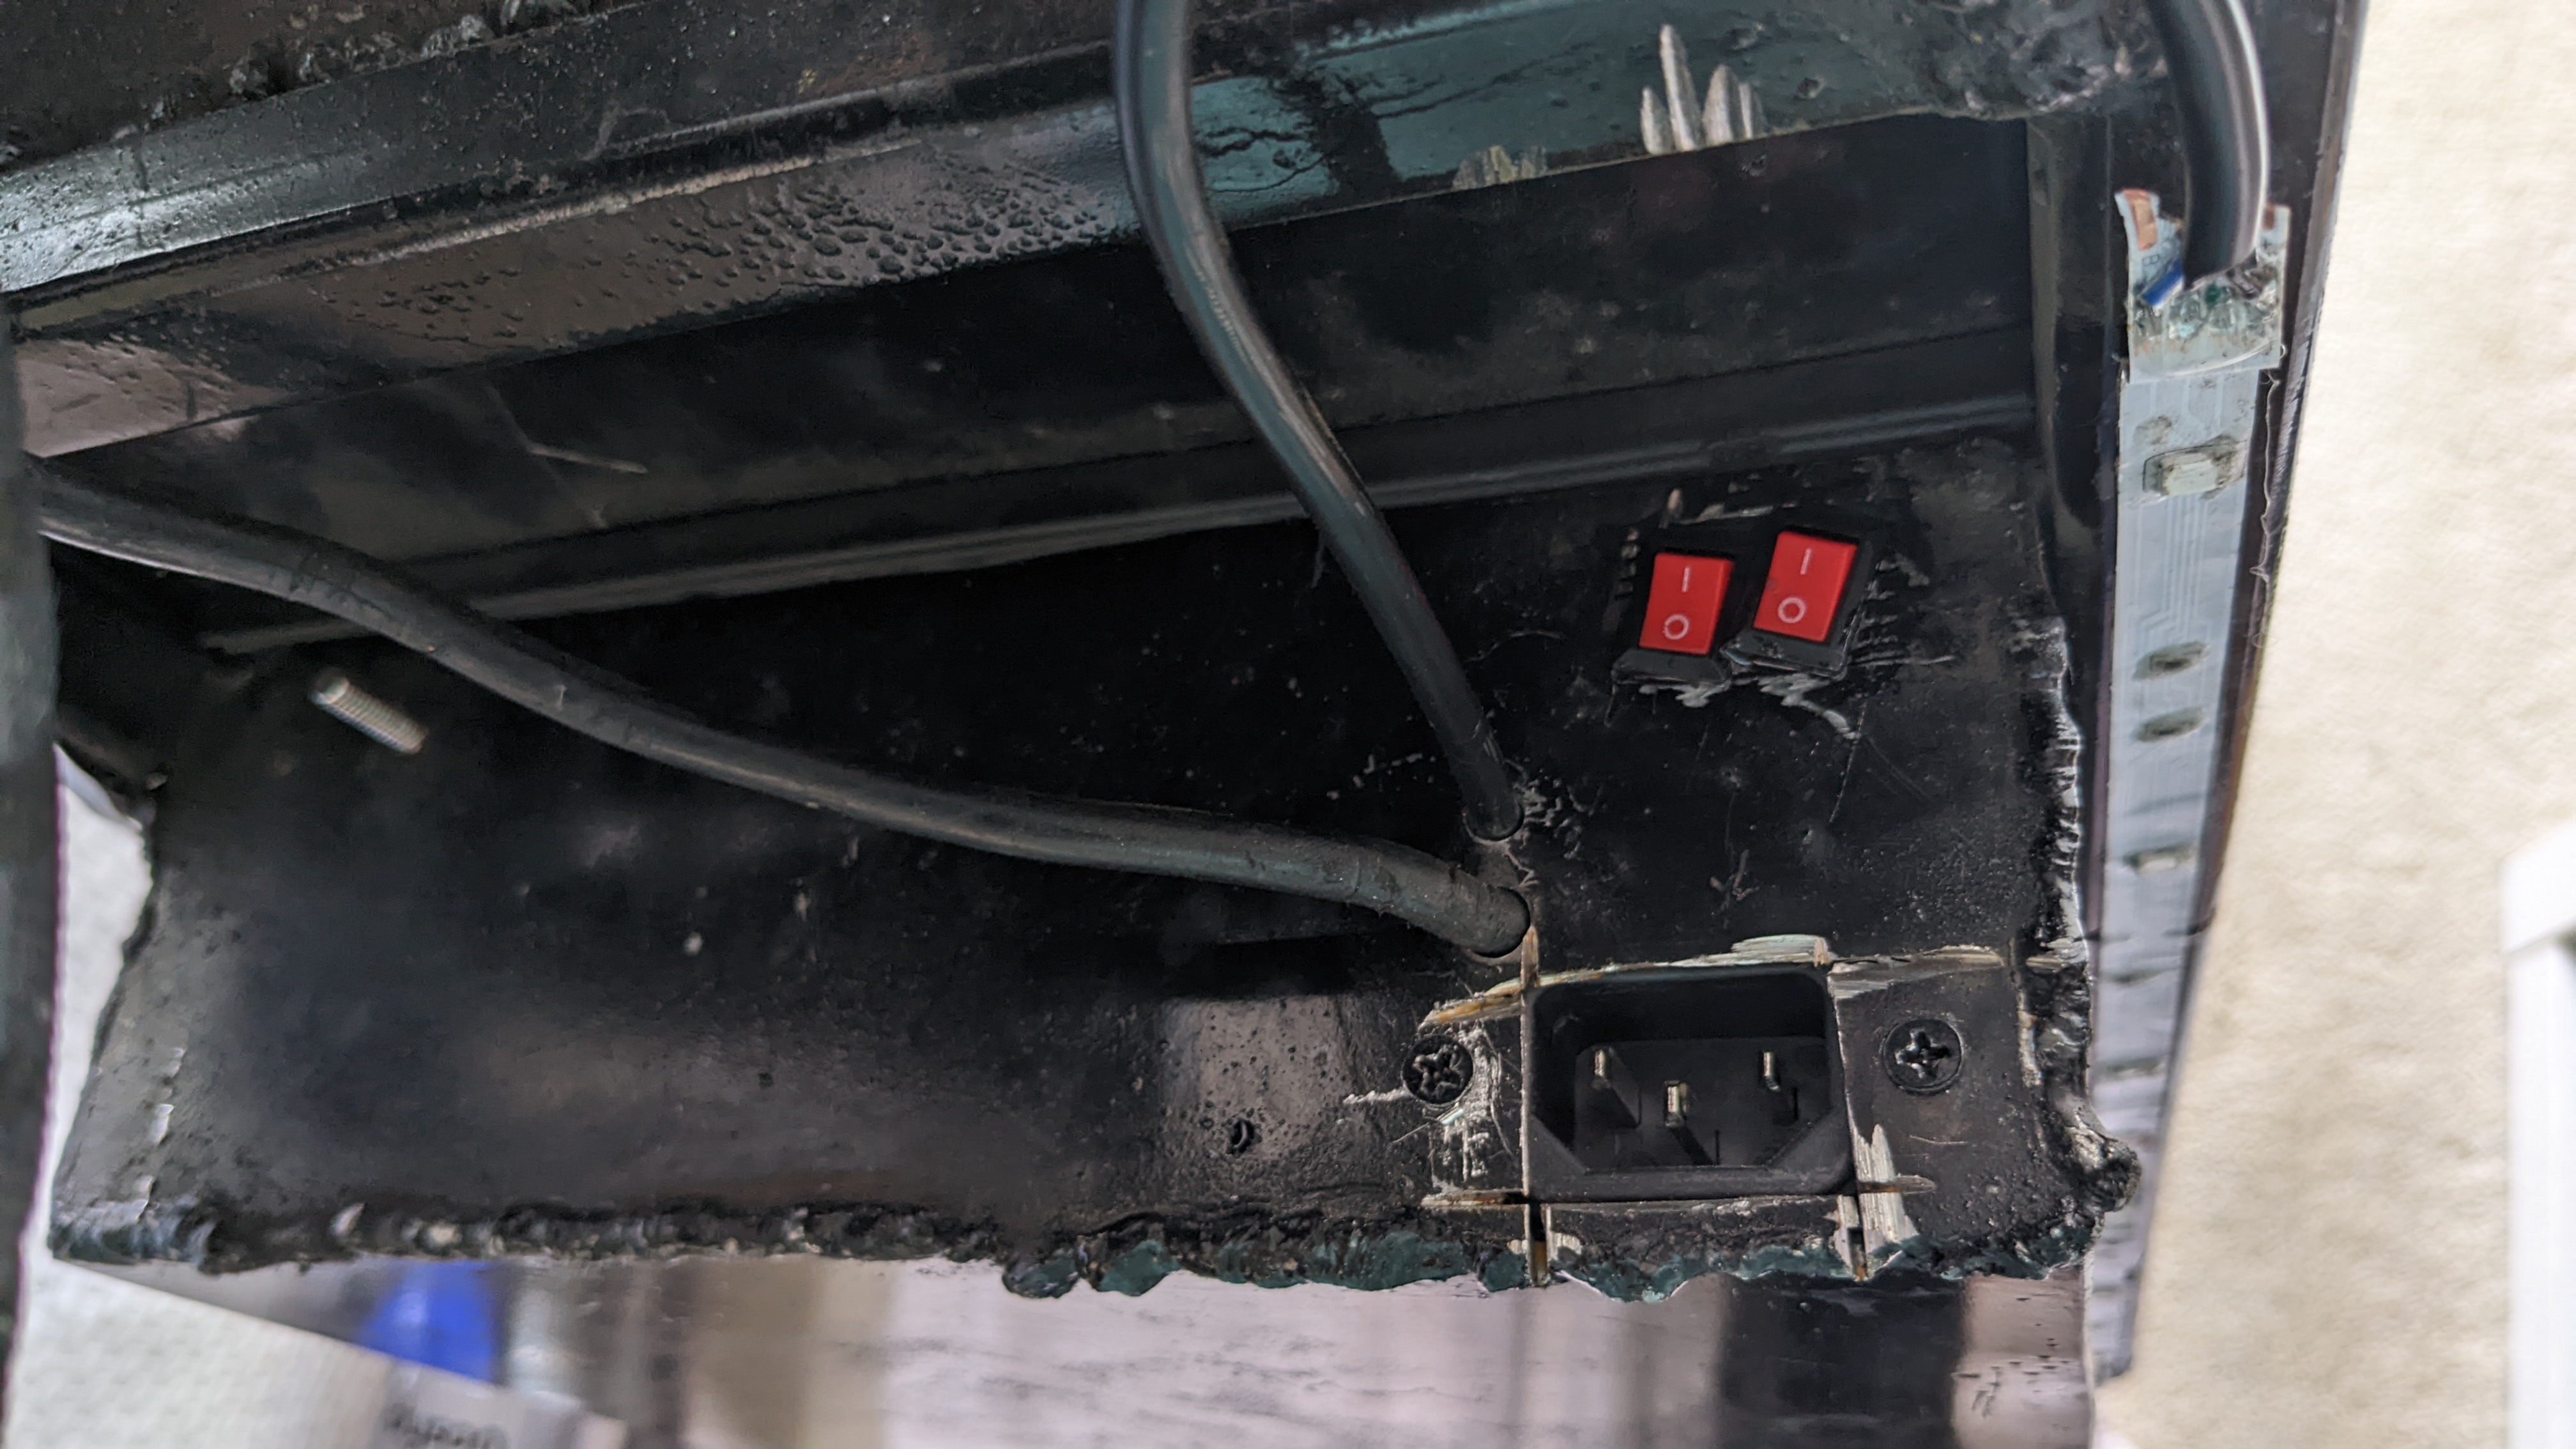
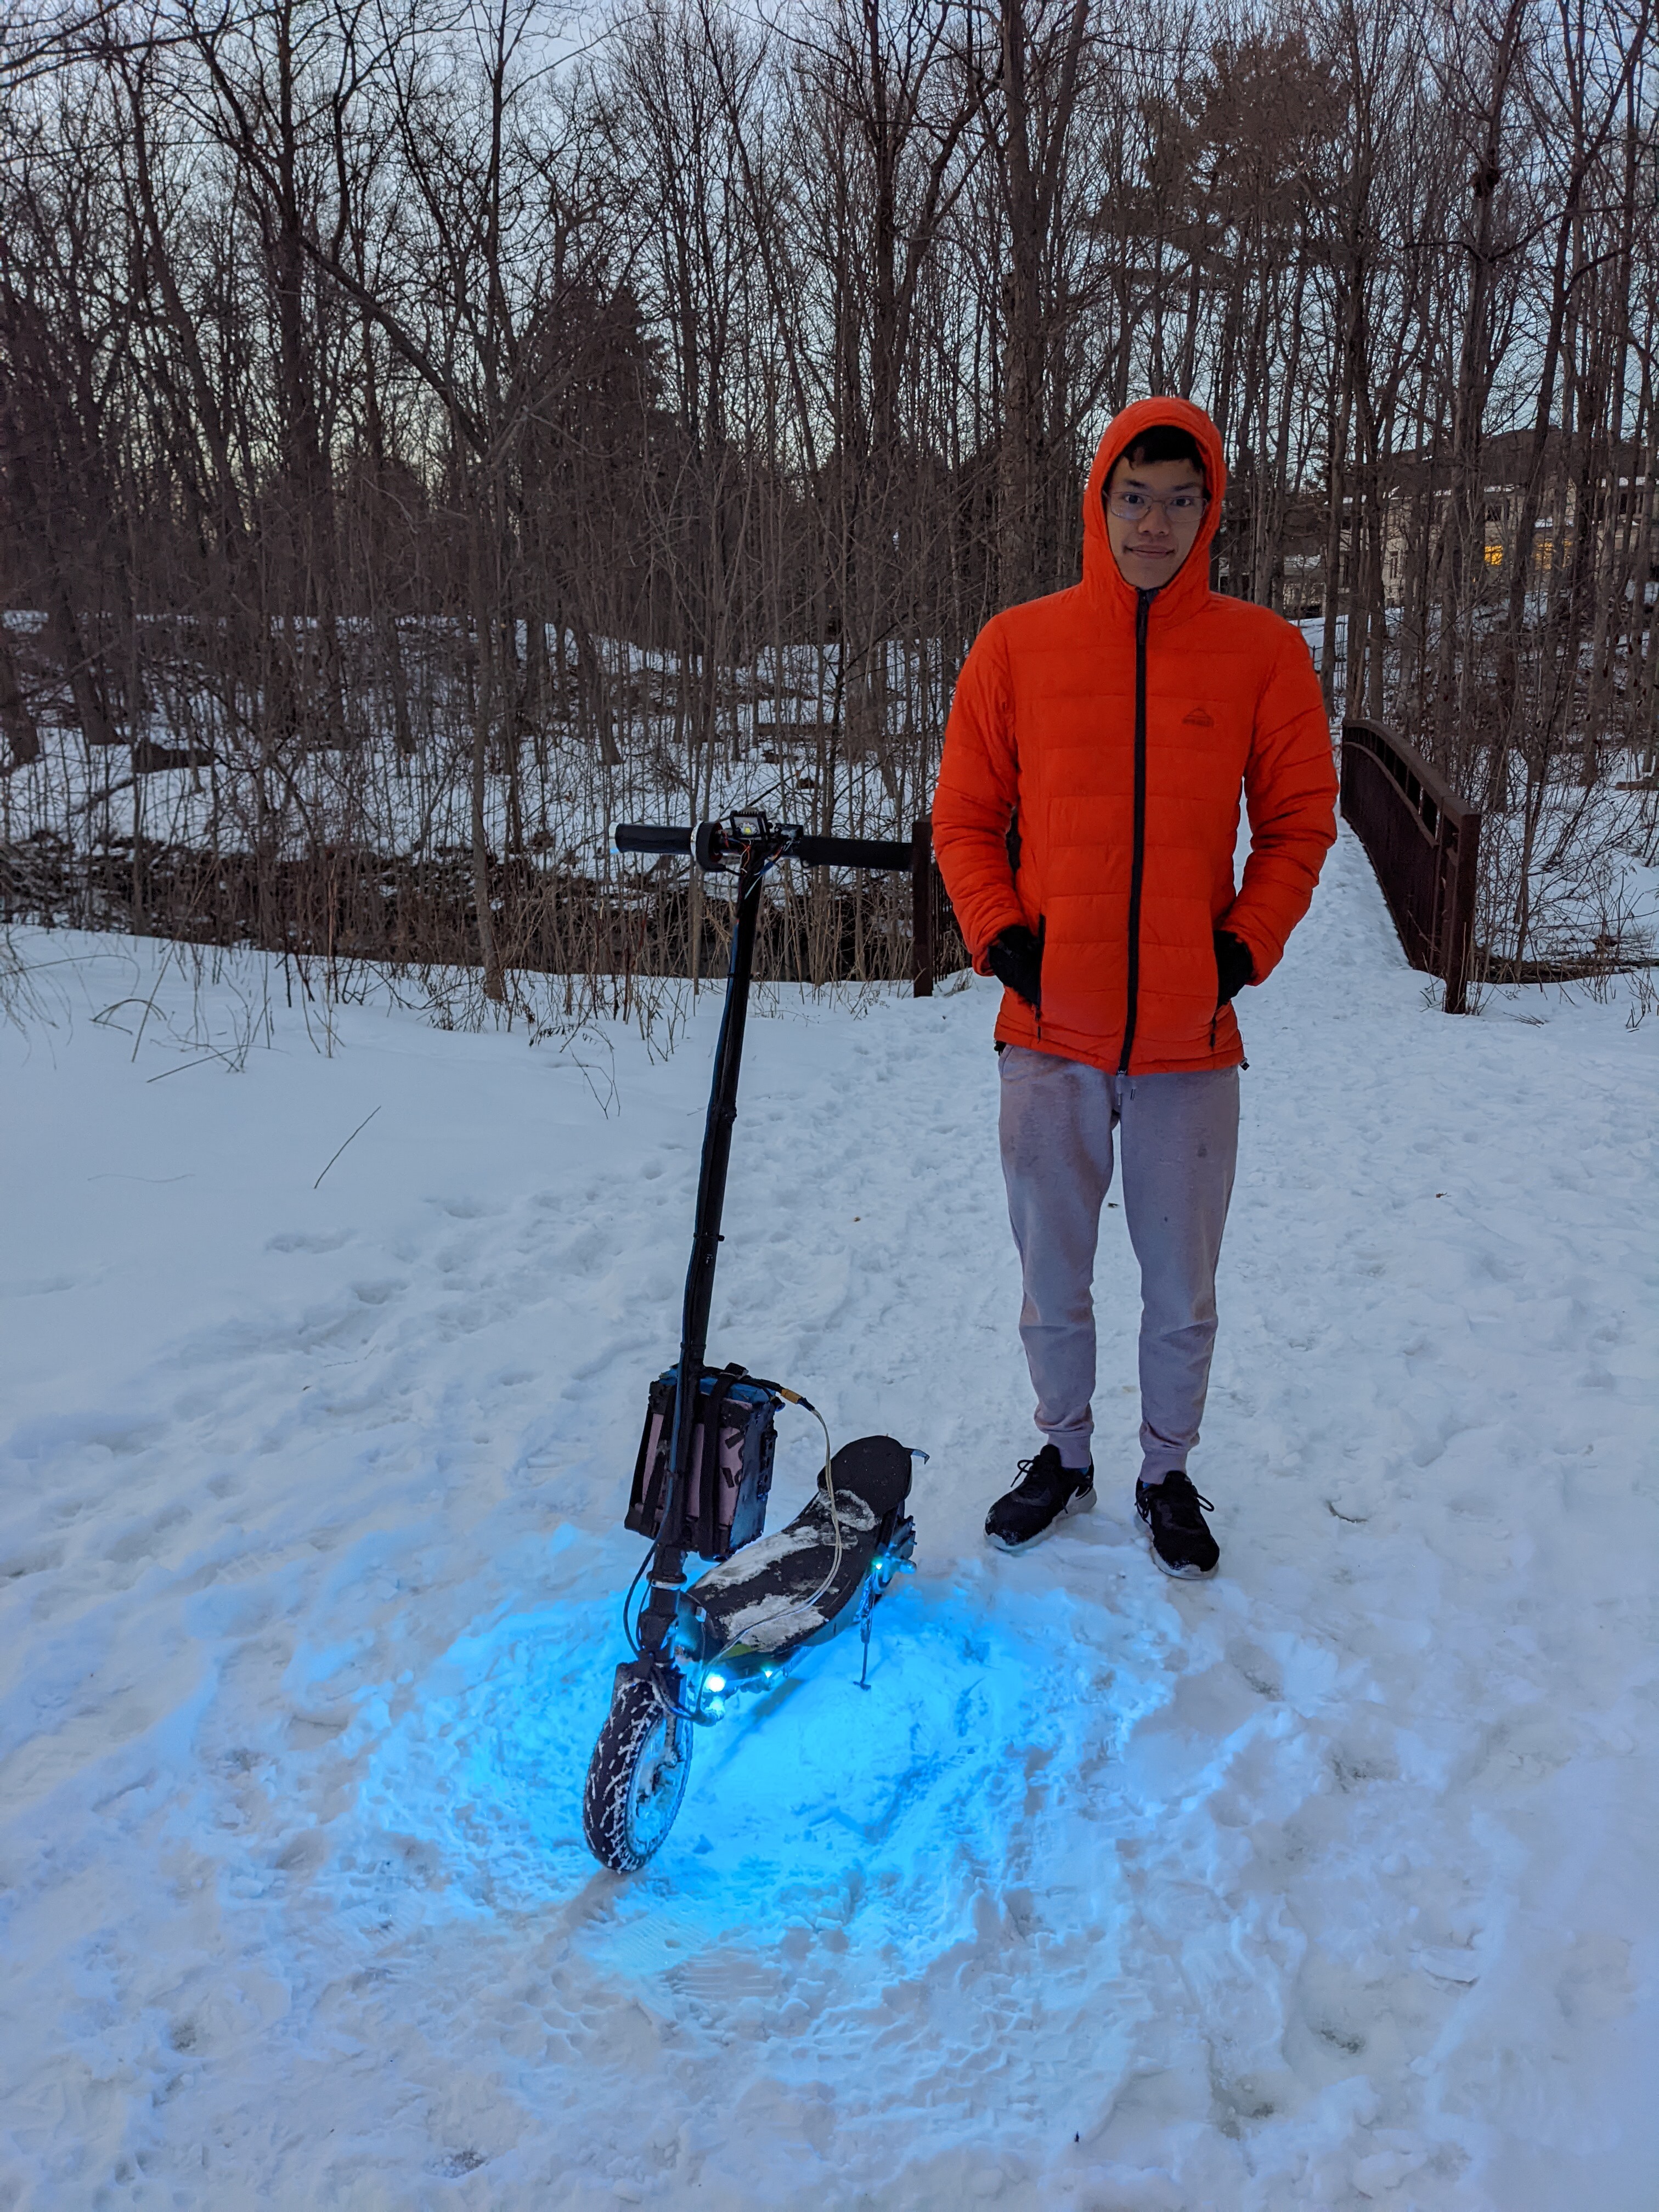
    After testing my frame design with the motor from my old scooter, I was ready to install custom electronics and a more powerful motor. I modified the frame to fit a 3,000 W motor, replacing the suspension with solid mounts. I built a 15S7P lithium battery using Chinese 18650 cells, leaving just enough space for the motor controller and battery charger. The clamp connecting the handlebar tube to the steering head tube broke because the handlebars were too long. Since it was already the strongest reasonably priced clamp I could find online, I decided to make a new one from steel. At this point, the scooter could reach nearly 60 km/h and beat commercial dual-motor e-scooters in a drag race. The scooter remained this way until I started university, when I rebuilt the battery in a 13S8P configuration, reducing the top speed but increasing the range. The old bicycle bearings made the steering rough, so I replaced them with sealed tapered bearings installed on a new suspension fork. Poor weather sealing allowed water to pool inside the frame and cause rust. To fix this, I shortened the handlebar mount plate so a strip of sealant could run all the way around the cover, added rubber grommets to electrical connections, and replaced all connectors with waterproof ones.
  3. Electric Scooters: A new scooter, my way
    Electric Scooters: A new scooter, my way
    Electric Scooters: A new scooter, my way
    Electric Scooters: A new scooter, my way
    Electric Scooters: A new scooter, my way
    Electric Scooters: A new scooter, my way
    Electric Scooters: A new scooter, my way
    Electric Scooters: A new scooter, my way
    Electric Scooters: A new scooter, my way

    A new scooter, my way

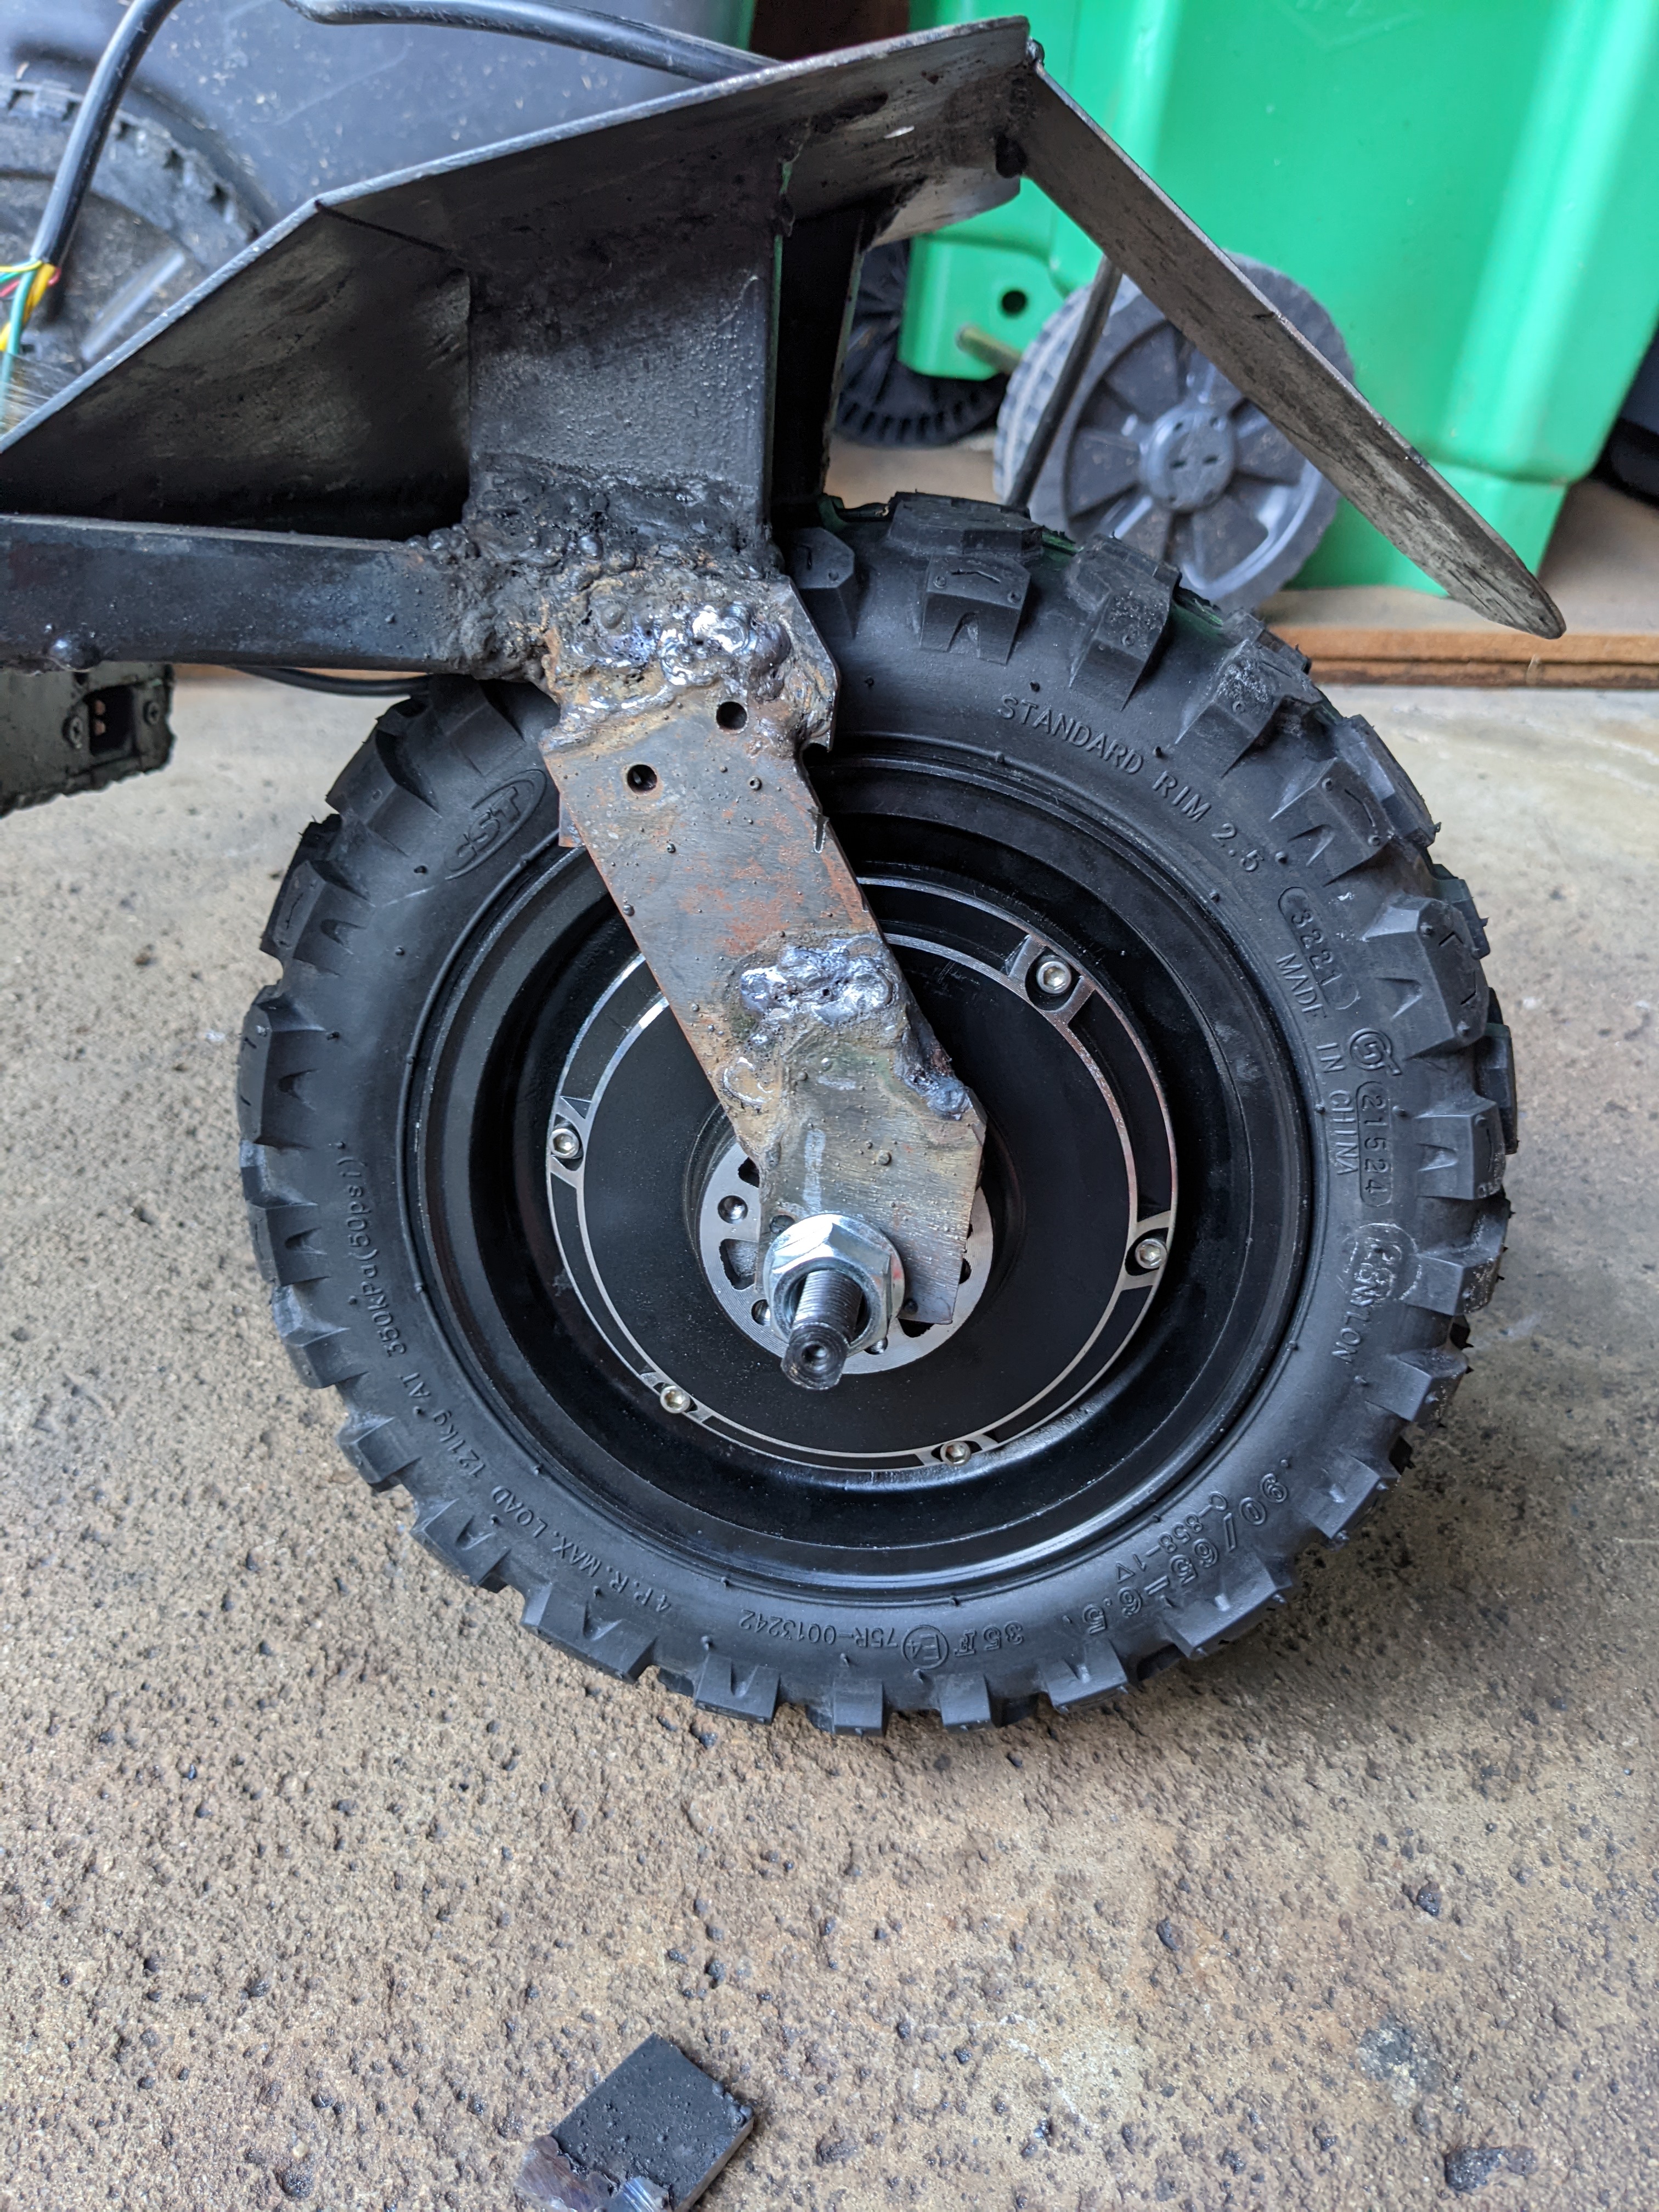
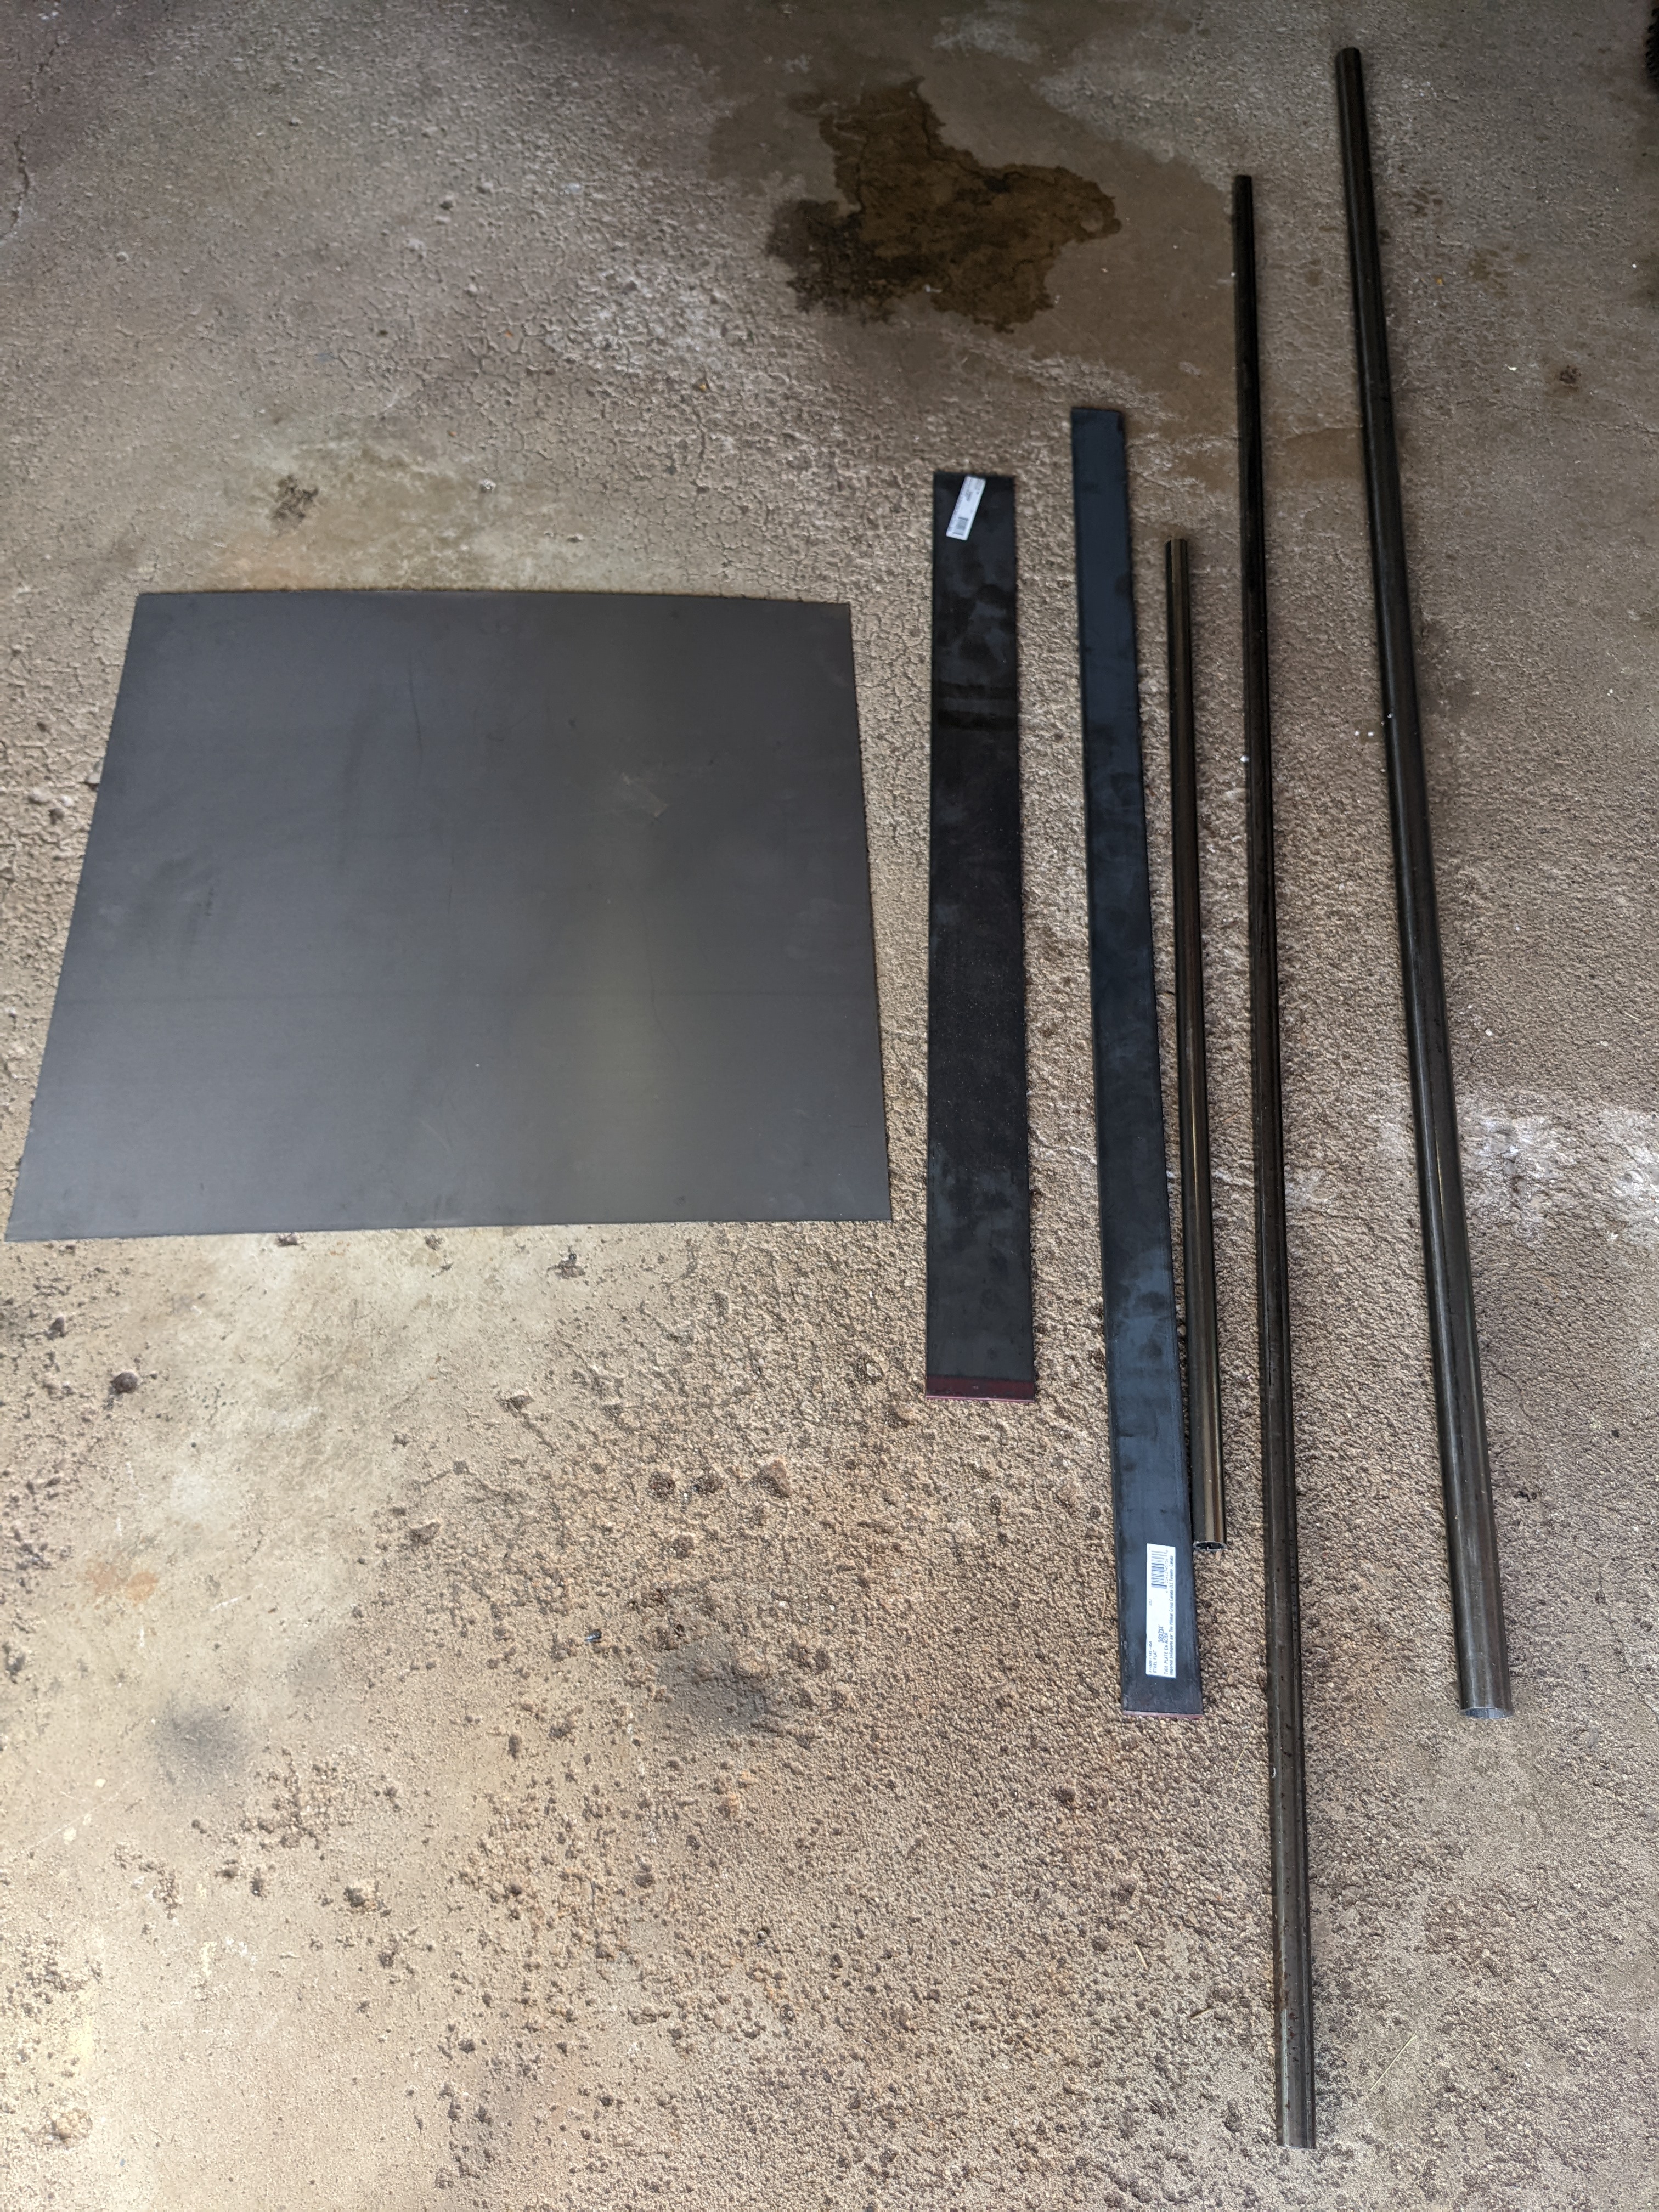
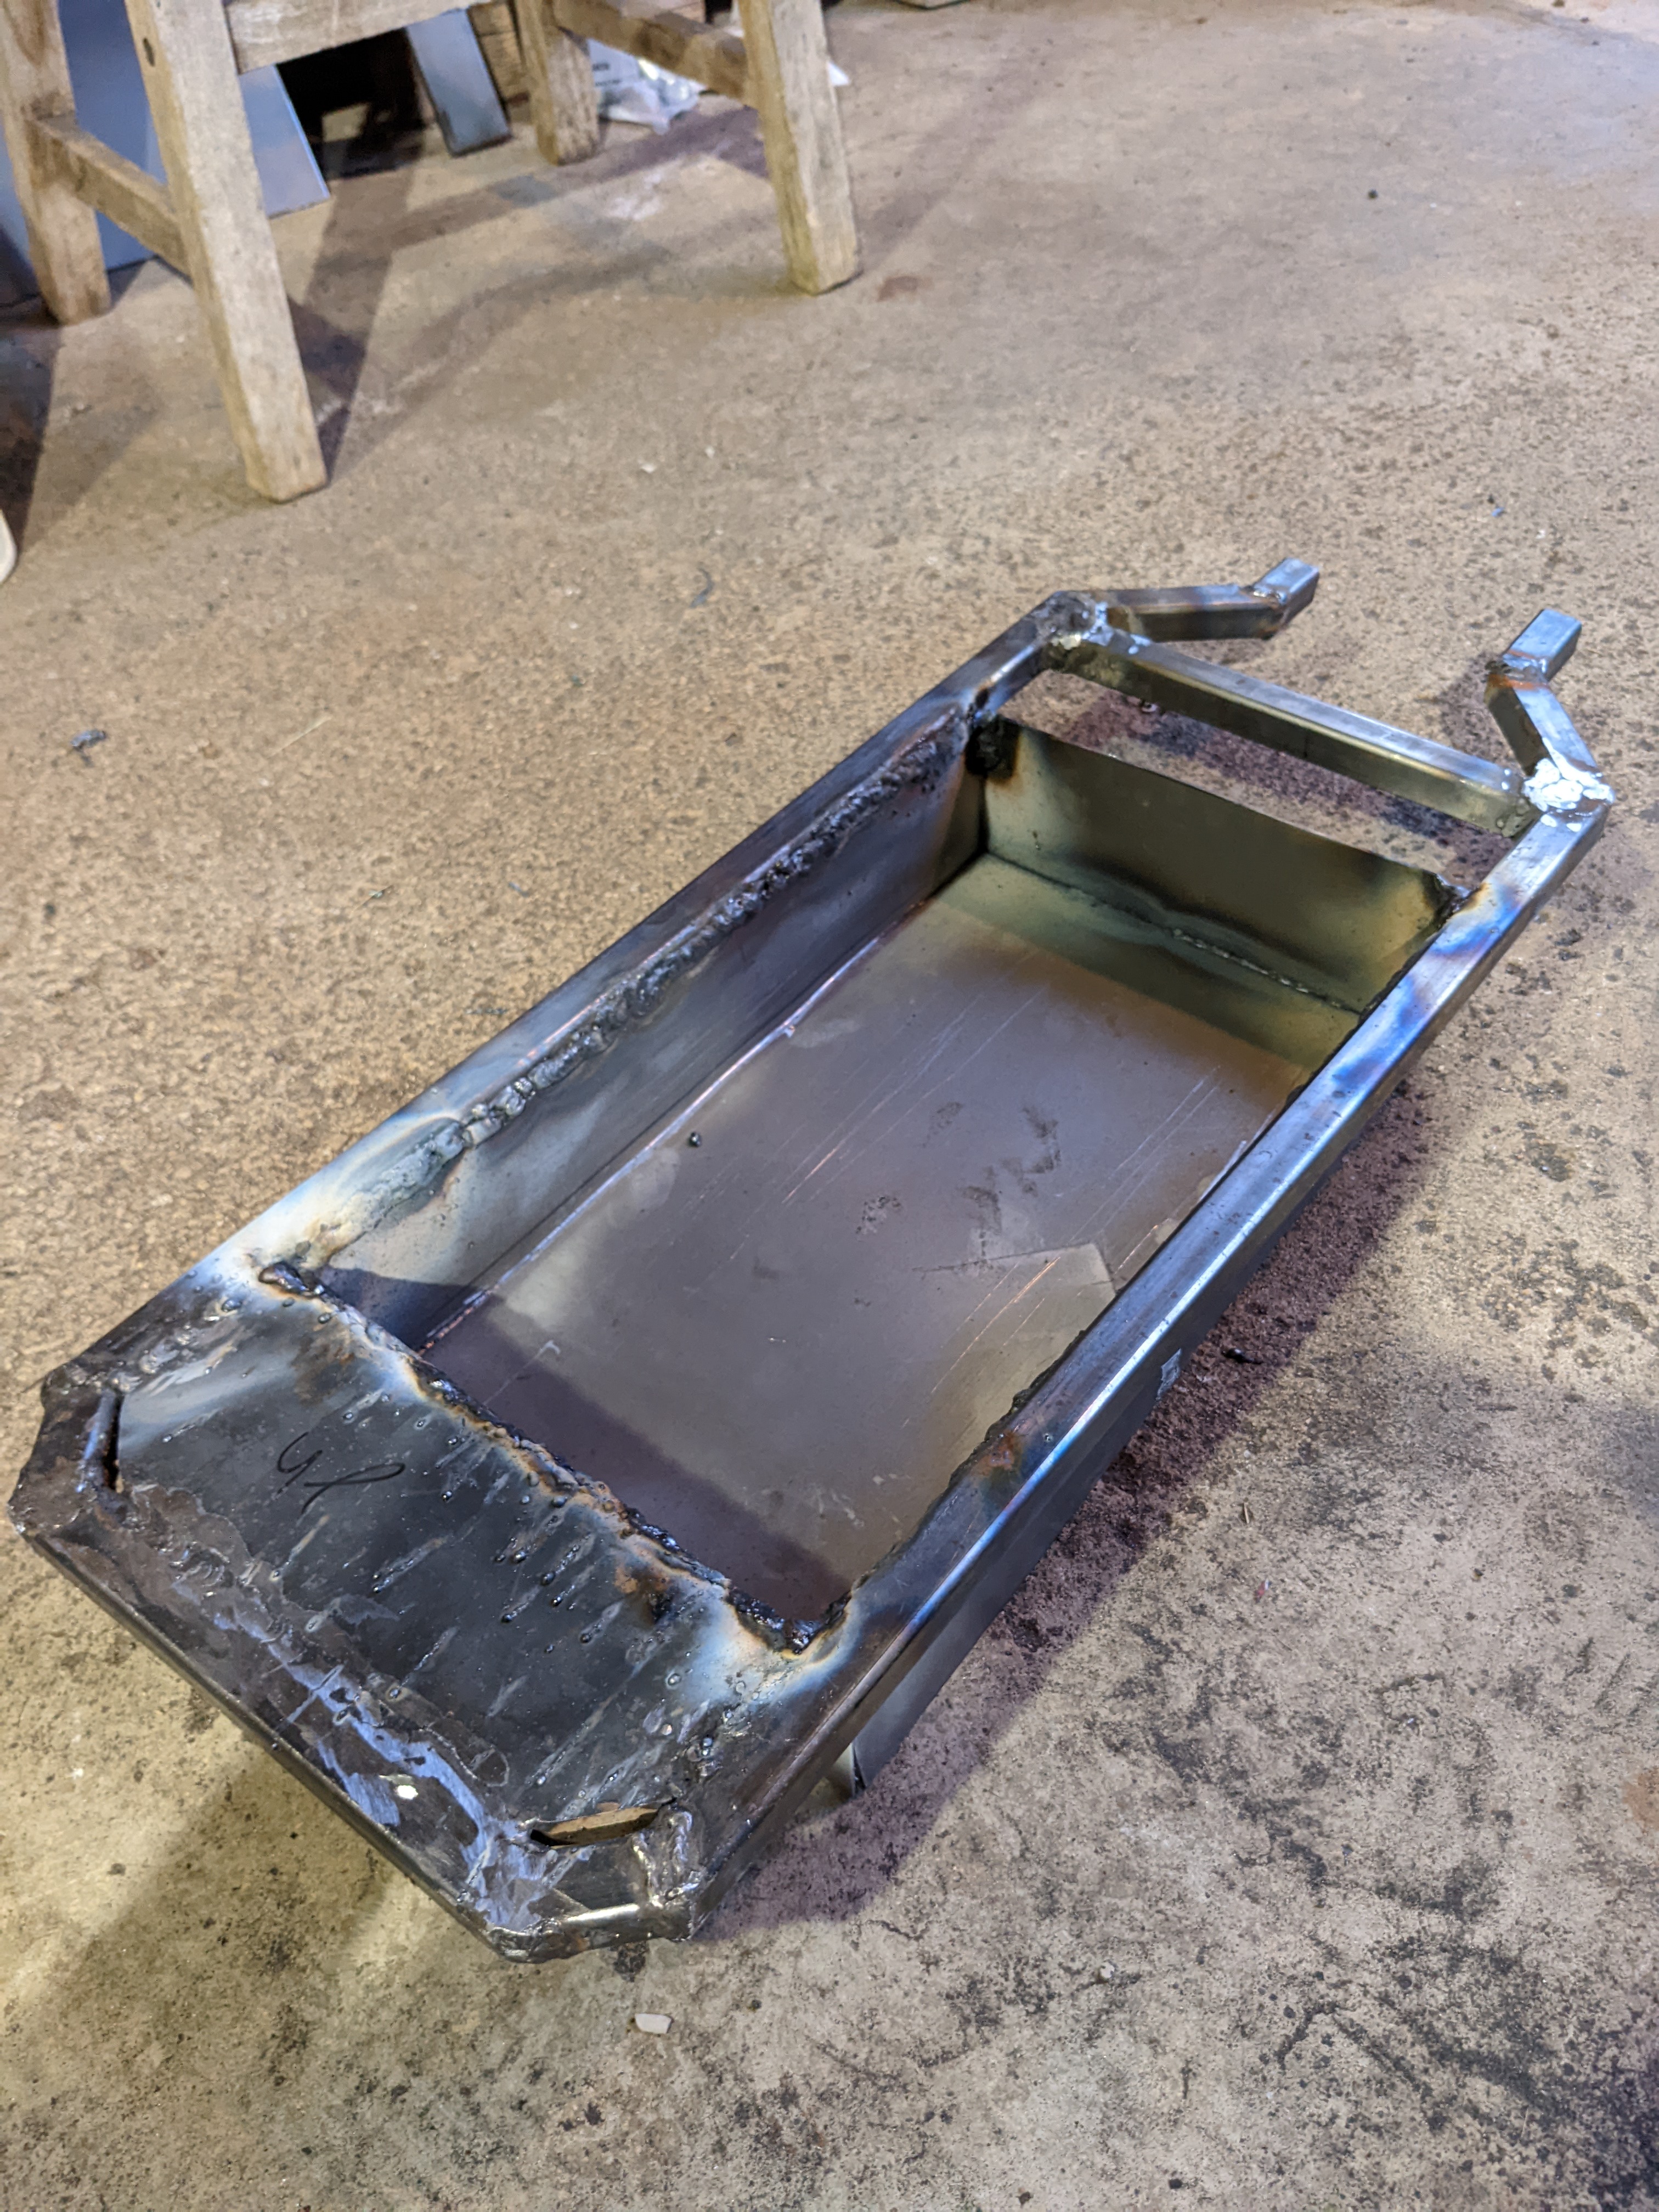
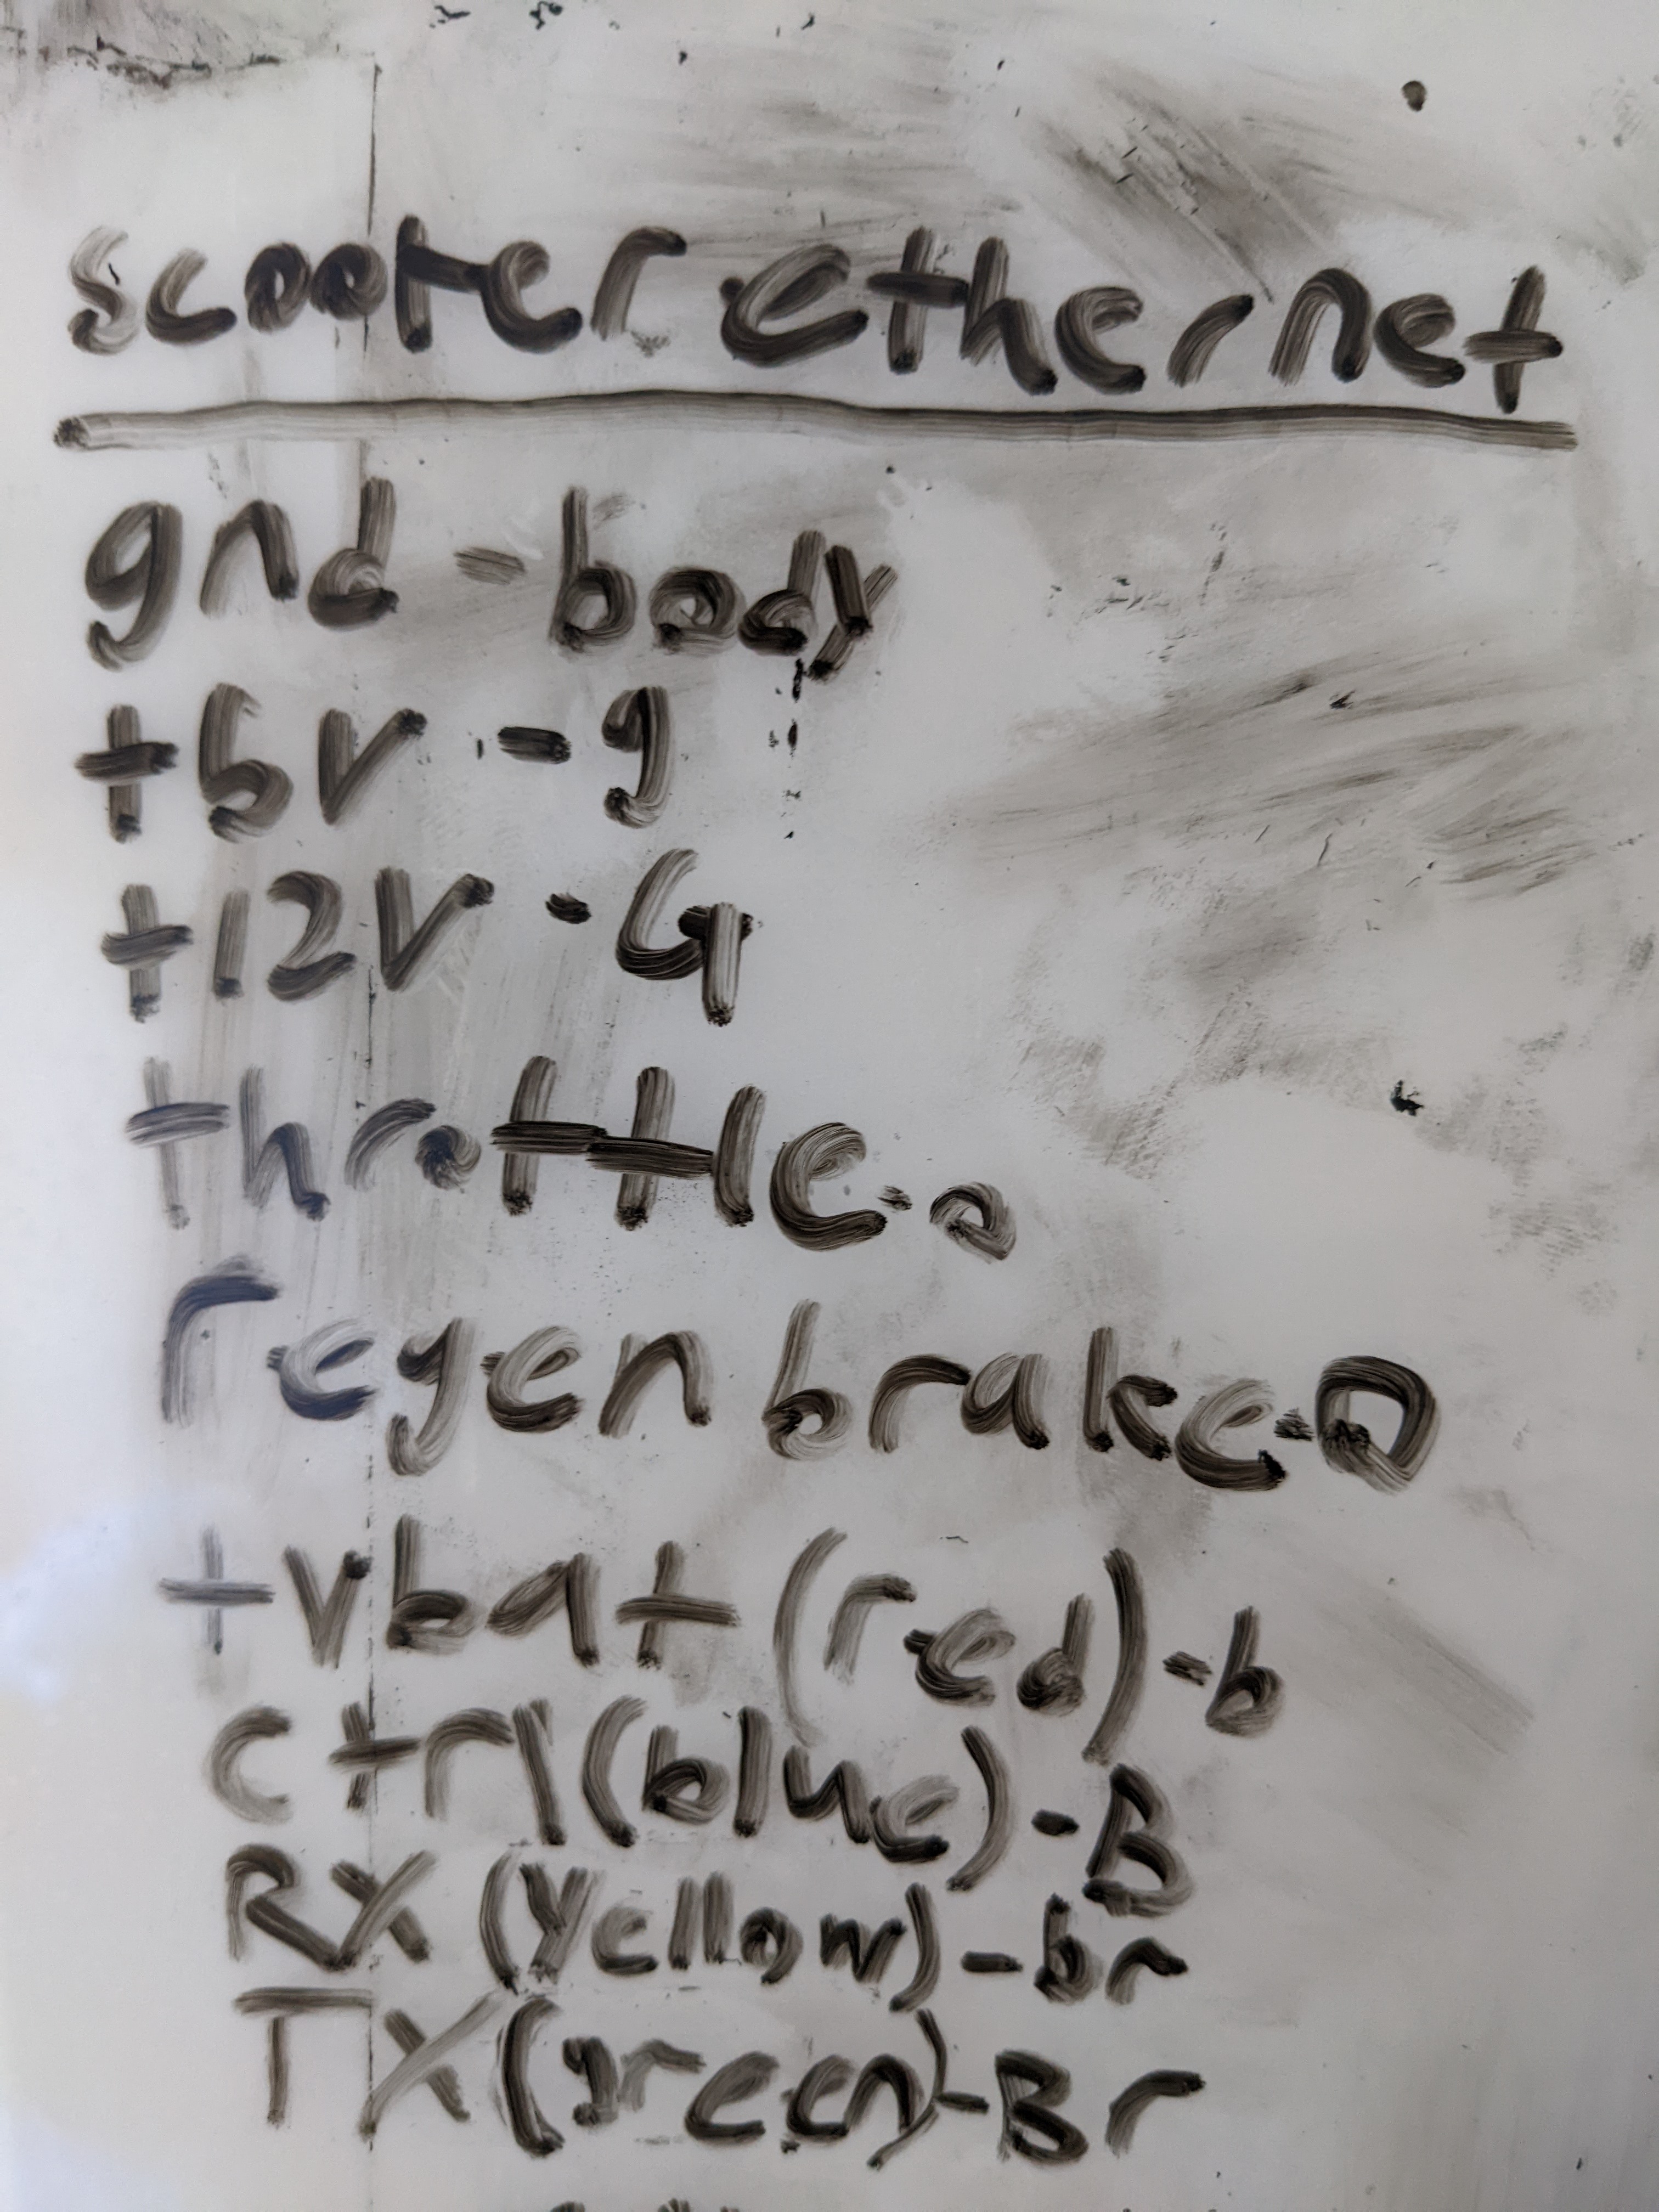
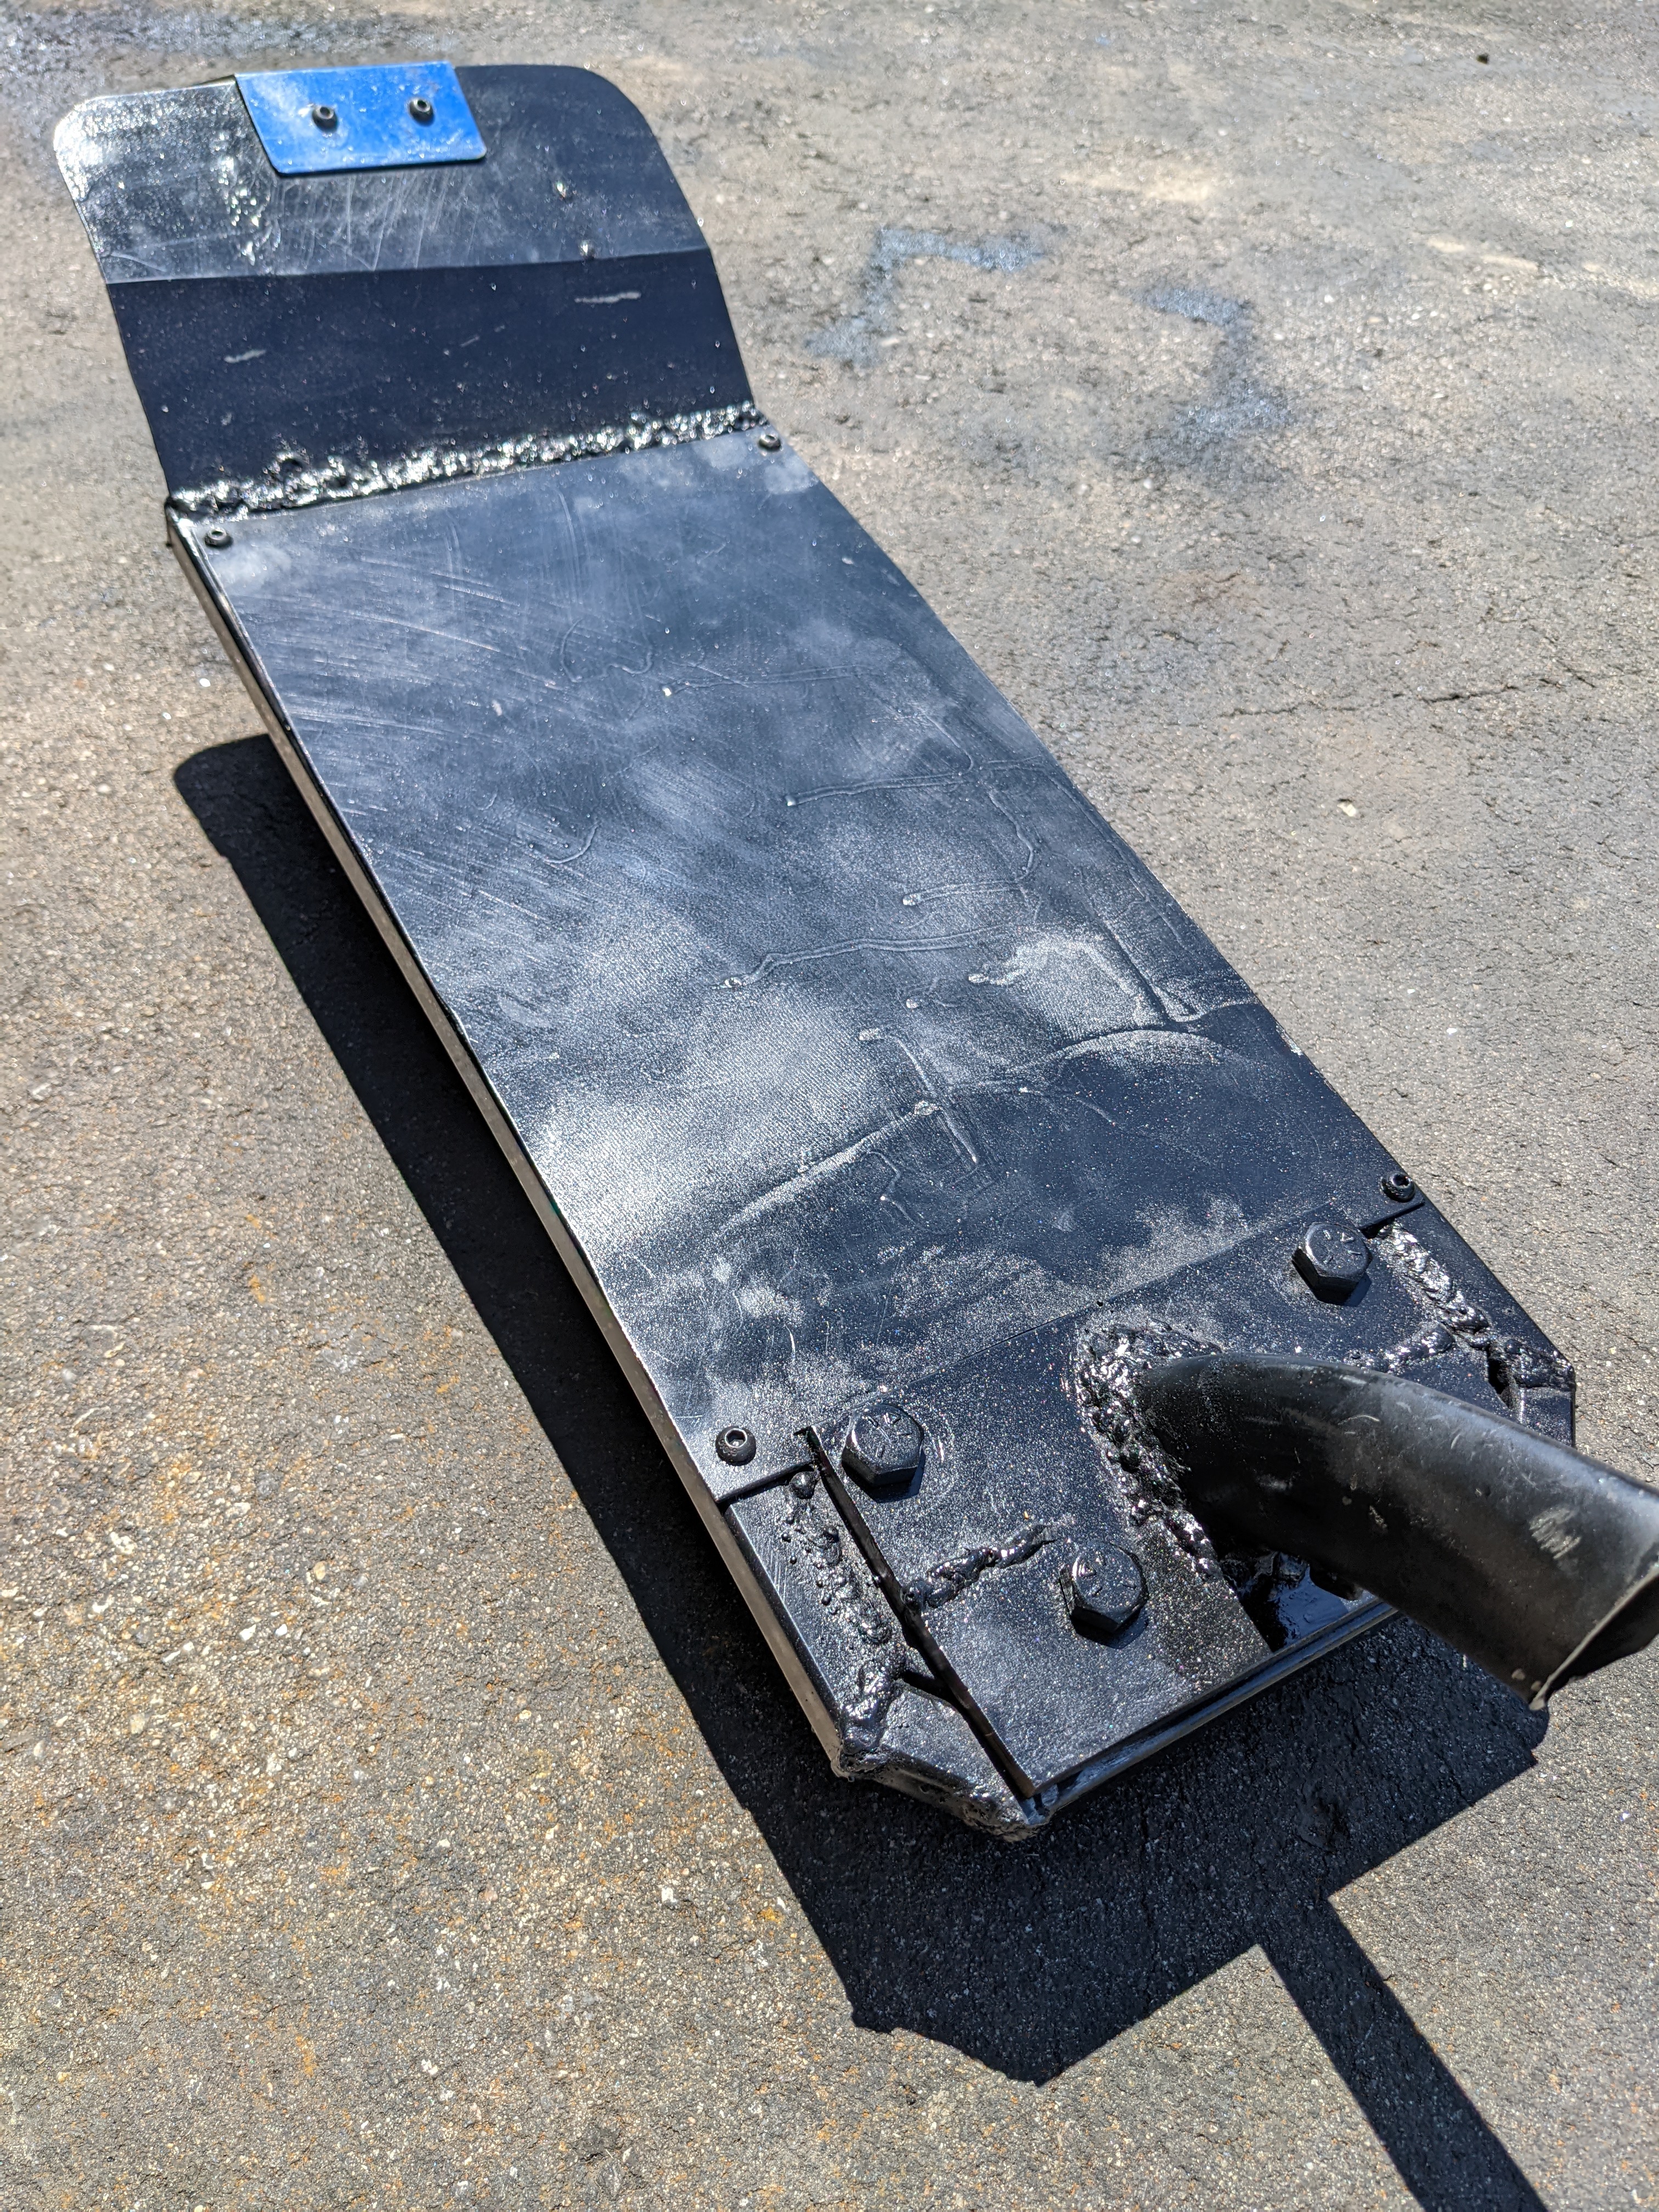
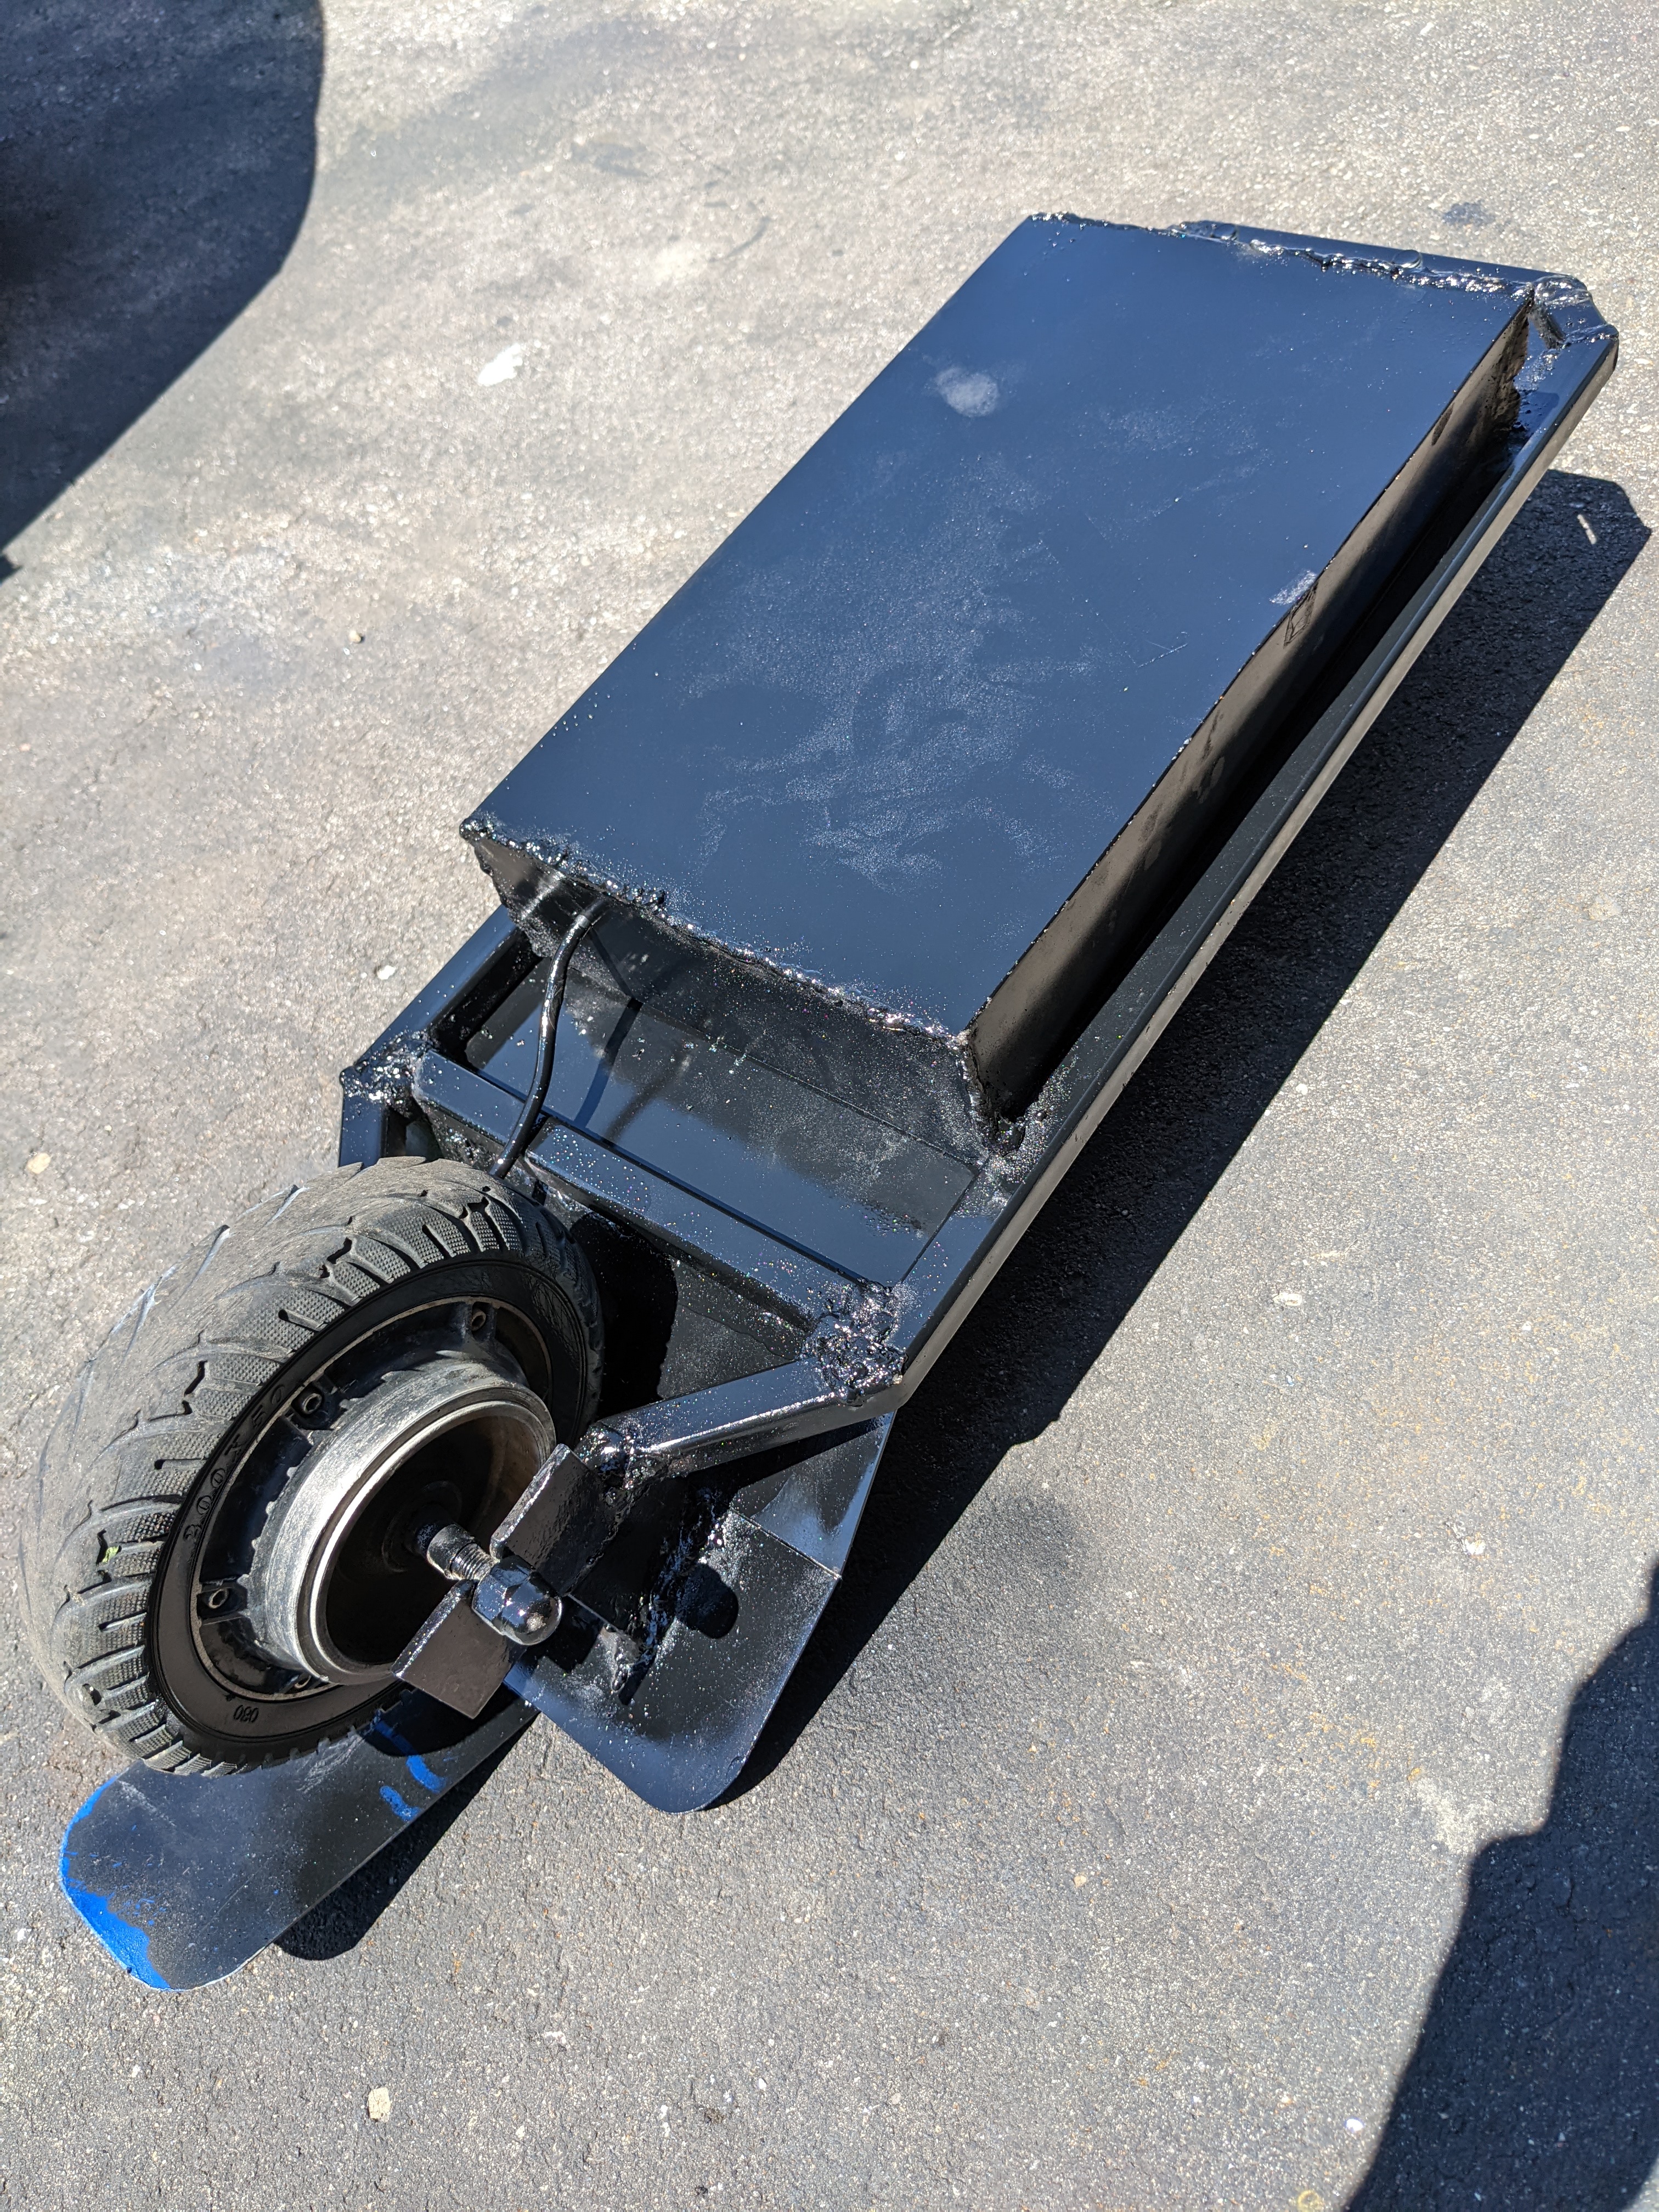
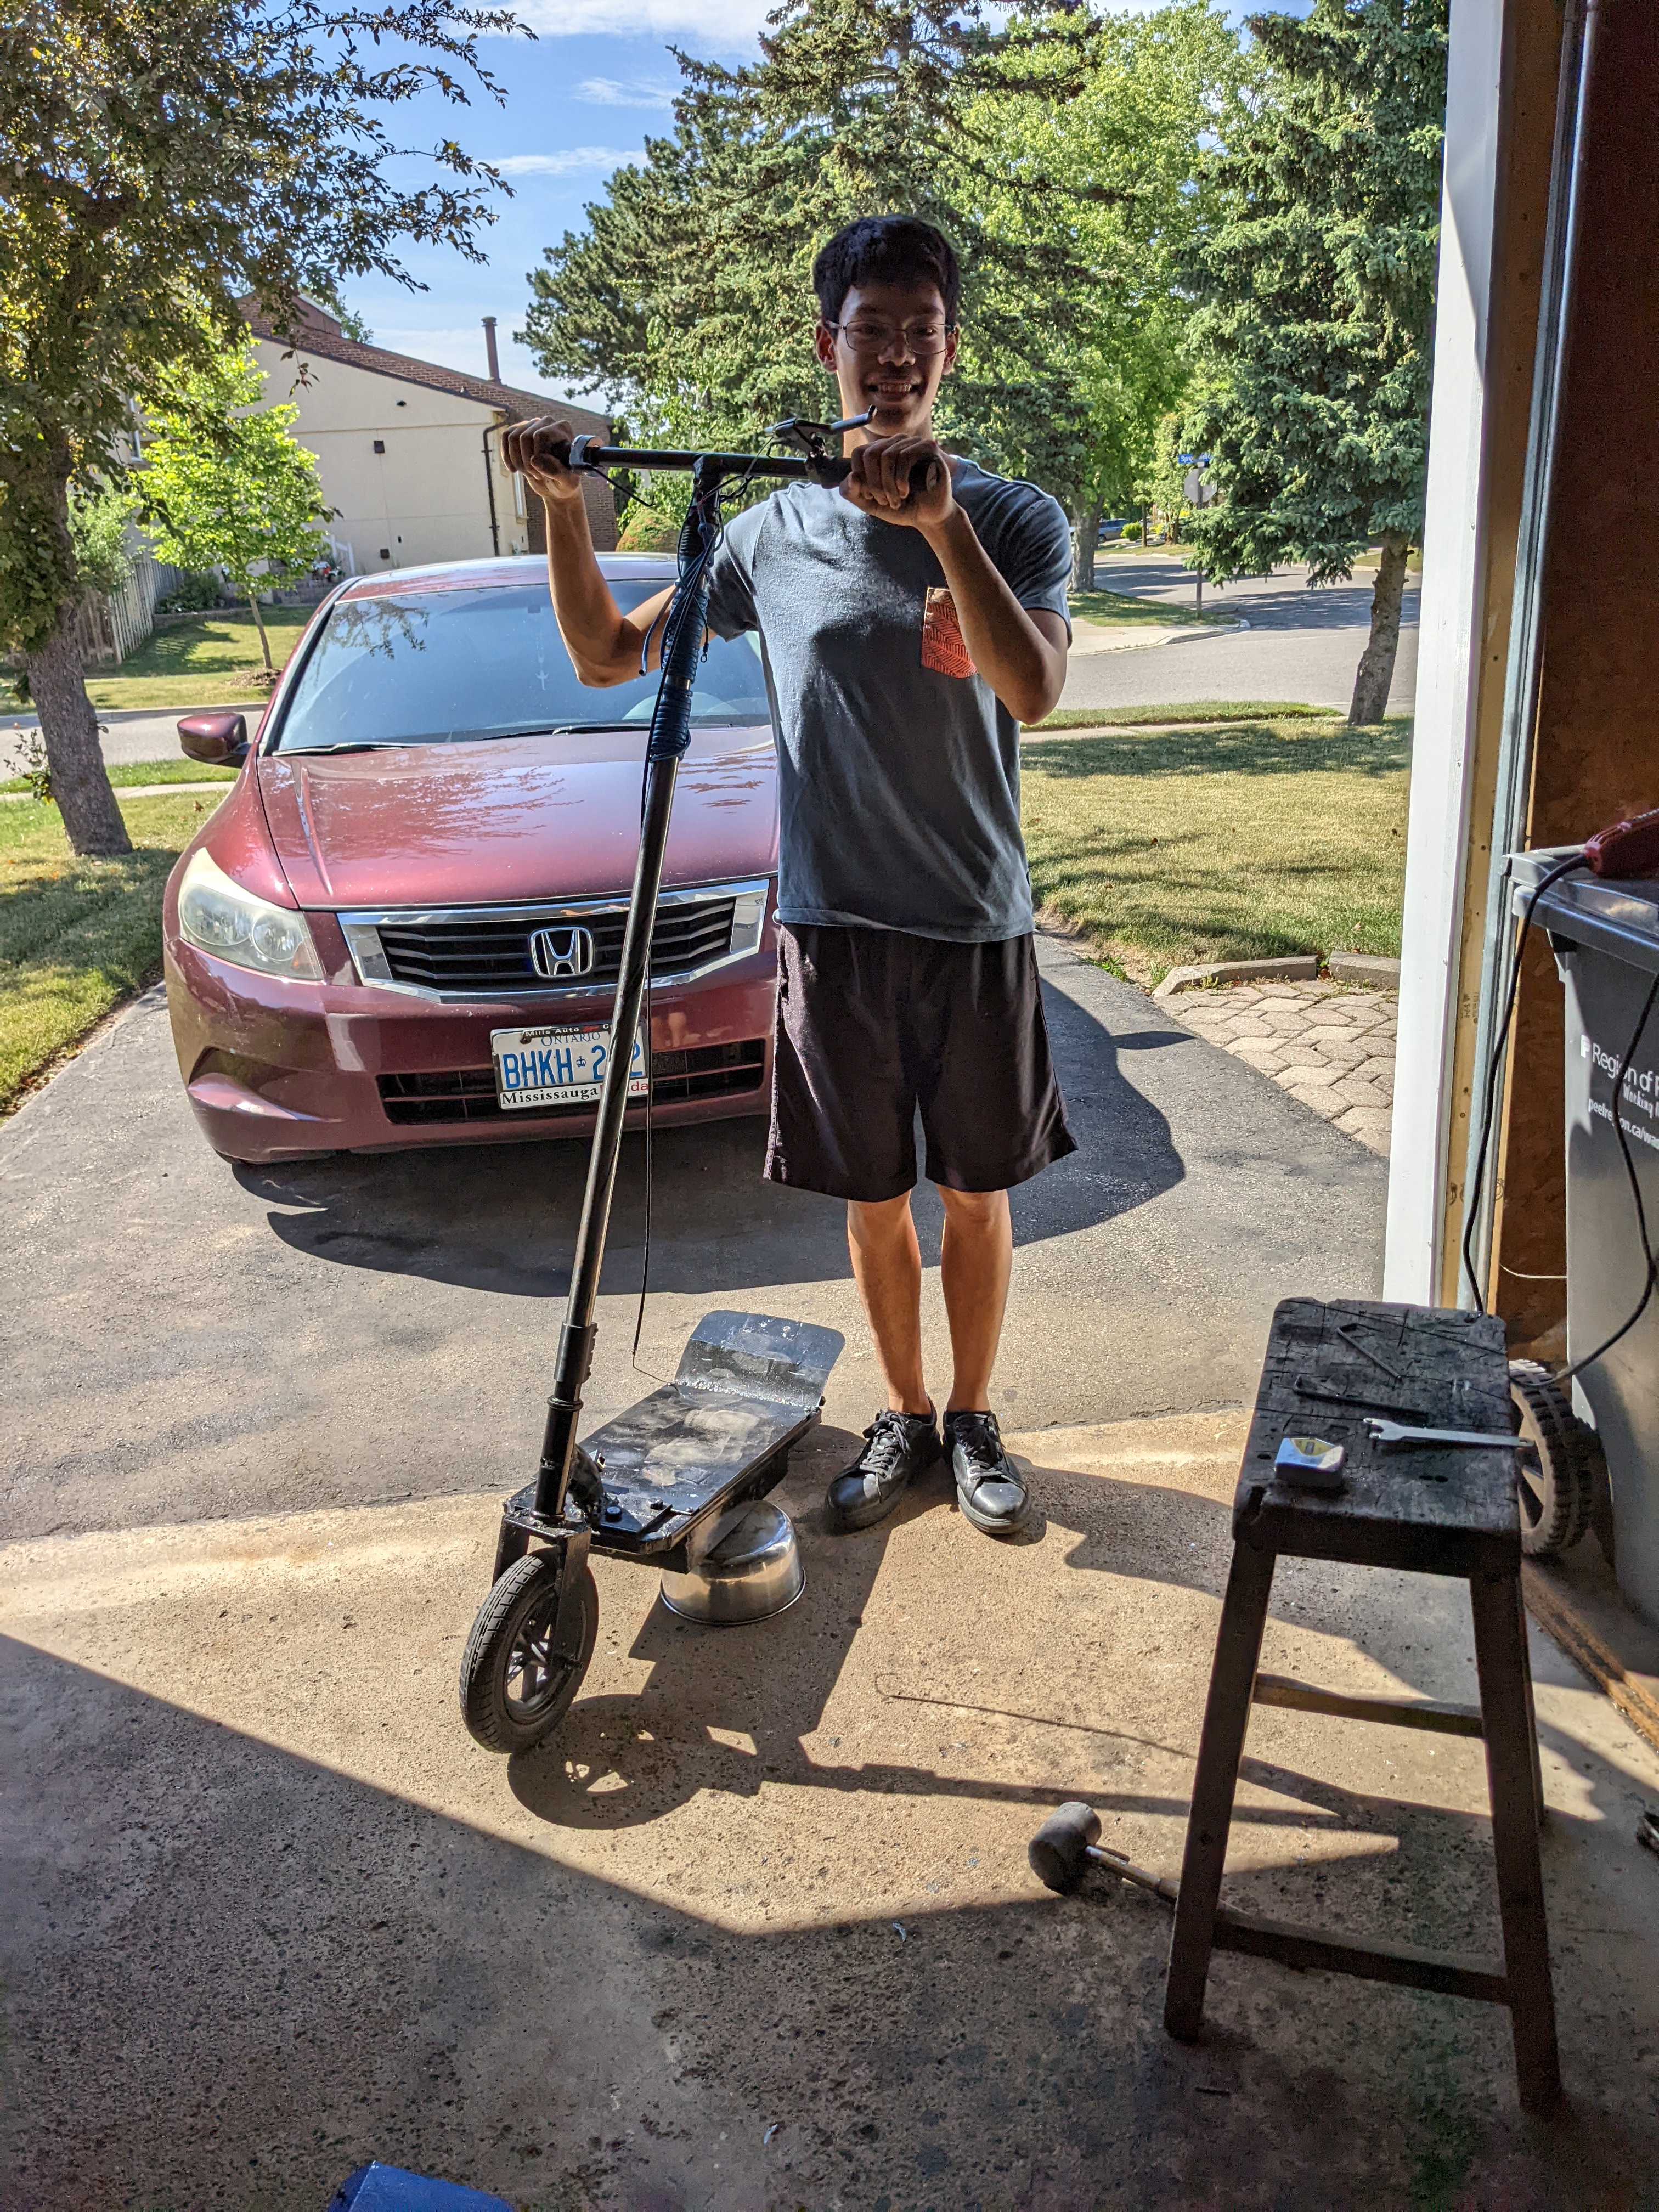
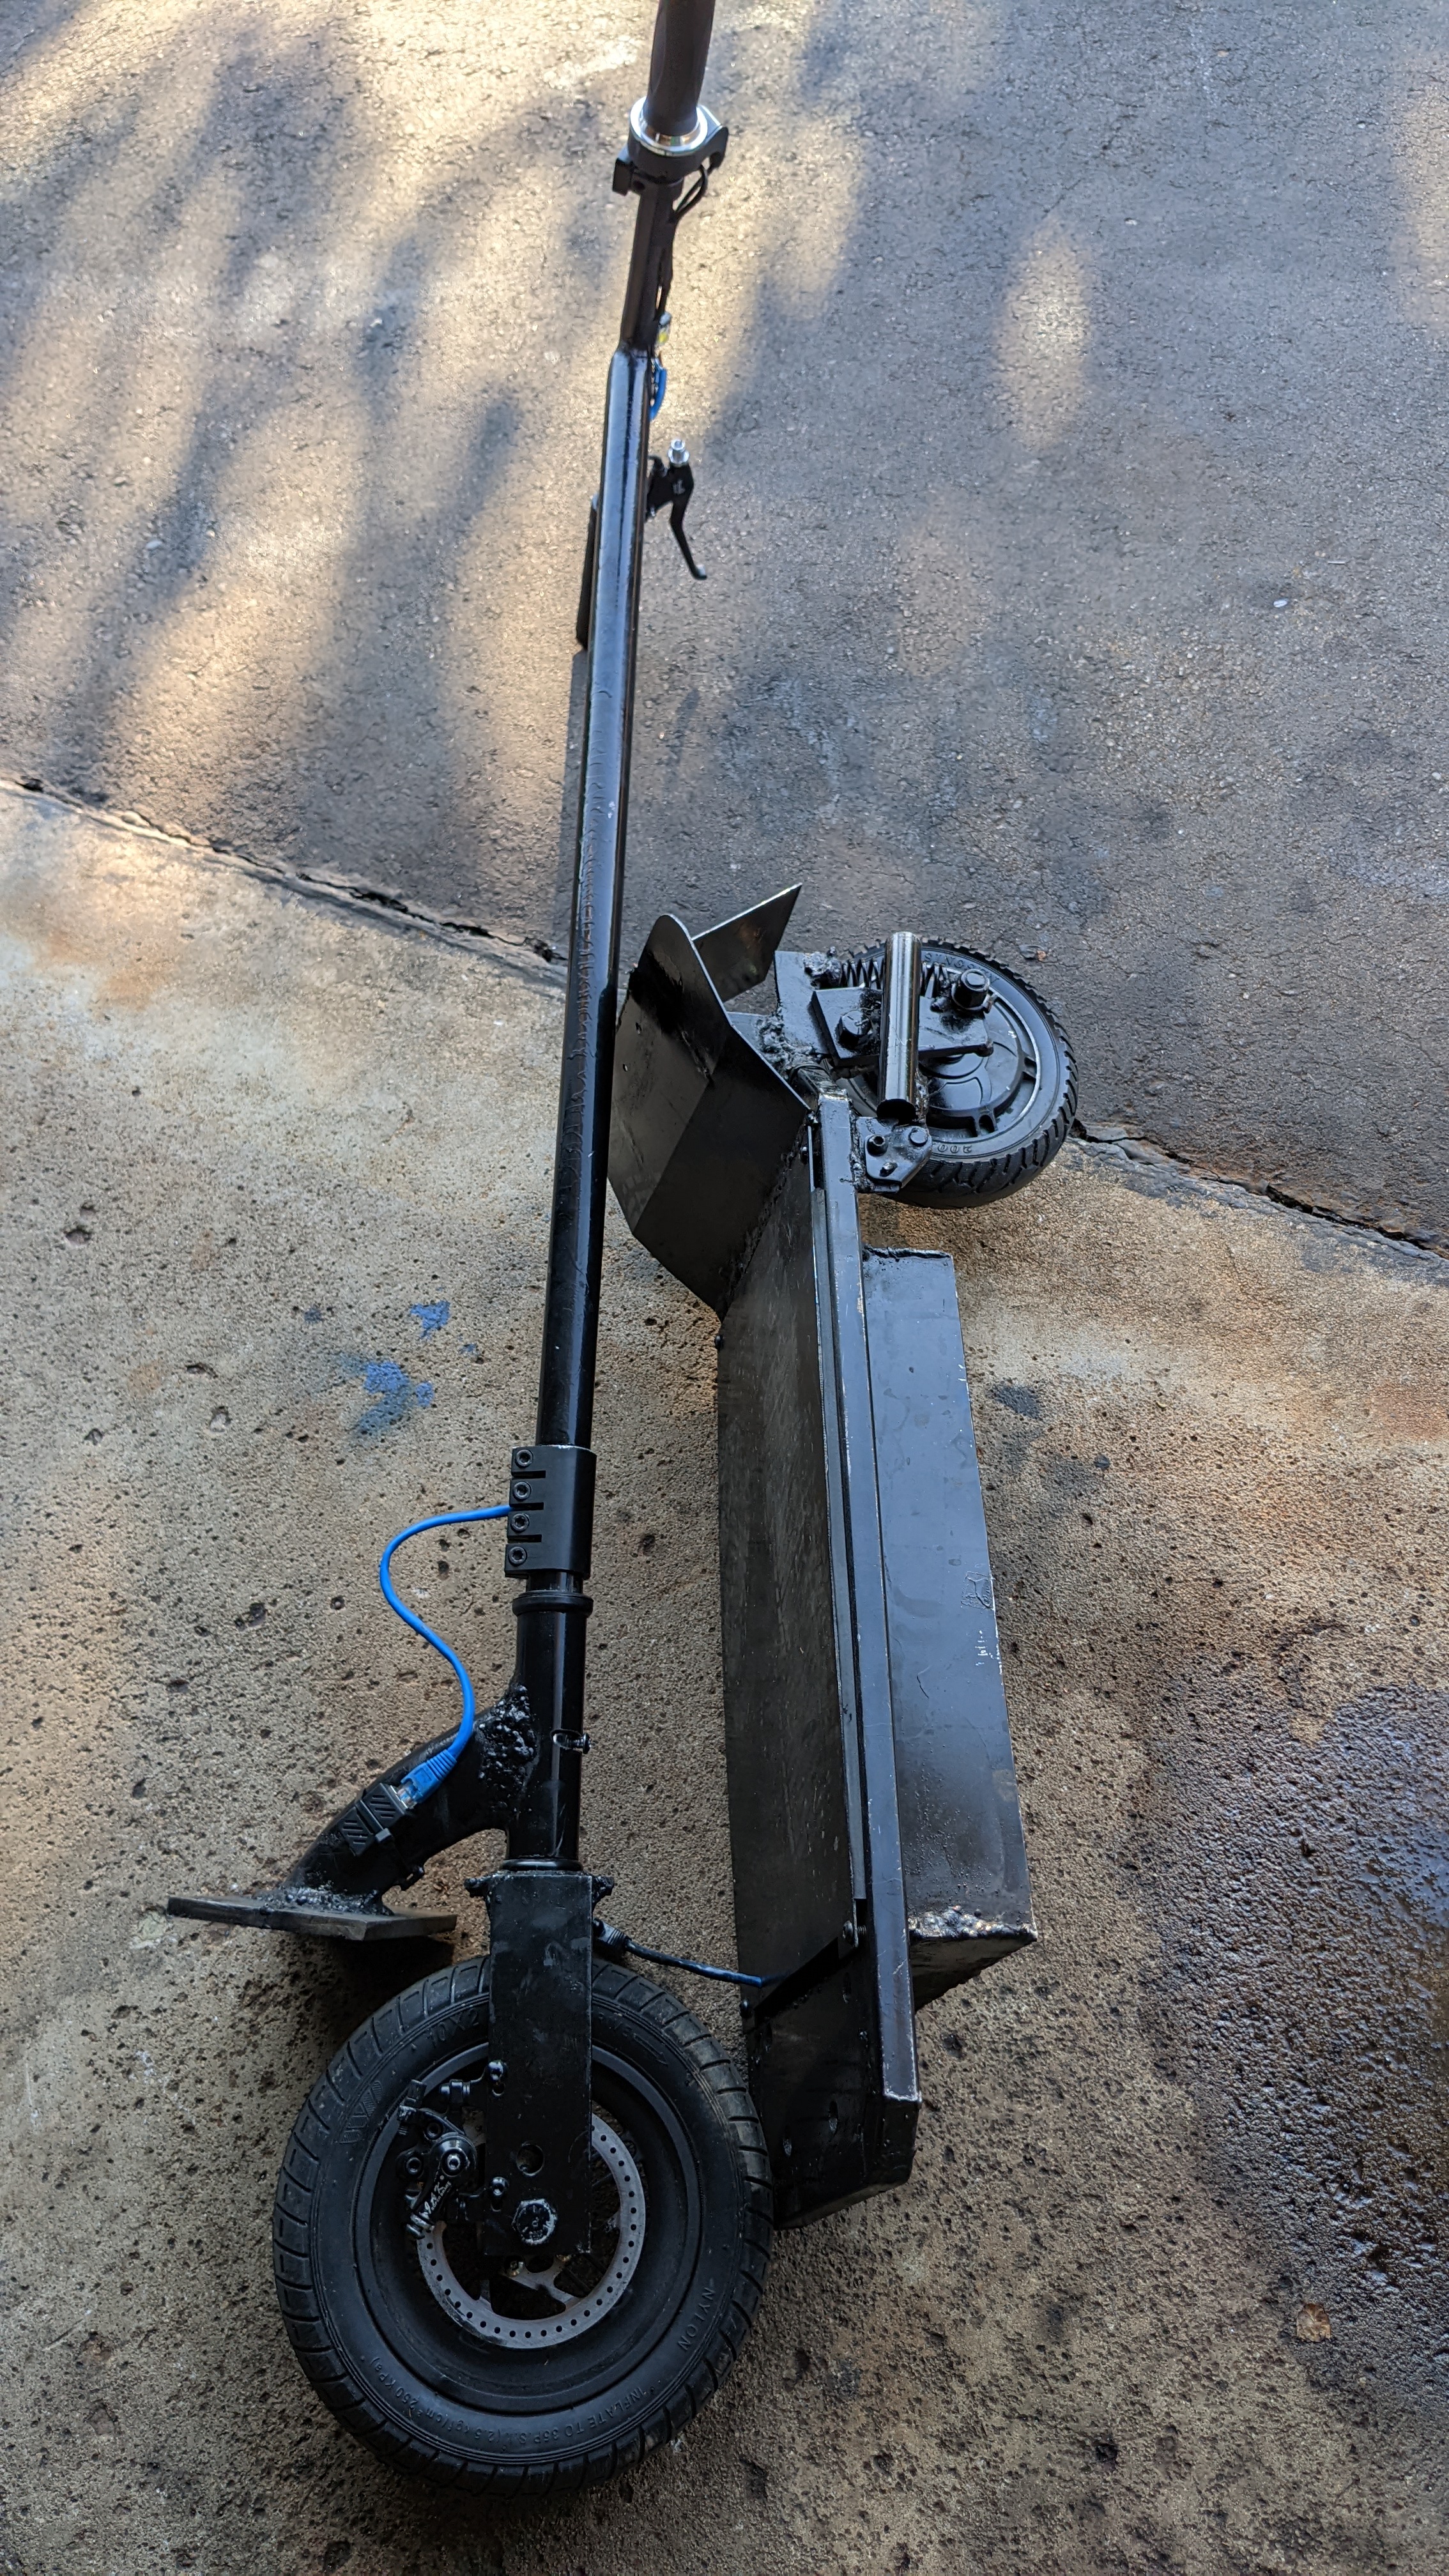
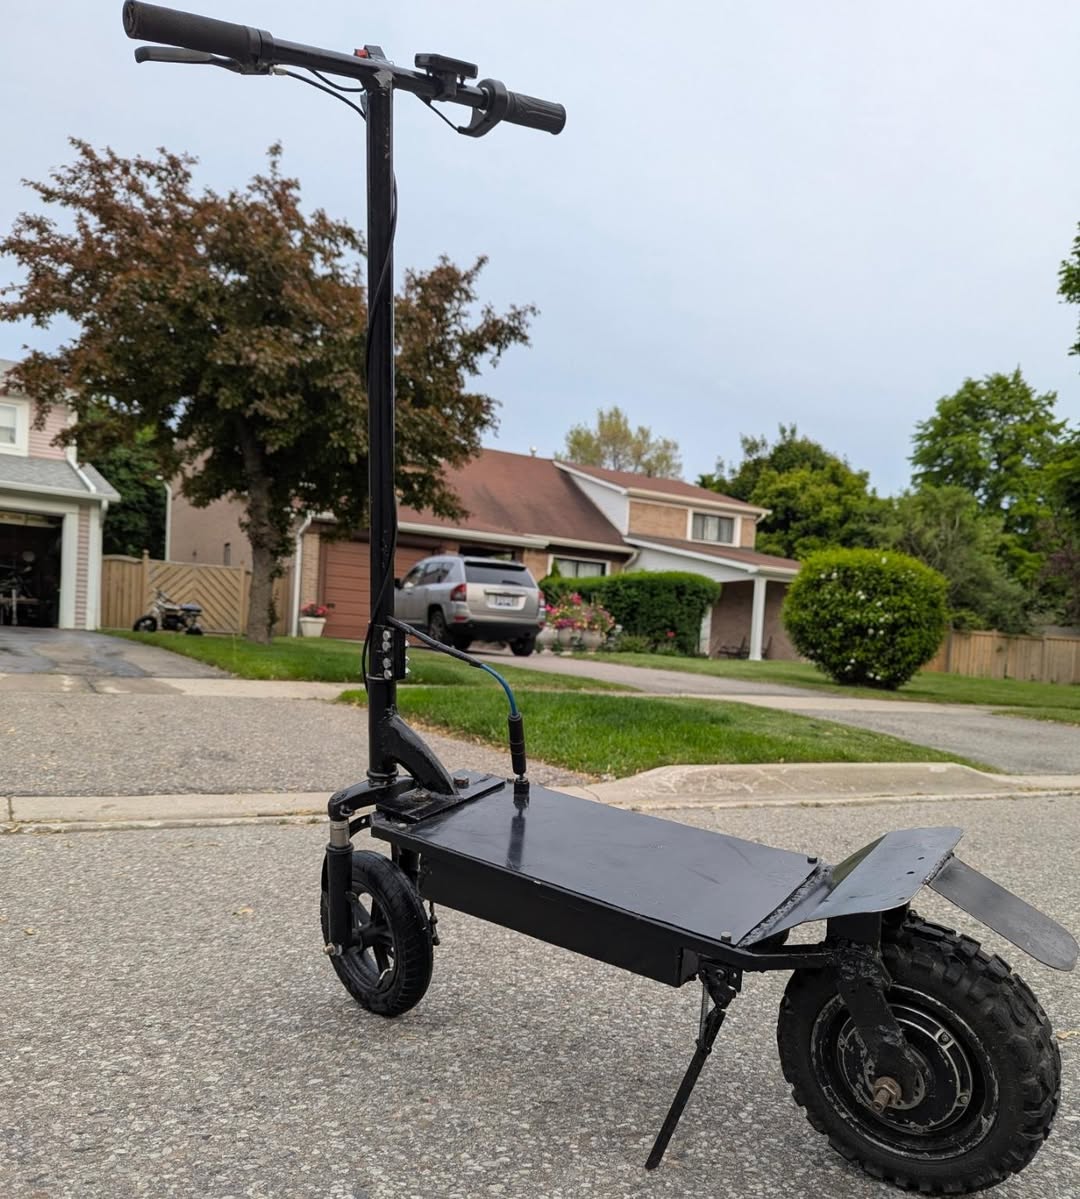
    At some point, I outgrew my old scooter and wanted one built to my specifications. I designed and built this scooter entirely from sheet and tube steel, joined with a stick welder. It initially used the 350 W BLDC motor and controller from my old scooter. The steering setup used a bicycle's bearings and fork tube. I tried adding rear suspension, but flaws in its design meant that the motor's torque compressed the springs under power. As a result, the suspension only worked while coasting. The handlebars attached to the frame with four 3/4-inch bolts, allowing them to be removed for transportation. I wired the controls with an Ethernet cable and added a coupler at the base of the handlebars so they could be disconnected from the frame.

  4. Electric Scooters: My first e-scooter
    Electric Scooters: My first e-scooter
    Electric Scooters: My first e-scooter
    Electric Scooters: My first e-scooter

    My first e-scooter

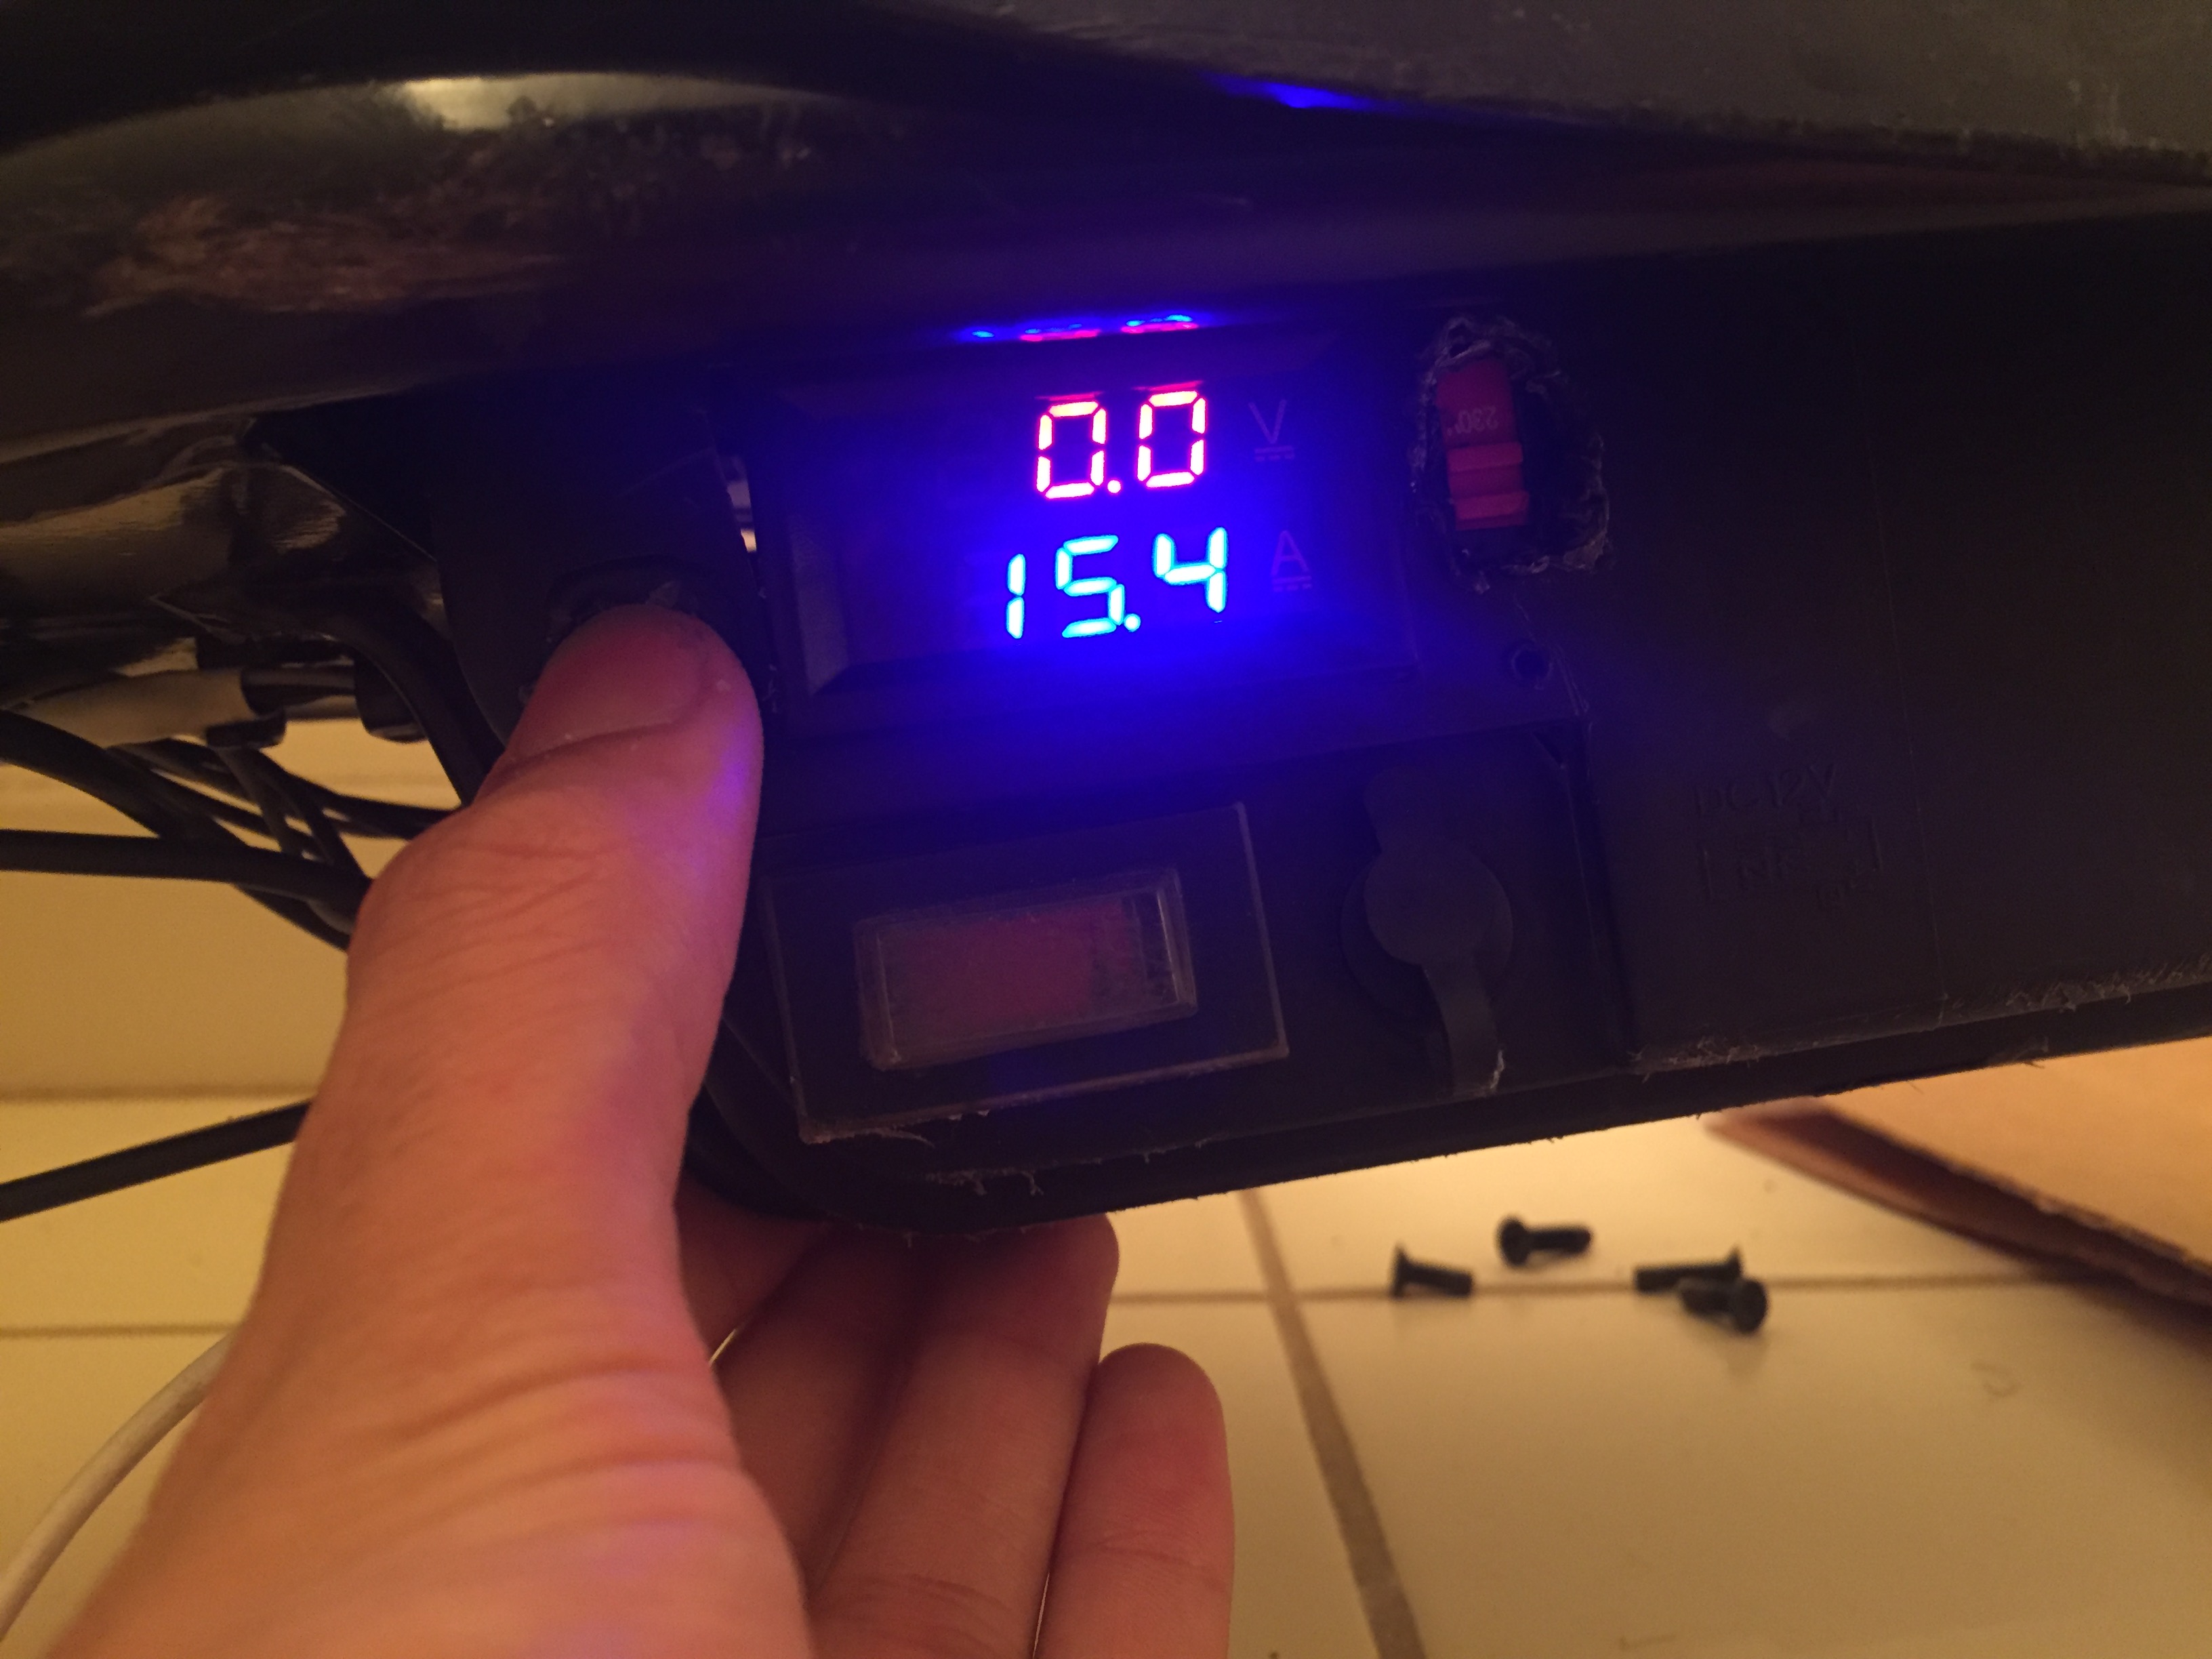
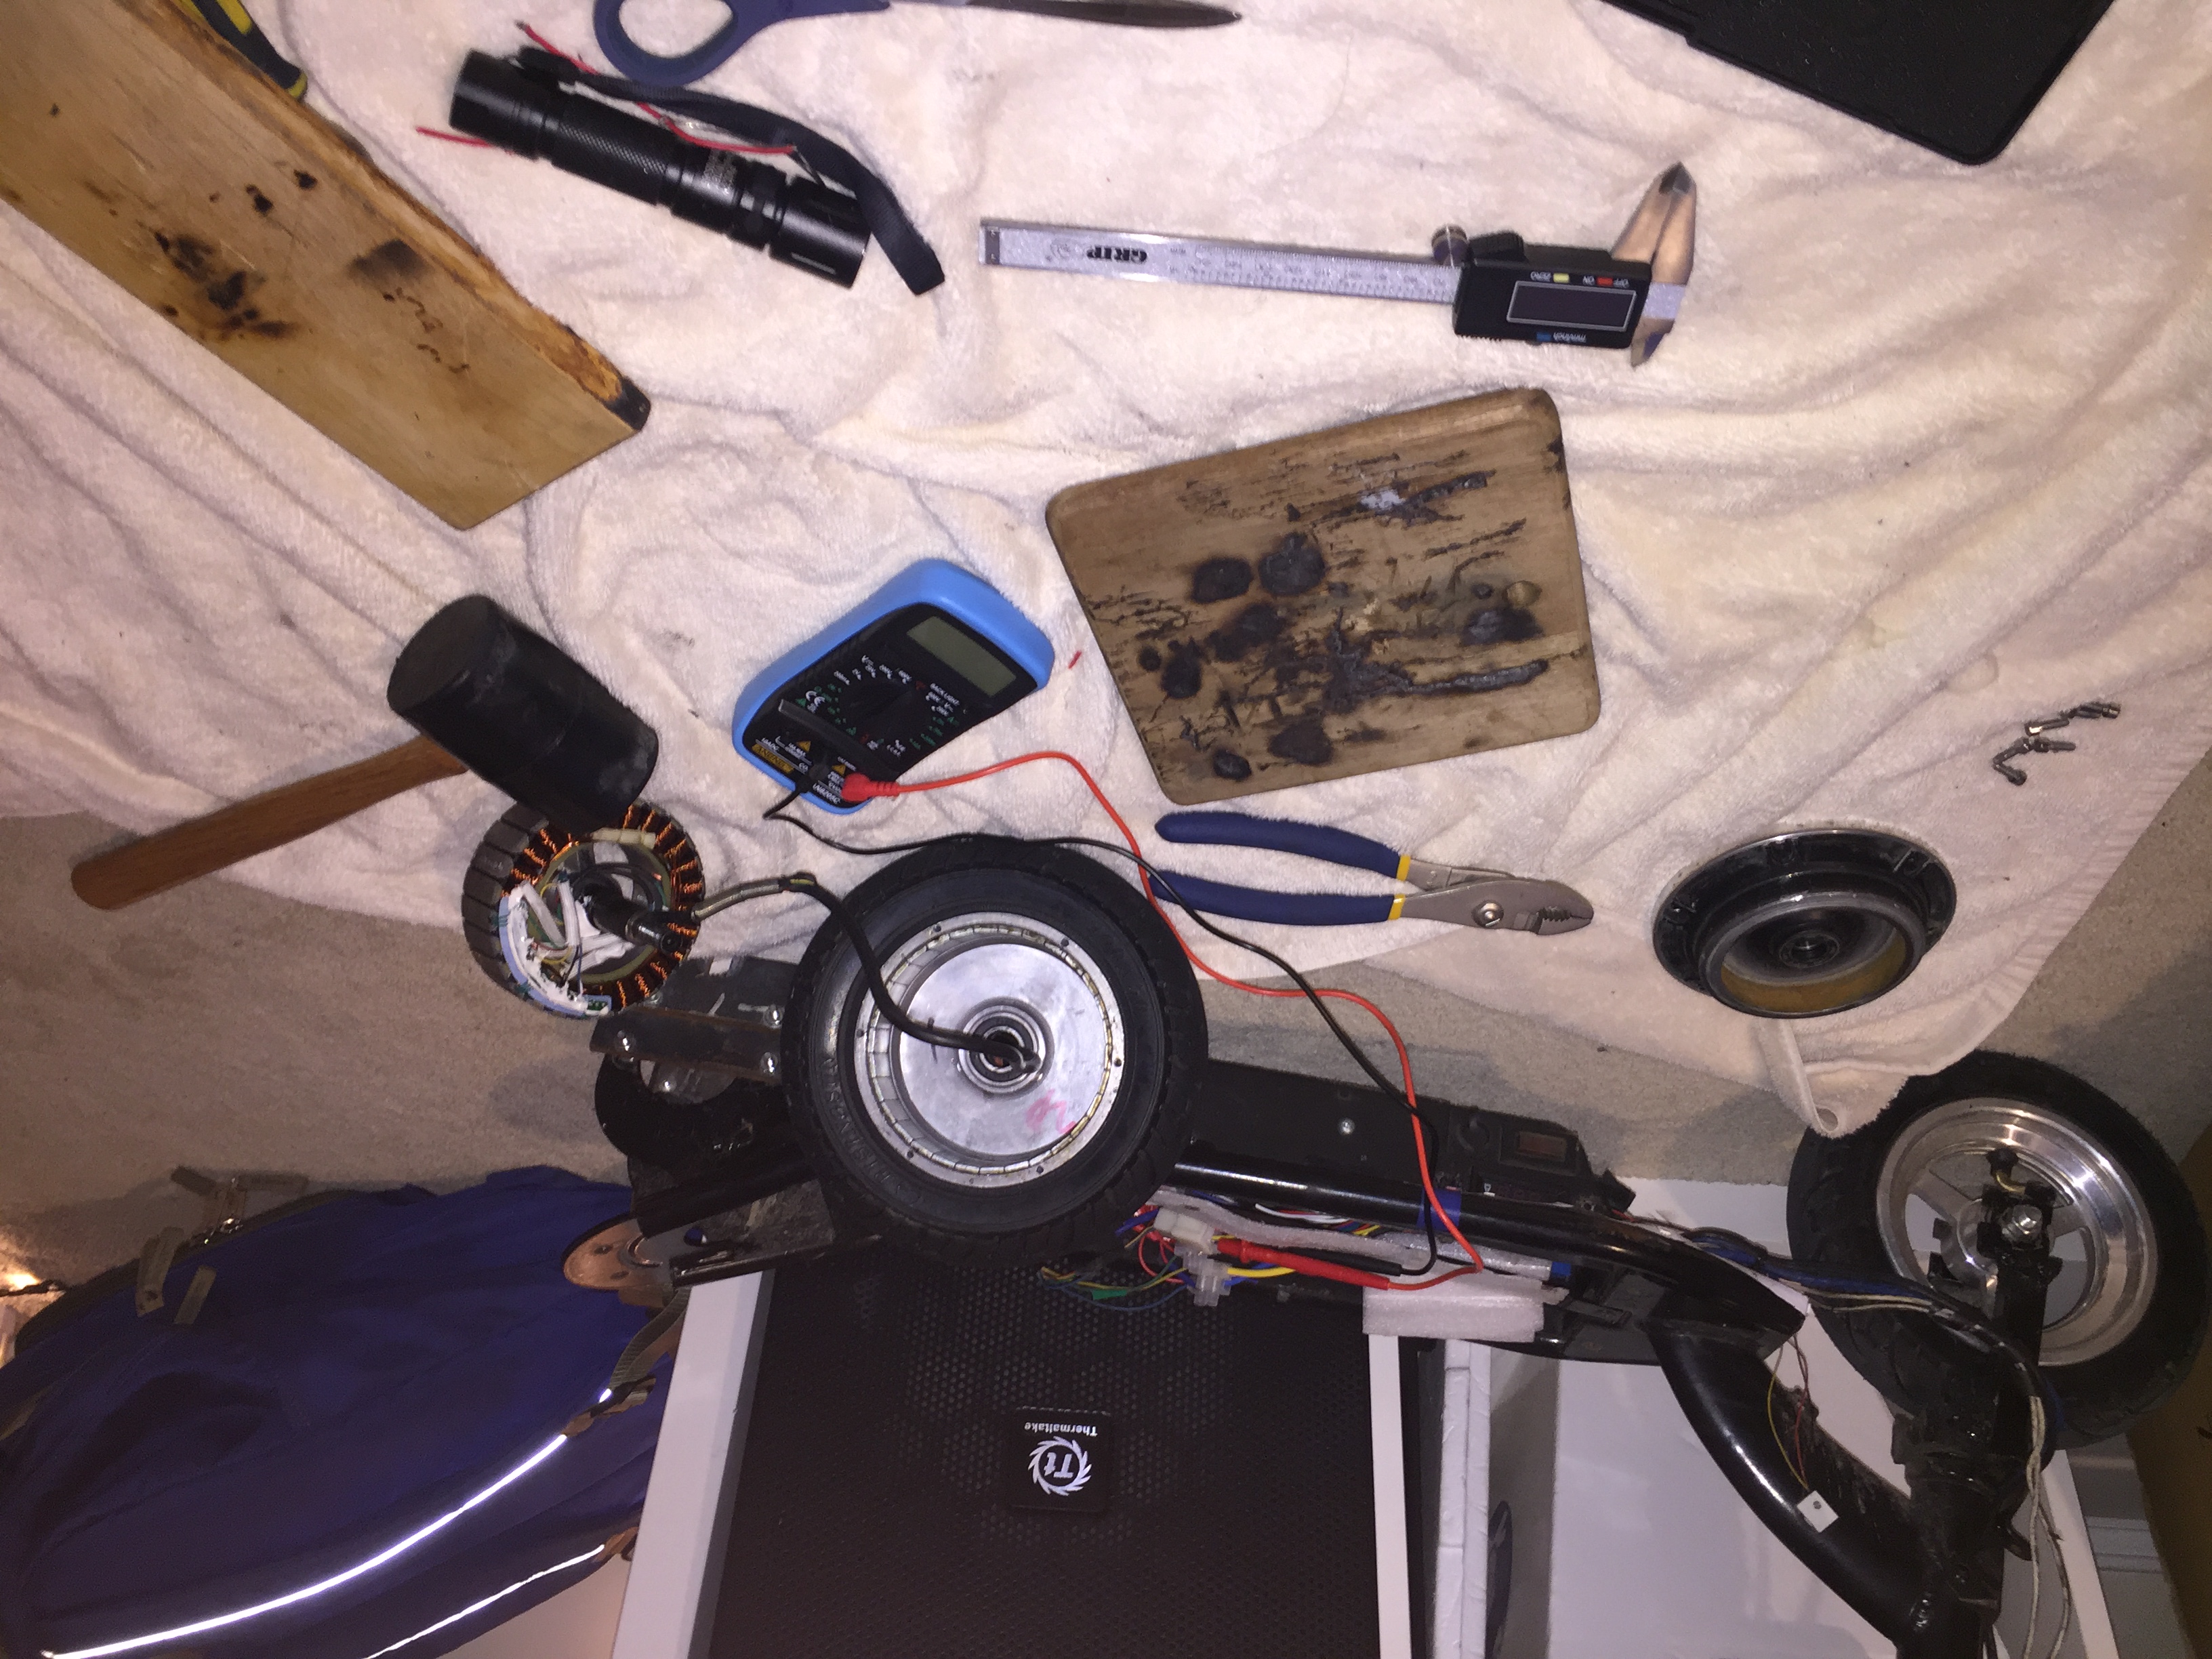
    My first electric scooter was a Razor kid's scooter. When its original 12 V lead-acid battery died, I replaced it with three RC boat batteries in series, raising the voltage to 21.6 V. This made it much faster; however, after a few too many hill climbs, the motor burned out. Next, I installed a 350 W BLDC hub motor and controller. I attached steel plates to the frame with screws to accommodate the larger motor. I also wanted regenerative braking with the three-phase motor. I used a three-phase bridge rectifier made from six high-current diodes. When enabled with a switch, a boost converter charged the battery. Because the handlebars were too low, I extended them by stick-welding in a one-foot-long steel tube. Since the controls were now farther away, I extended the wiring and combined the individual wires into an Ethernet cable.